DIY Removable Leather Patches Using 3D Printed Stamps and Velcro
Have you ever worked with leather and wanted to make removable patches? Perhaps you need to wash the item the patch is attached to, or maybe you just want the flexibility to change your patches. In this guide, I'll show you how to create custom leather patches using 3D printed stamps and make them removable with hook-and-loop fasteners (better known as Velcro).
The Perfect Use Case: Repairing a Down Jacket
Recently, I picked up a great down jacket at a bargain price—specifically because it had a tear and was losing its stuffing. This presented the perfect opportunity to demonstrate how a leather and Velcro patch combination can be an excellent fix for damaged clothing or gear.
Materials Used
Leather: Vegetable-tanned leather from Radermecker (medium thickness)
3D Printer: Bambu Lab P1S printer
Velcro: Hook-and-loop fastener set
Thread: Weixi nylon thread
Tools: Leather beveler, stitching punch, scissors, 3D printed radius tool
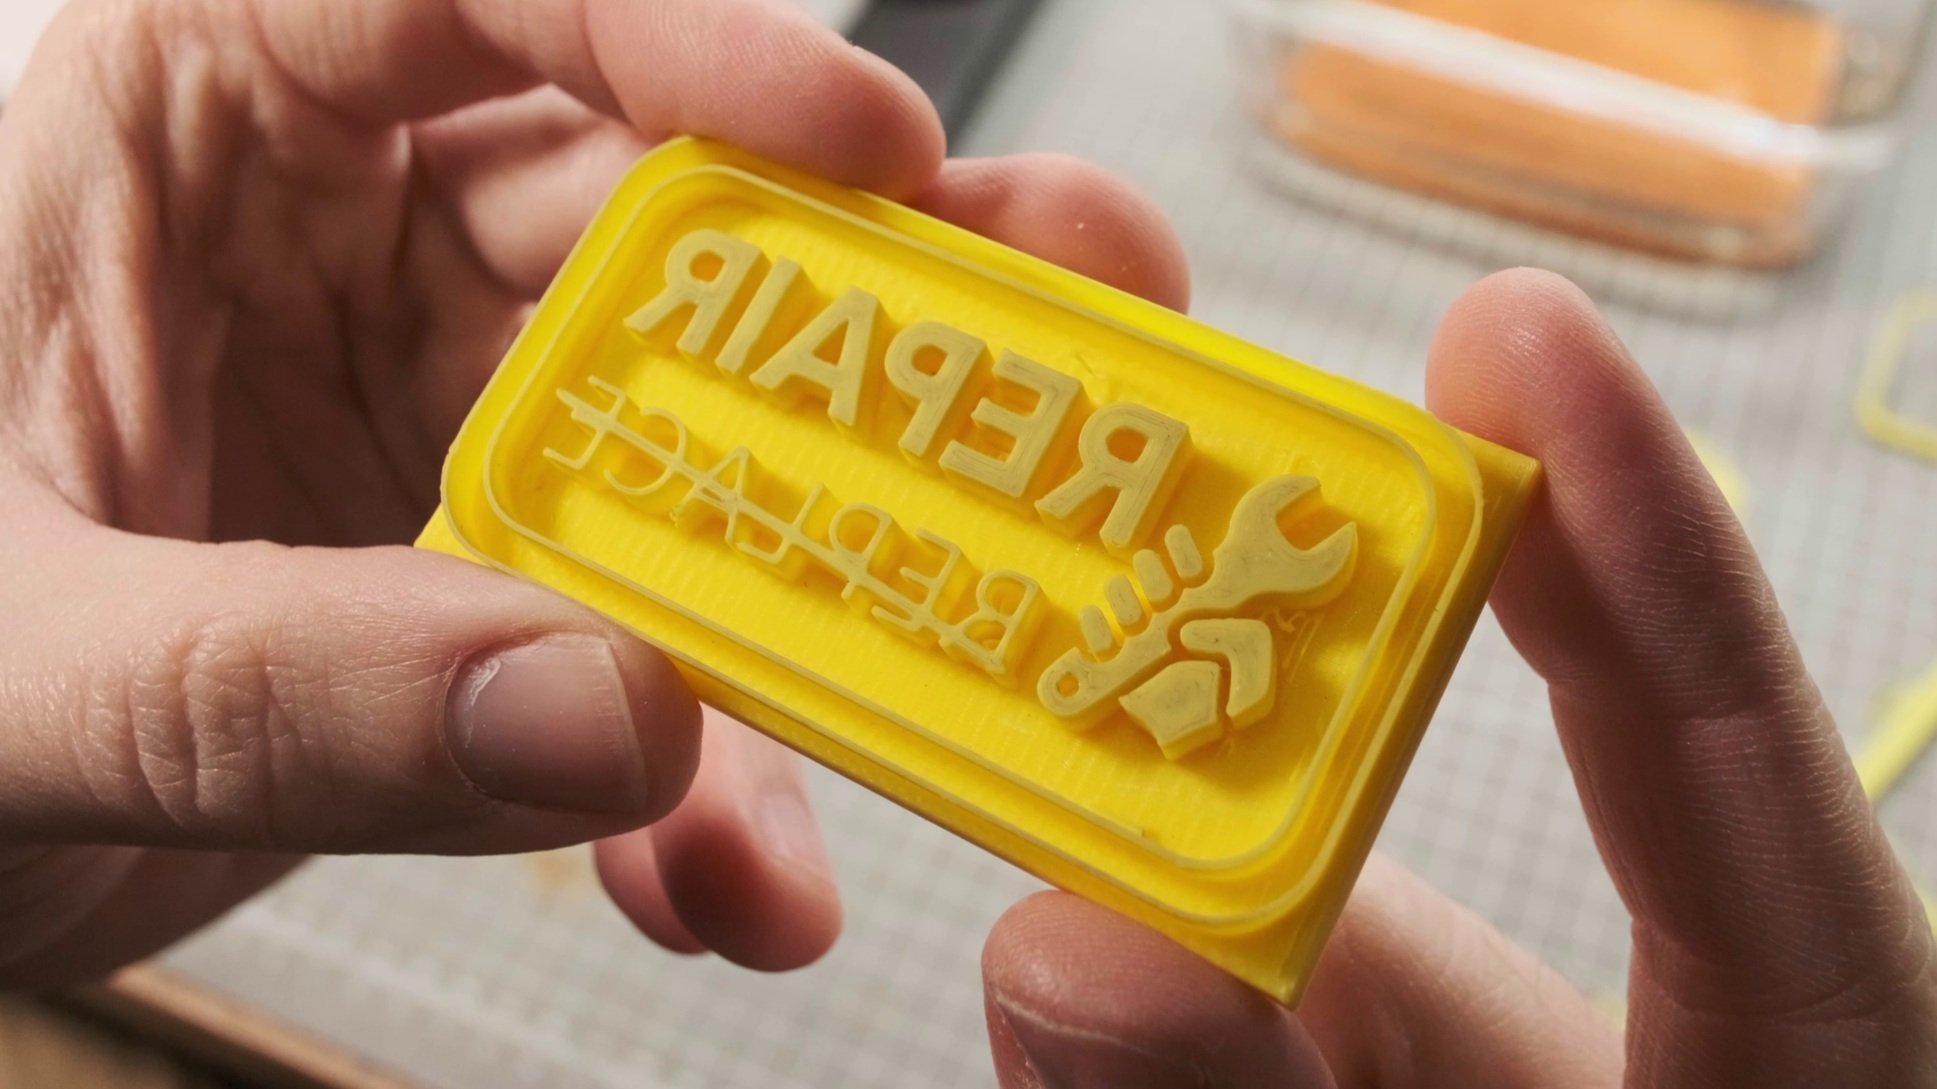
Creating the 3D Printed Stamp
Pro Tip for 3D Printing Stamps
When printing 3D stamps, make sure to position the face of the stamp directly on the print bed. This helps you achieve a better texture on the top layer of your stamp, resulting in cleaner impressions.
I designed a custom stamp with my desired pattern and set it to print. After completion, I carefully removed the support layers, which was fairly straightforward with my design.
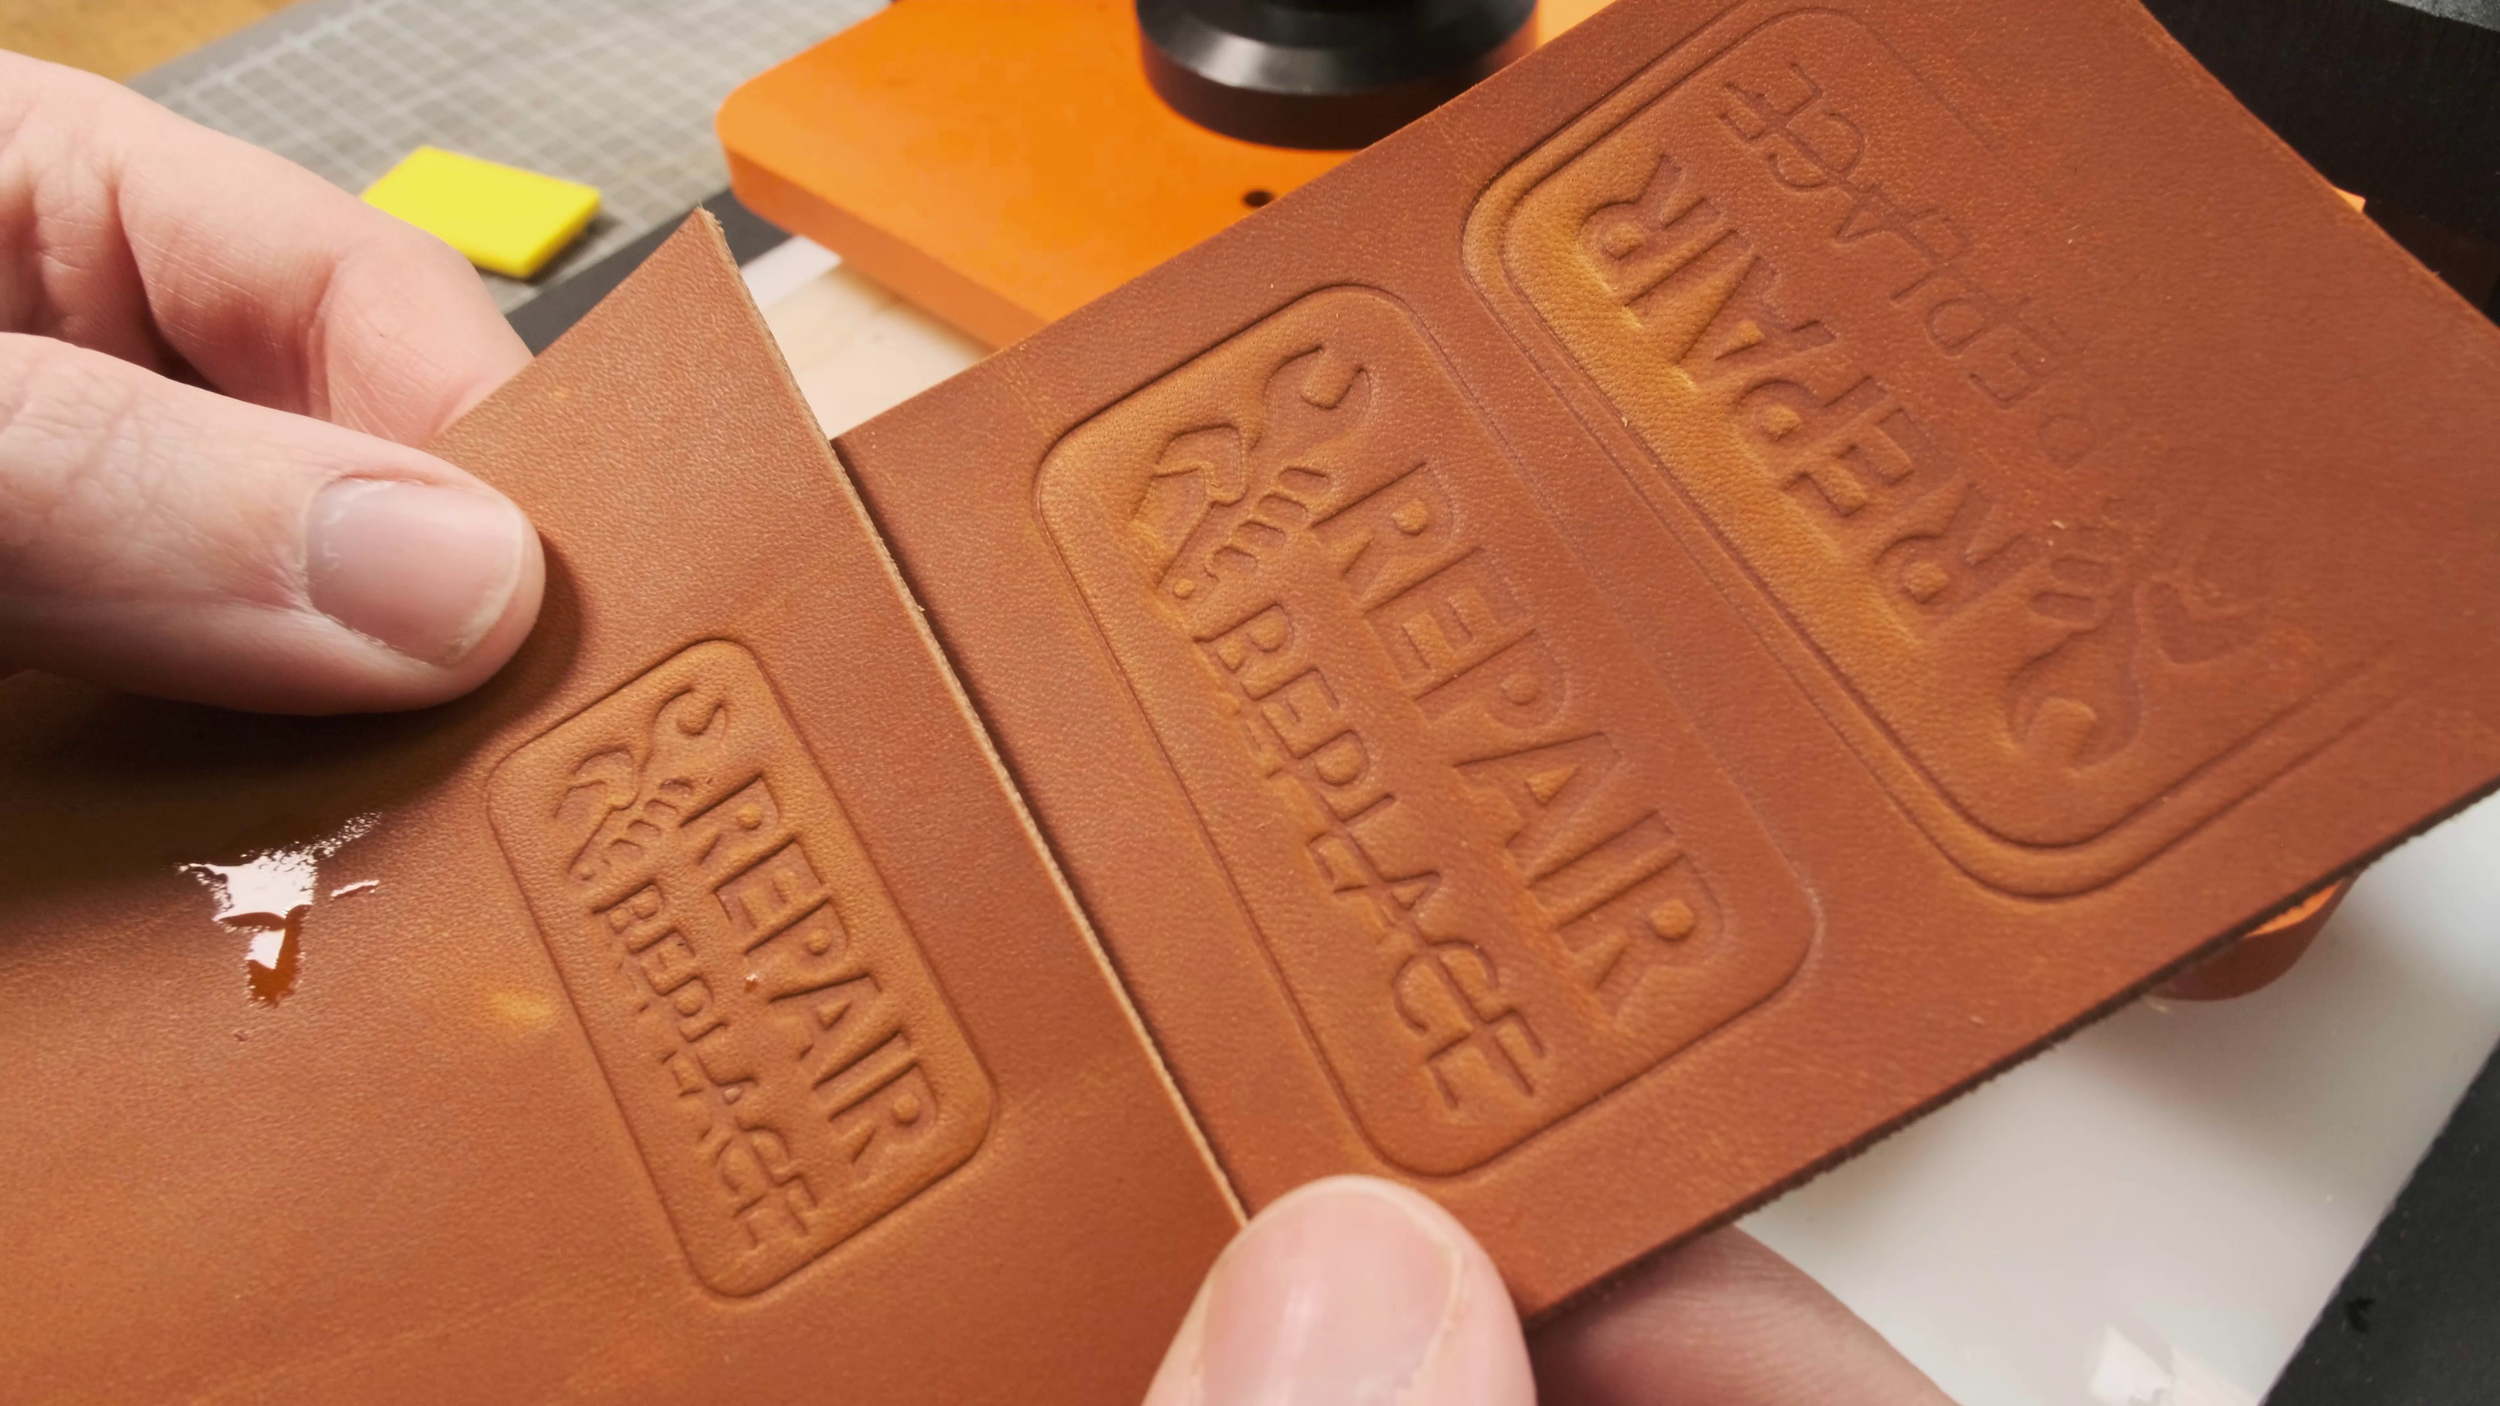
Stamping the Leather
Before stamping, I dunked the leather in water to soften it. While my initial design included an outer shape to guide cutting, this thin wall broke off quickly—a common issue with fine details in 3D prints. No problem though, as the main design stamped well enough for our purposes.
I positioned the stamp carefully on the damp leather and pressed down firmly. The impression was slightly fainter than I'd hoped for, but deep enough to work for our project. I then allowed the leather to dry completely before moving to the next step.
Cutting and Finishing the Leather Patch
Once the leather was dry, I cut the patch to size, marking and cutting radius corners using a small 3D printed radius tool.
Beveling Technique
Next came beveling the edges of the patch. Here's an important leather-working tip: always start beveling from the back side of your leather. The fibers on the back are looser and more difficult to bevel, so starting there while you still have full material thickness on the front gives your leather more support during the process. The top side, being firmer, is easier to bevel even after the back is done.
After beveling both sides, I gave the edges a quick burnish to smooth and finish them.
Combining Leather with Velcro
I may have ordered more Velcro than necessary, but that's always better than running short! I cut the hook side (the rougher side) to match the shape of my leather patch.
The Velcro came with a very sticky backing, which made it easy to adhere to the leather. While this adhesive is strong, I wanted to ensure the patch would stay put forever, especially on an item like a jacket that gets a lot of movement and wear.
Following the stitching line I had incorporated into my stamp design, I punched holes through both the leather and Velcro. Then I stitched around the perimeter using Weixi nylon thread, creating a secure bond between the leather and the hook side of the Velcro.


Attaching the Loop Side to the Jacket
Next, I cut out the loop side of the Velcro (the softer side) to match the size of the hook piece. I carefully positioned it over the tear in my down jacket and pressed it firmly in place.
The adhesive backing on the Velcro was impressively sticky, but again, for longevity, I decided to stitch it to the jacket fabric. This proved more challenging than I anticipated—the sticky plastic backing was difficult to punch through and kept gripping onto the needle. While my stitching wasn't perfect (I'm clearly more accustomed to working with leather than soft fabrics), it was functional and secure.
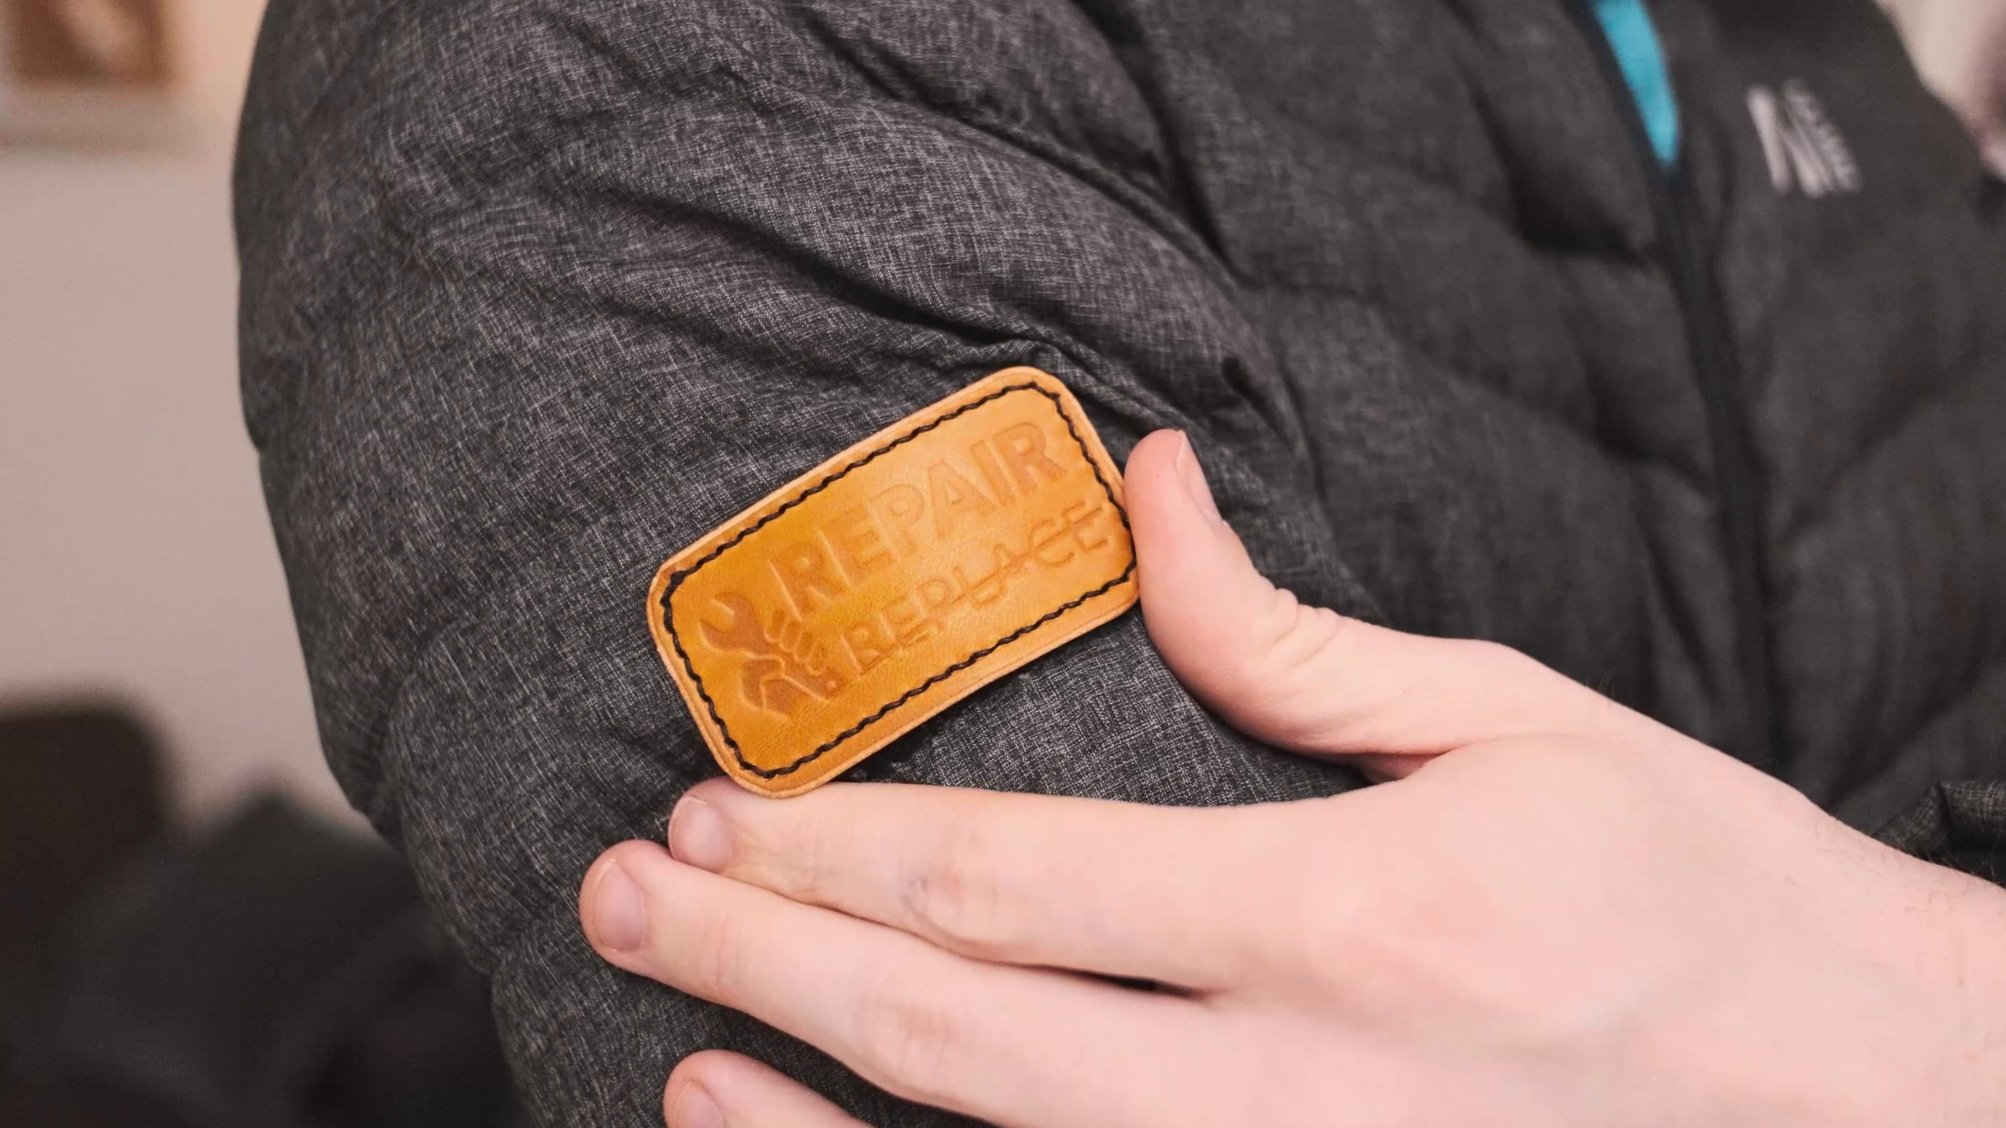
The Final Result
This proof of concept worked exactly as planned. The leather patch successfully covered the hole in my down jacket, preventing further loss of down filling. While the leather patch does look somewhat distinctive against the jacket material, I'm satisfied knowing I was able to repair my jacket in an inexpensive and durable way.
The best part? If I ever get tired of this particular patch or want to wash the jacket, I can simply remove it at any time!
Variations and Improvements
For future projects, I might consider:
Using thinner leather for a more flexible patch
Creating multiple interchangeable patches with different designs
Improving my fabric stitching technique
Experimenting with dyeing the leather to better match the garment
Conclusion
This simple technique of combining 3D printed stamps with leather crafting and Velcro creates functional, removable patches that can be used for repairs, personalization, or just for fun. The process combines traditional leatherwork with modern 3D printing technology, resulting in unique, customizable patches that are both practical and visually interesting.
Whether you're repairing a tear, adding some personality to your gear, or just experimenting with leather crafting, this technique offers a versatile solution that anyone can try with a few basic tools and materials.
Happy crafting!