How to Make a Vintage Swiss Military Leather Pouch (DIY Tutorial)
f you’re a fan of classic leathercraft and military-inspired designs, this project is for you! In this tutorial, I’ll show you how to make a leather pouch based on a vintage Swiss military satchel. This design combines rugged durability with timeless style, and I’ll share every step, from cutting the leather to stitching and finishing.
Watch the full build video here:
Download the pattern here 👉 ON MY ETSY STORE
Materials & Tools You’ll Need
Leather: Niagara vegetable-tanned leather from Radermecker tannery (3–4 mm thick recommended)
Pattern: Printable on A4 or US Letter paper
Tools:
Sharp knife or box cutter
Strap cutter (e.g., CS Osborne)
French skiver
Edge beveler
Stitch groover
Diamond stitching chisels (4 mm spacing)
Neoprene cement glue
Tokonol burnishing agent
Crimson Hides chisels
Linen thread (Meisi 0.4 mm)
Hardware:
Aluminium or LOXX closure mechanism
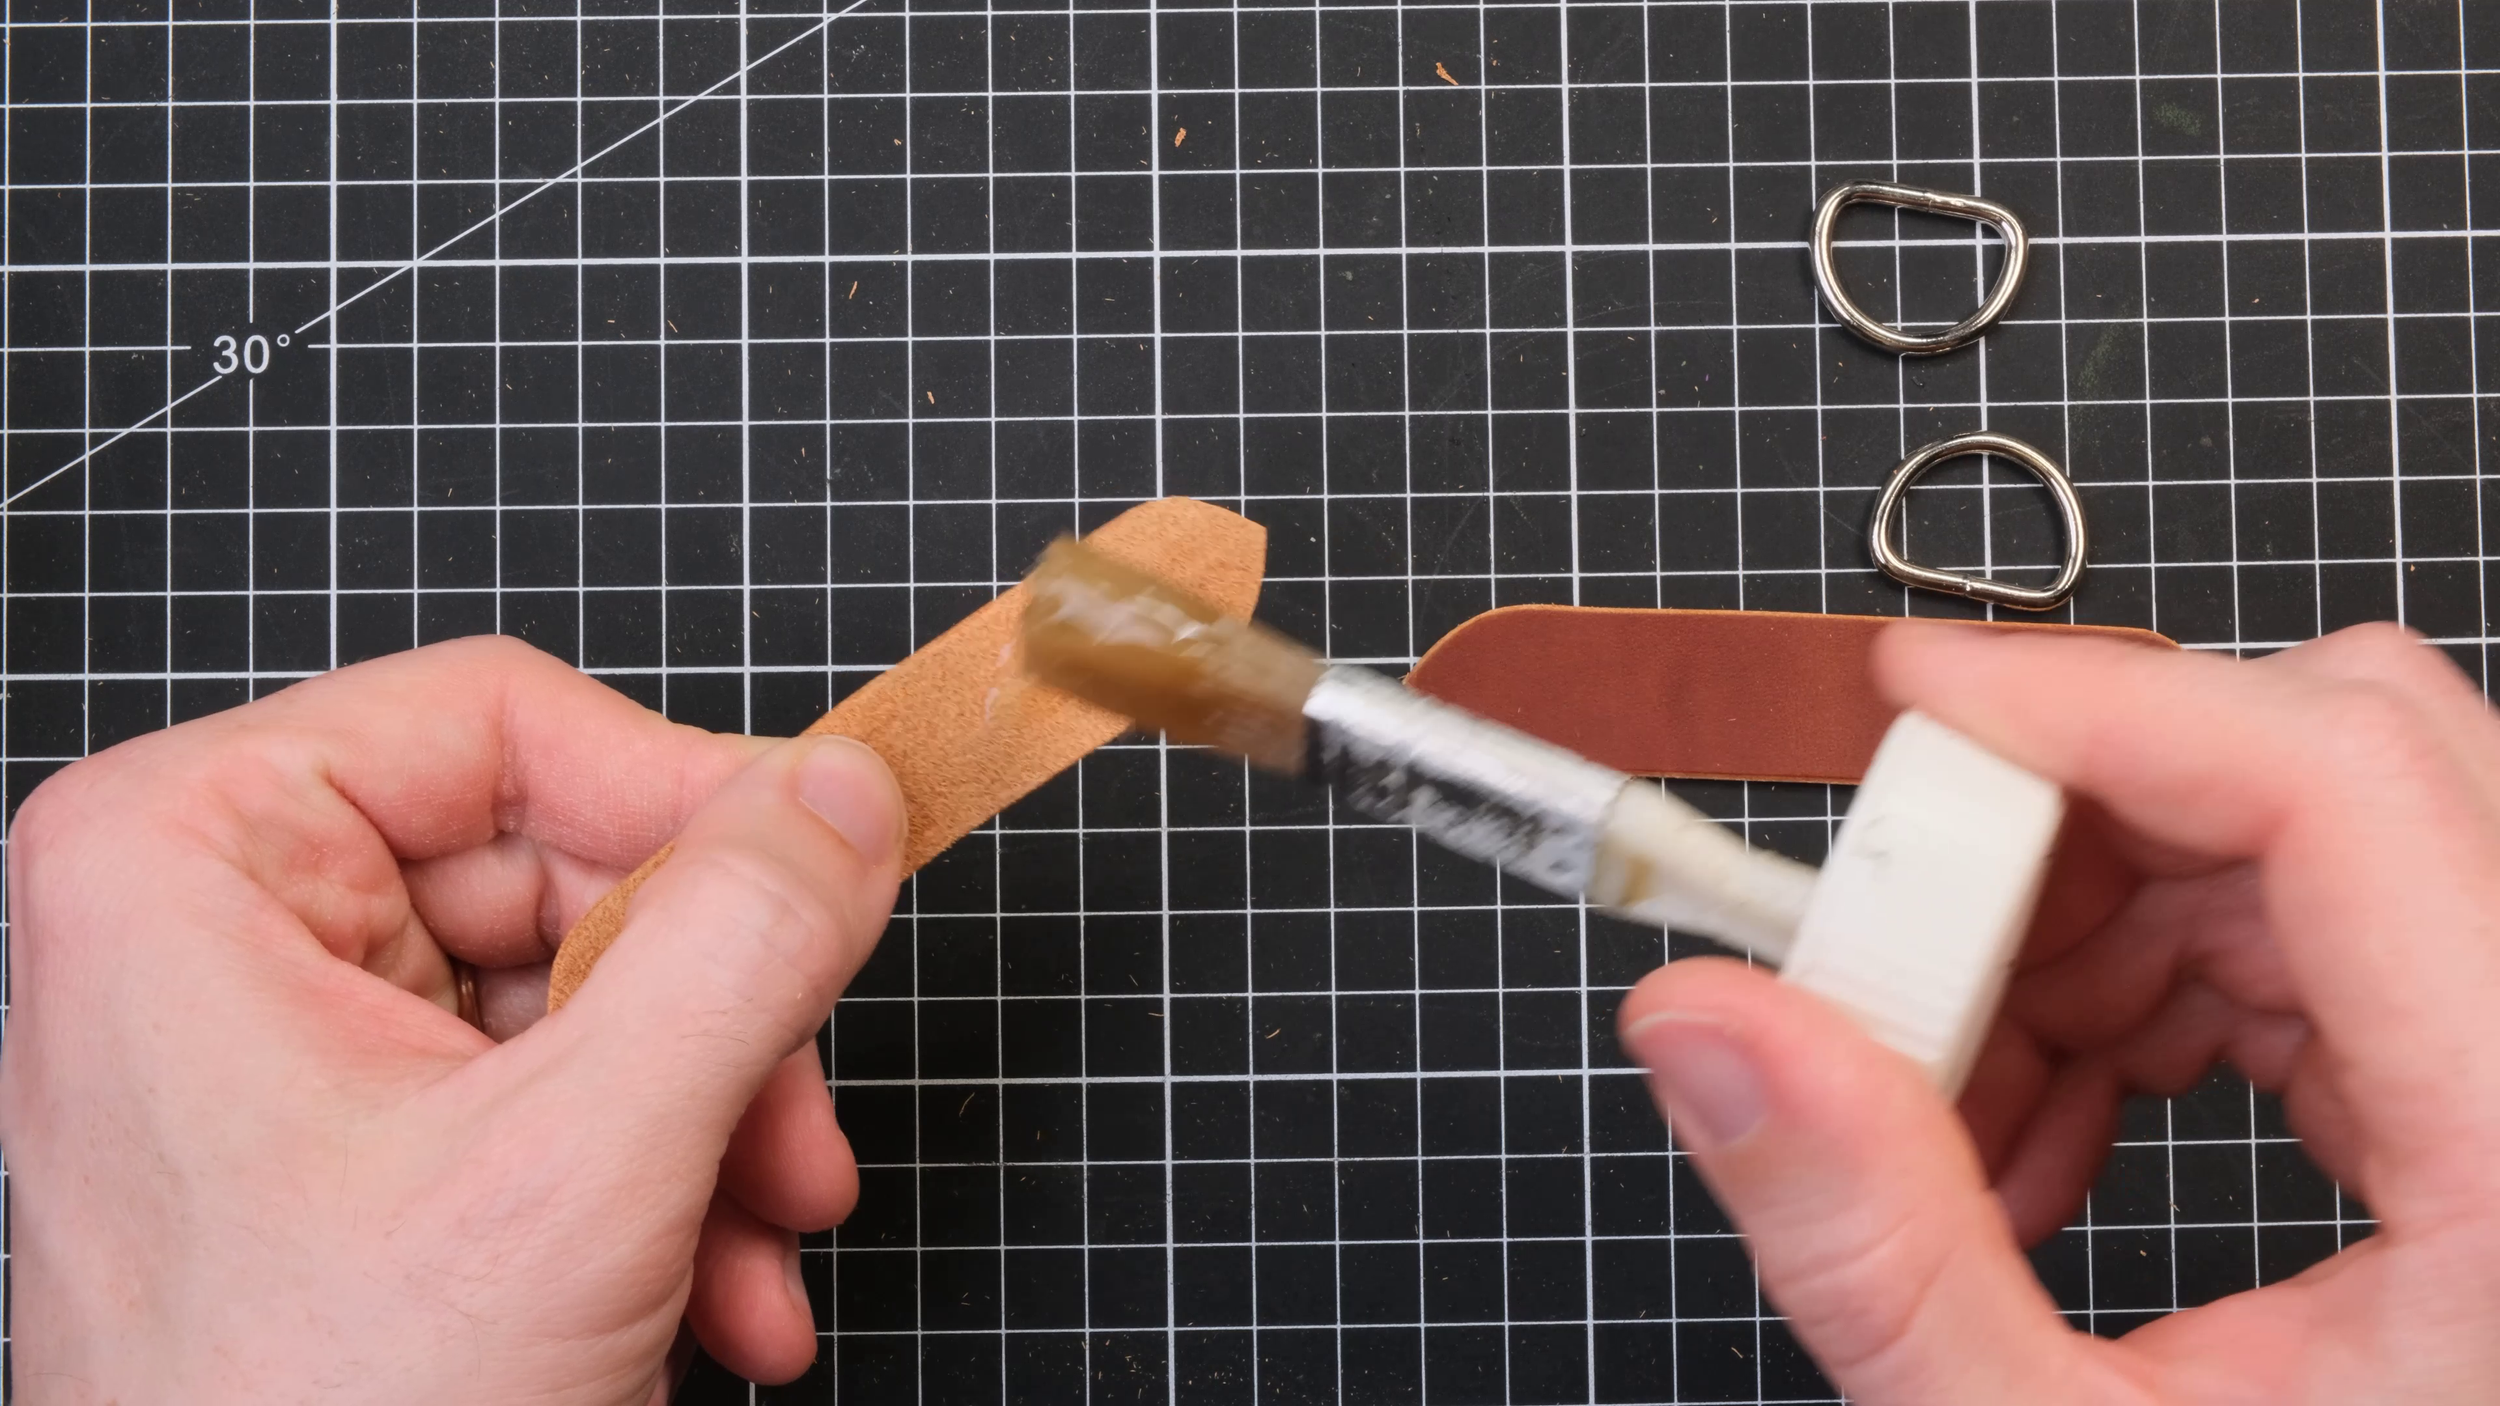
D-rings
Rivets and snaps
Step-by-Step Instructions
Step 1: Print & Prepare the Pattern
Download and print the pattern on A4 or US Letter paper.
Use the size guide to ensure correct scaling.
Stick the pattern directly onto the leather using transparent packing tape (avoid areas that will be visible).

Make sure to print at 100% of the original size and use the print guides to check your accuracy. Can be printed on US letter or A4 size paper.
Step 2: Cut the Leather Pieces
Lay out the pattern and roughly cut the main components.
Use a sharp knife or box cutter with a fresh blade.
Mark punch locations before fully cutting.
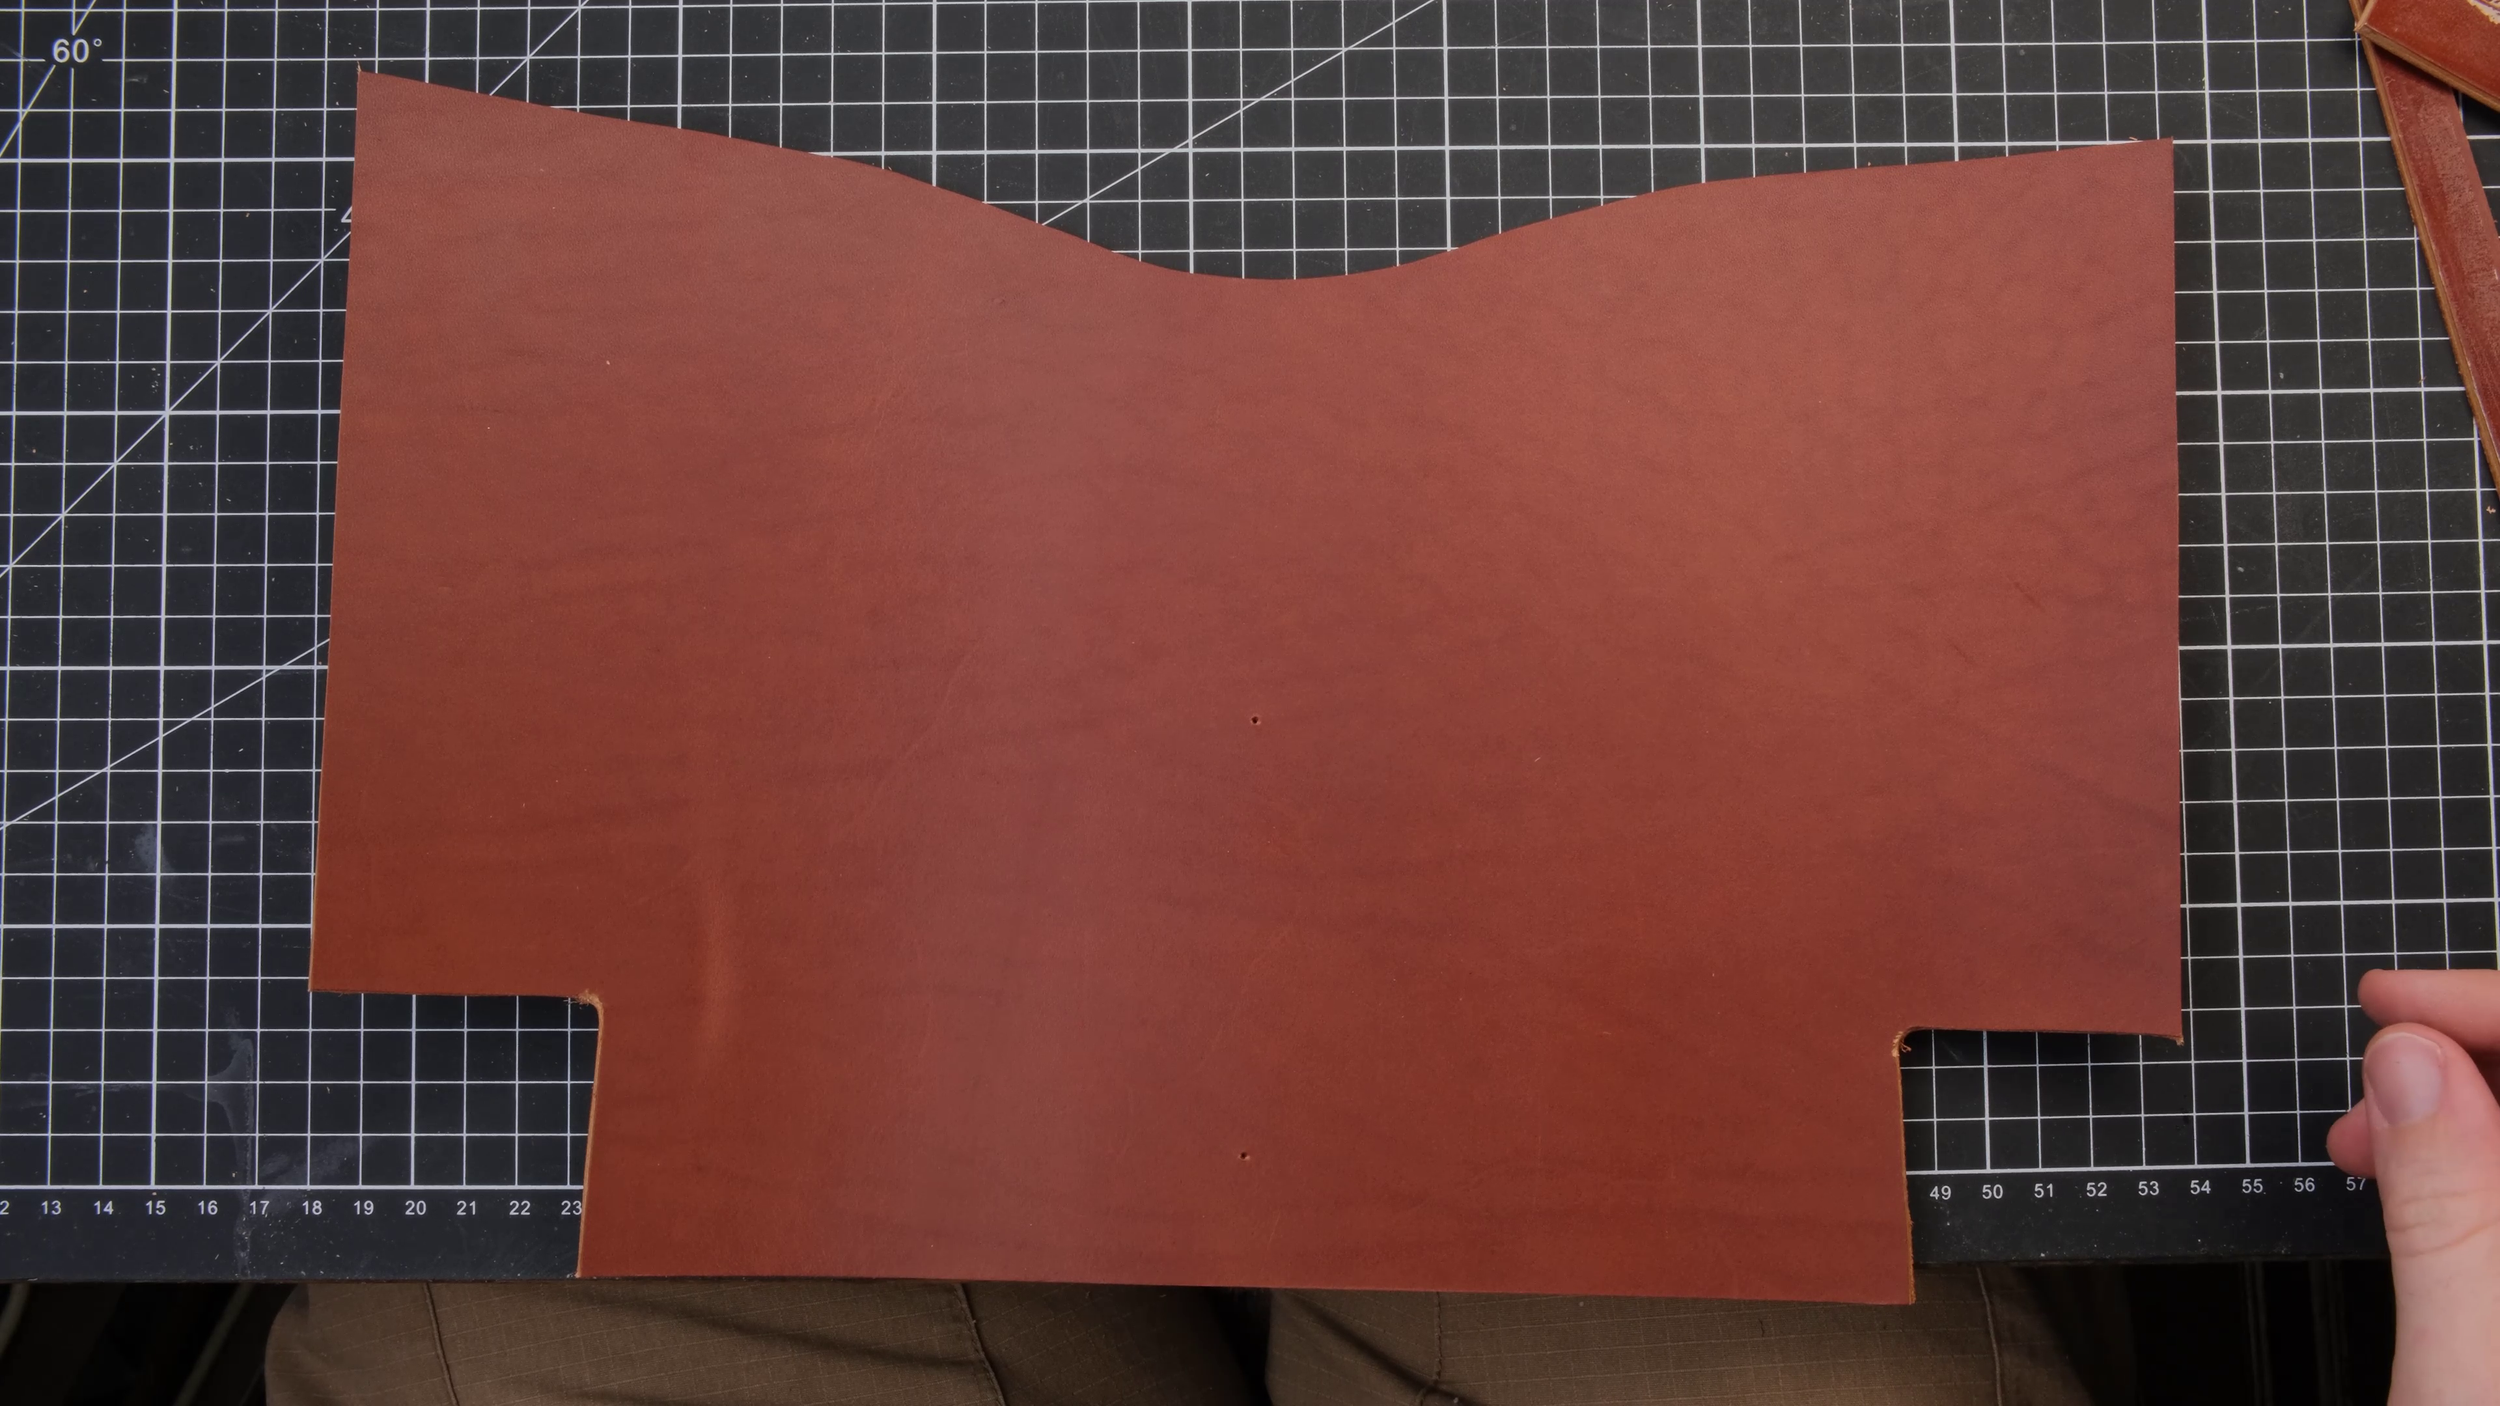
Cut the leather pieces based on the pattern template.
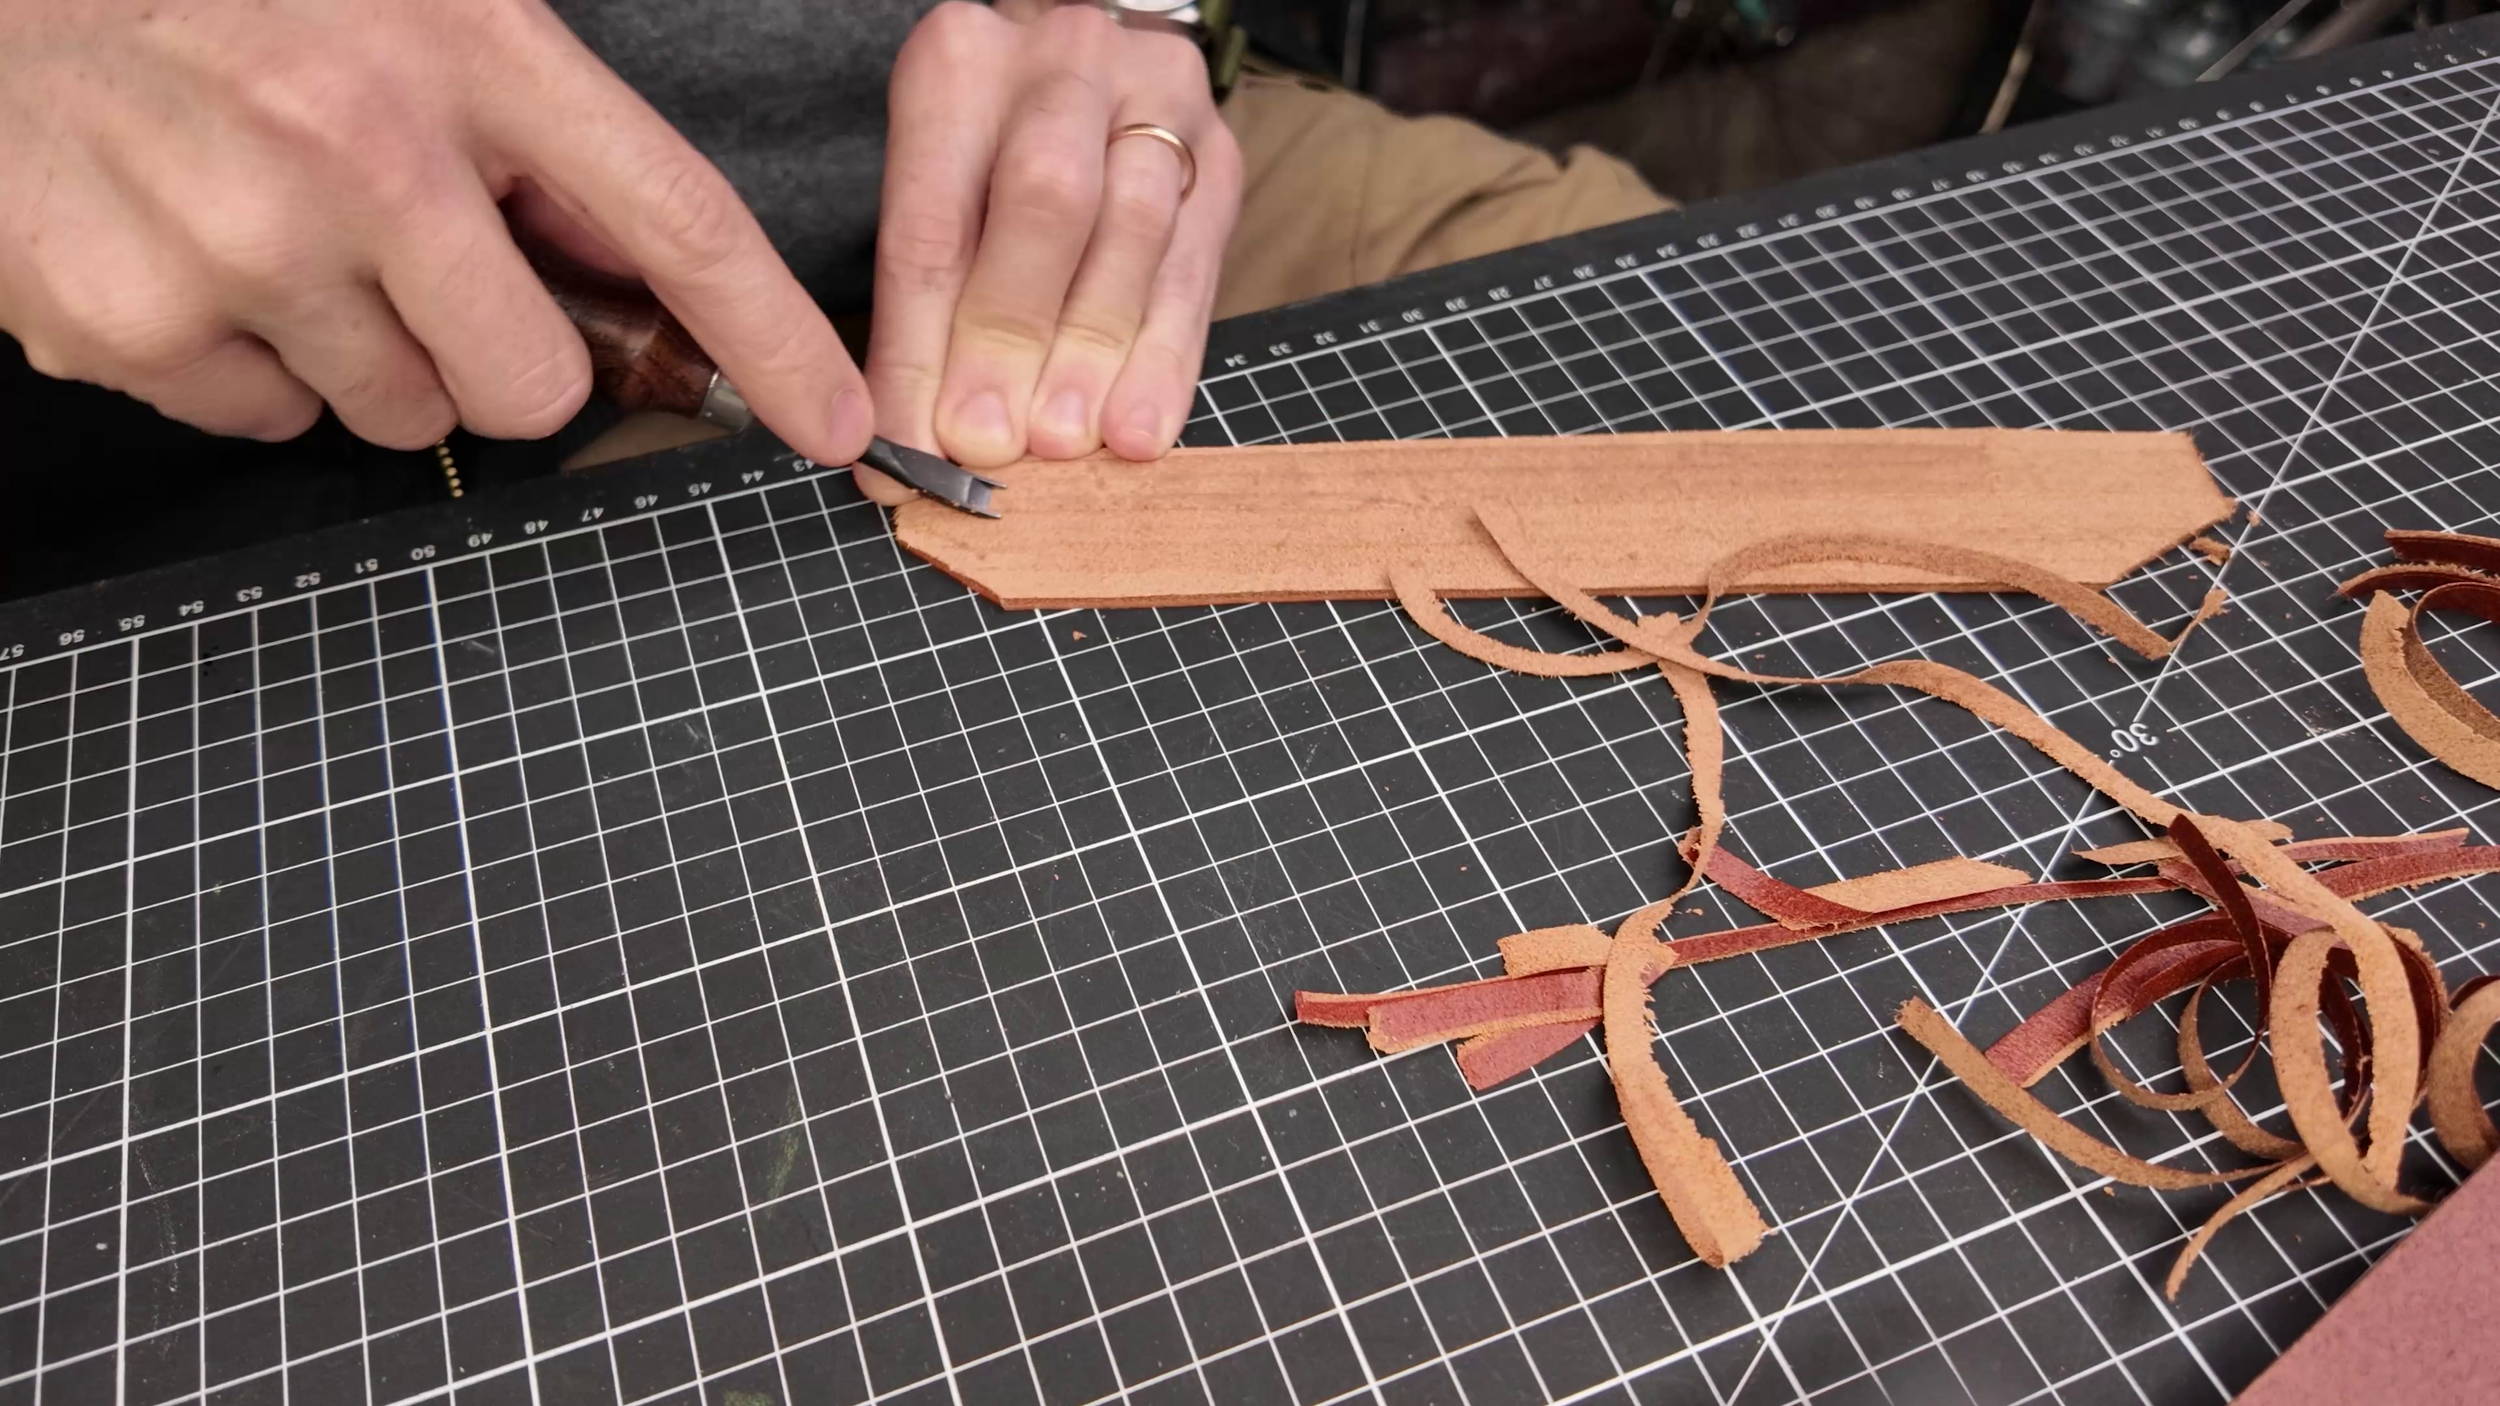
Step 3: Skive & Prepare Tabs
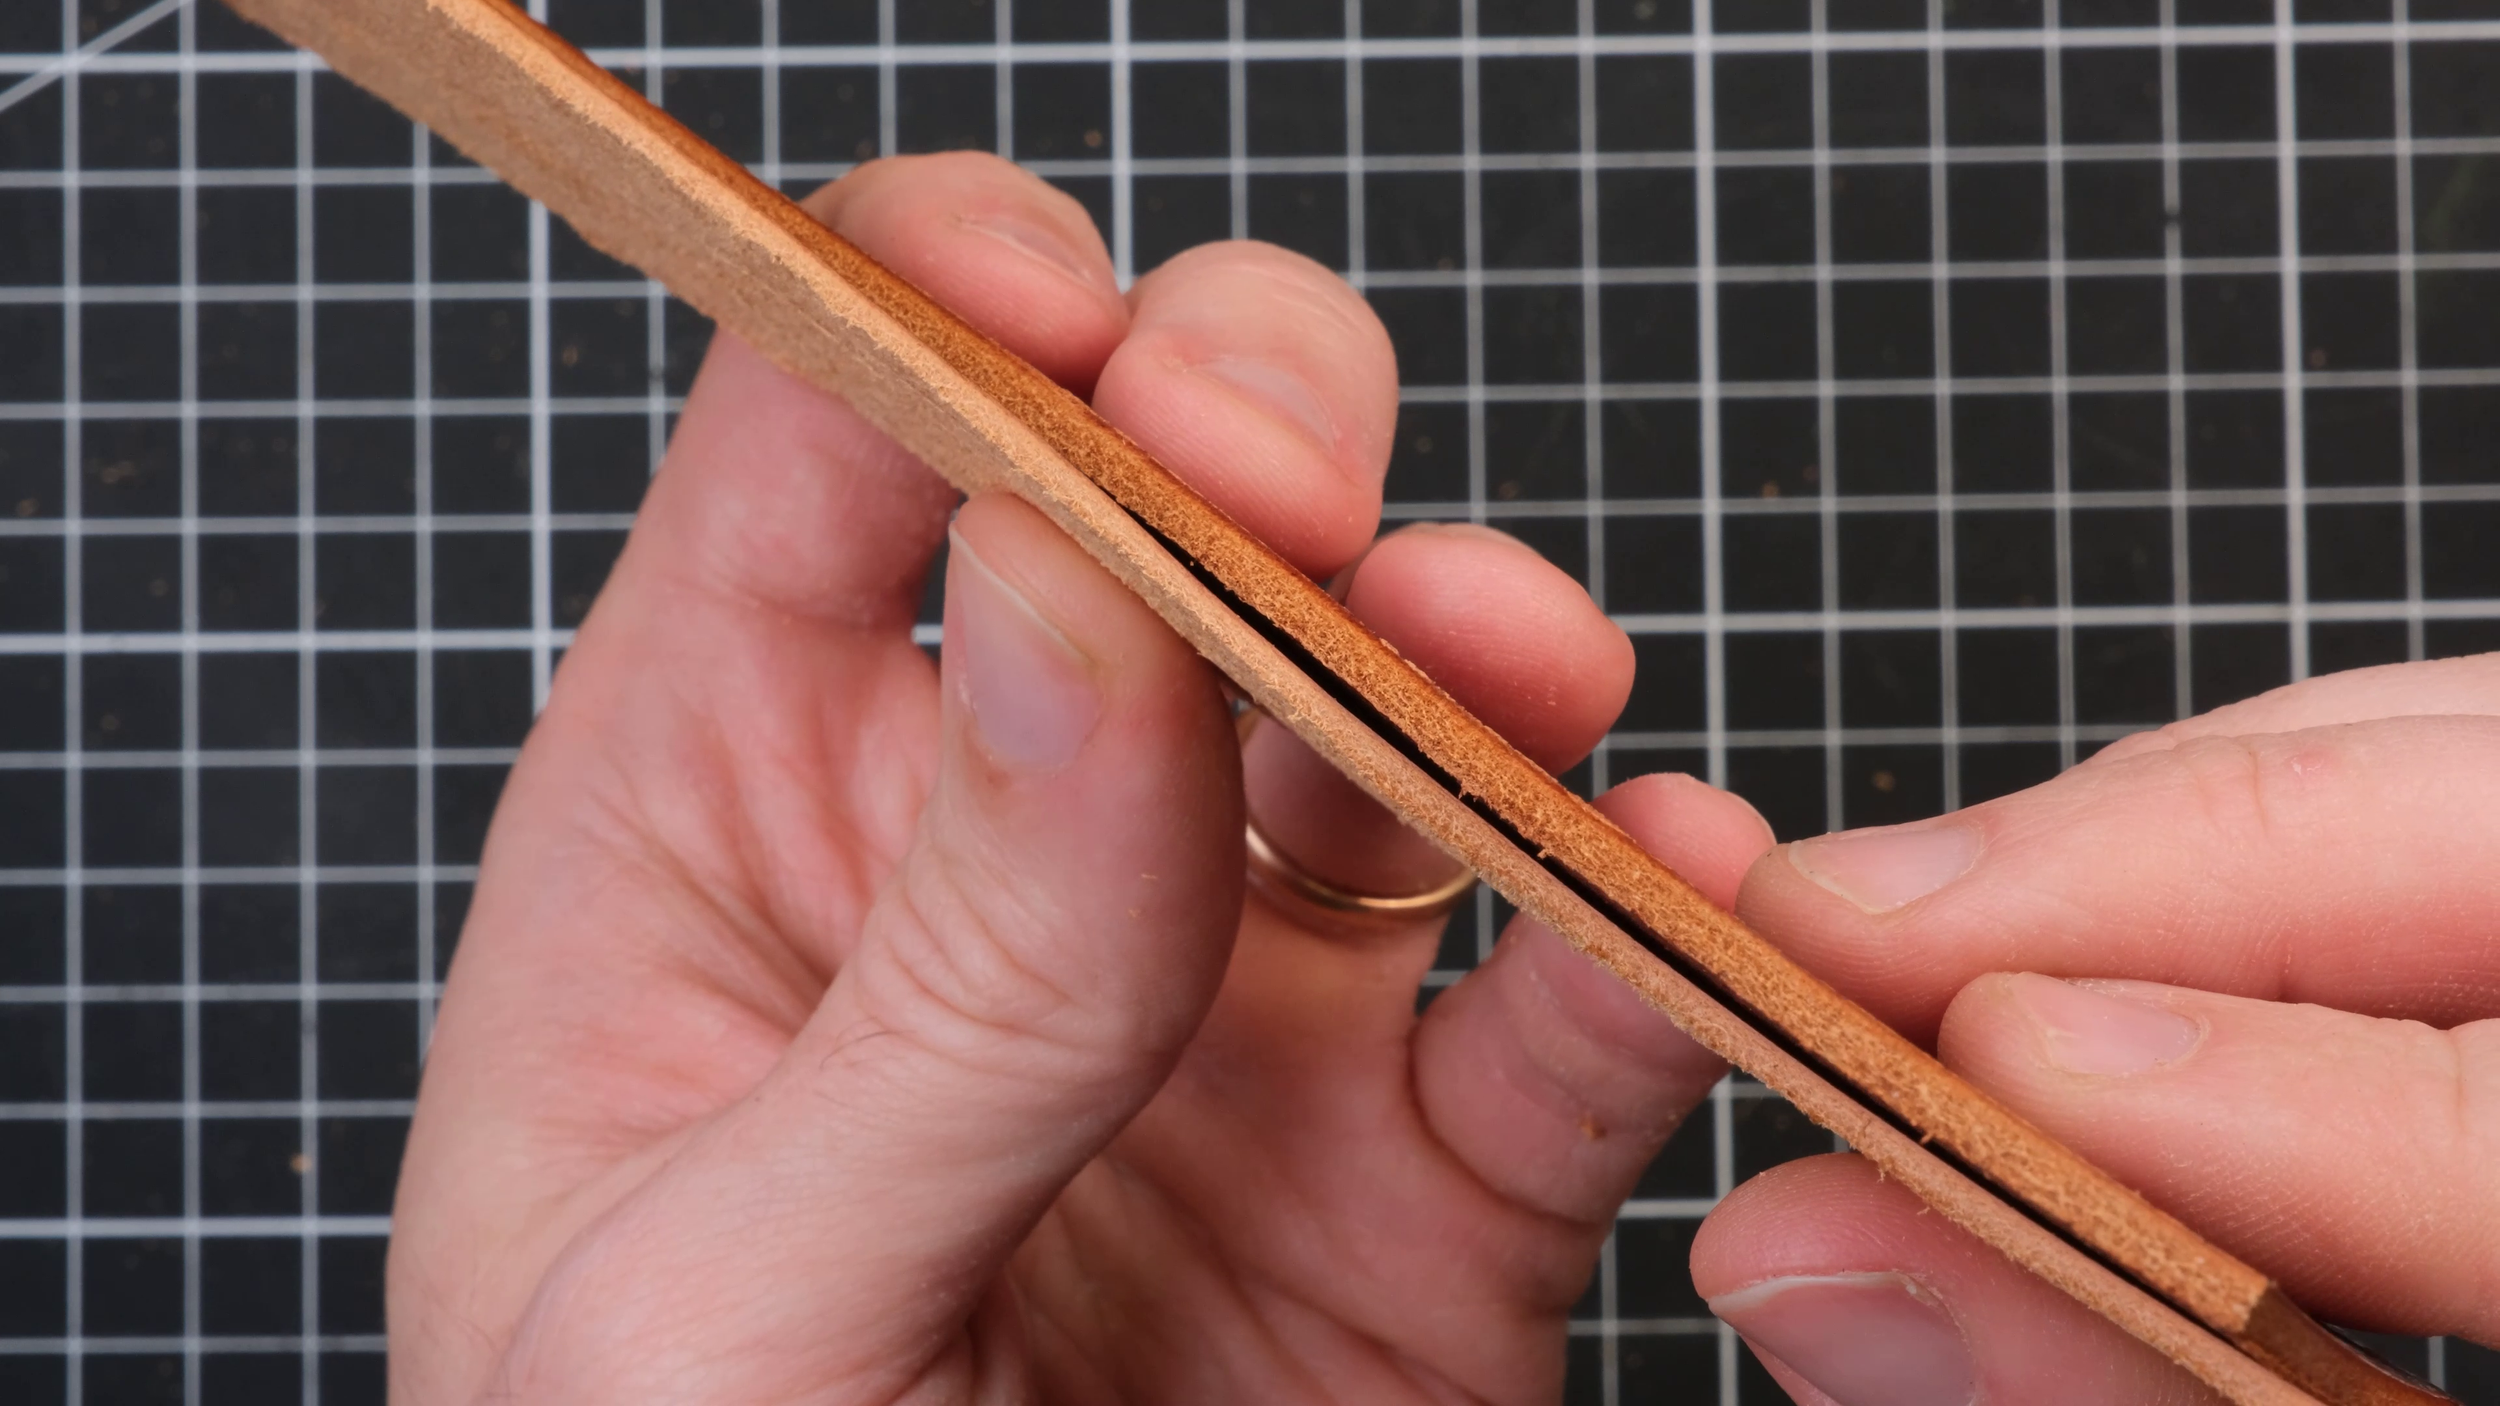
Thin down D-ring tabs using a French skiver.
Bevel the edges and glue with neoprene cement (let dry before pressing together).
Step 4: Install Hardware
Traditional Swiss bags used aluminium hardware; we’ll use LOXX for the closure.
Cut a new tab for the LOXX mechanism using a belt end jig.
Punch holes for rivets and snaps.
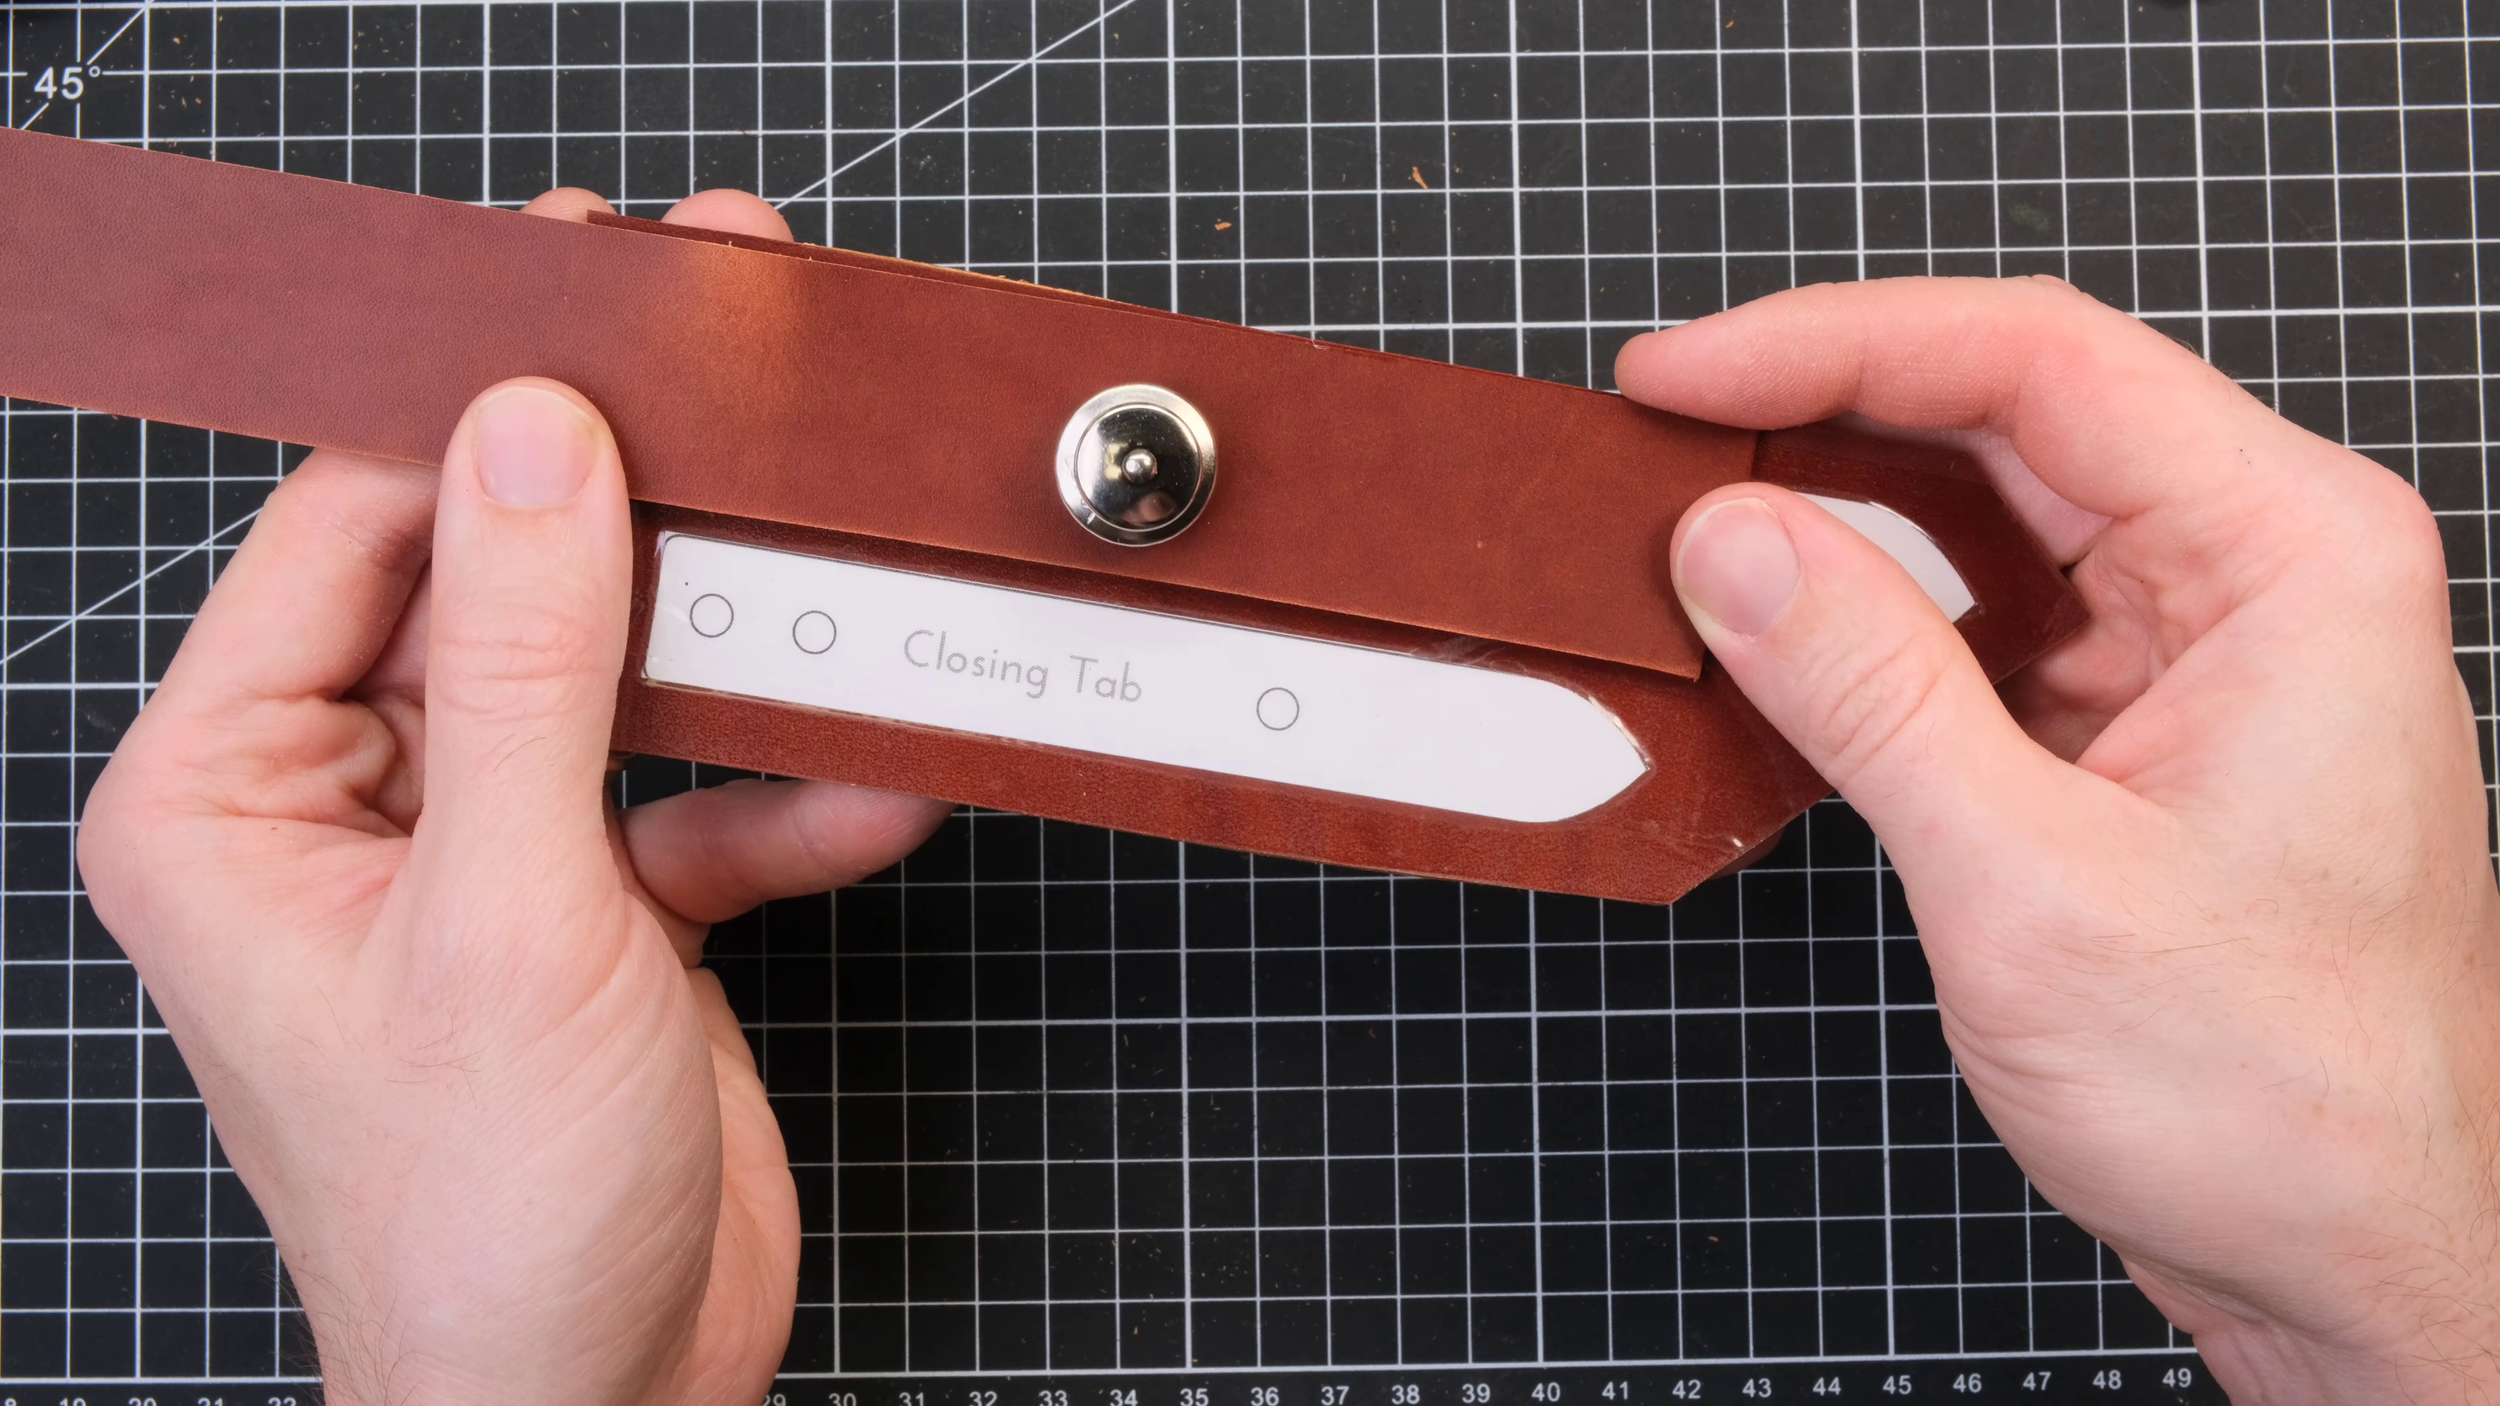
I need to make a larger closing tab to work with the LOXX system.
Step 5: Edge Finishing
Bevel all exposed edges.
Apply Tokonol and burnish with a cotton rag for smooth, shiny edges.
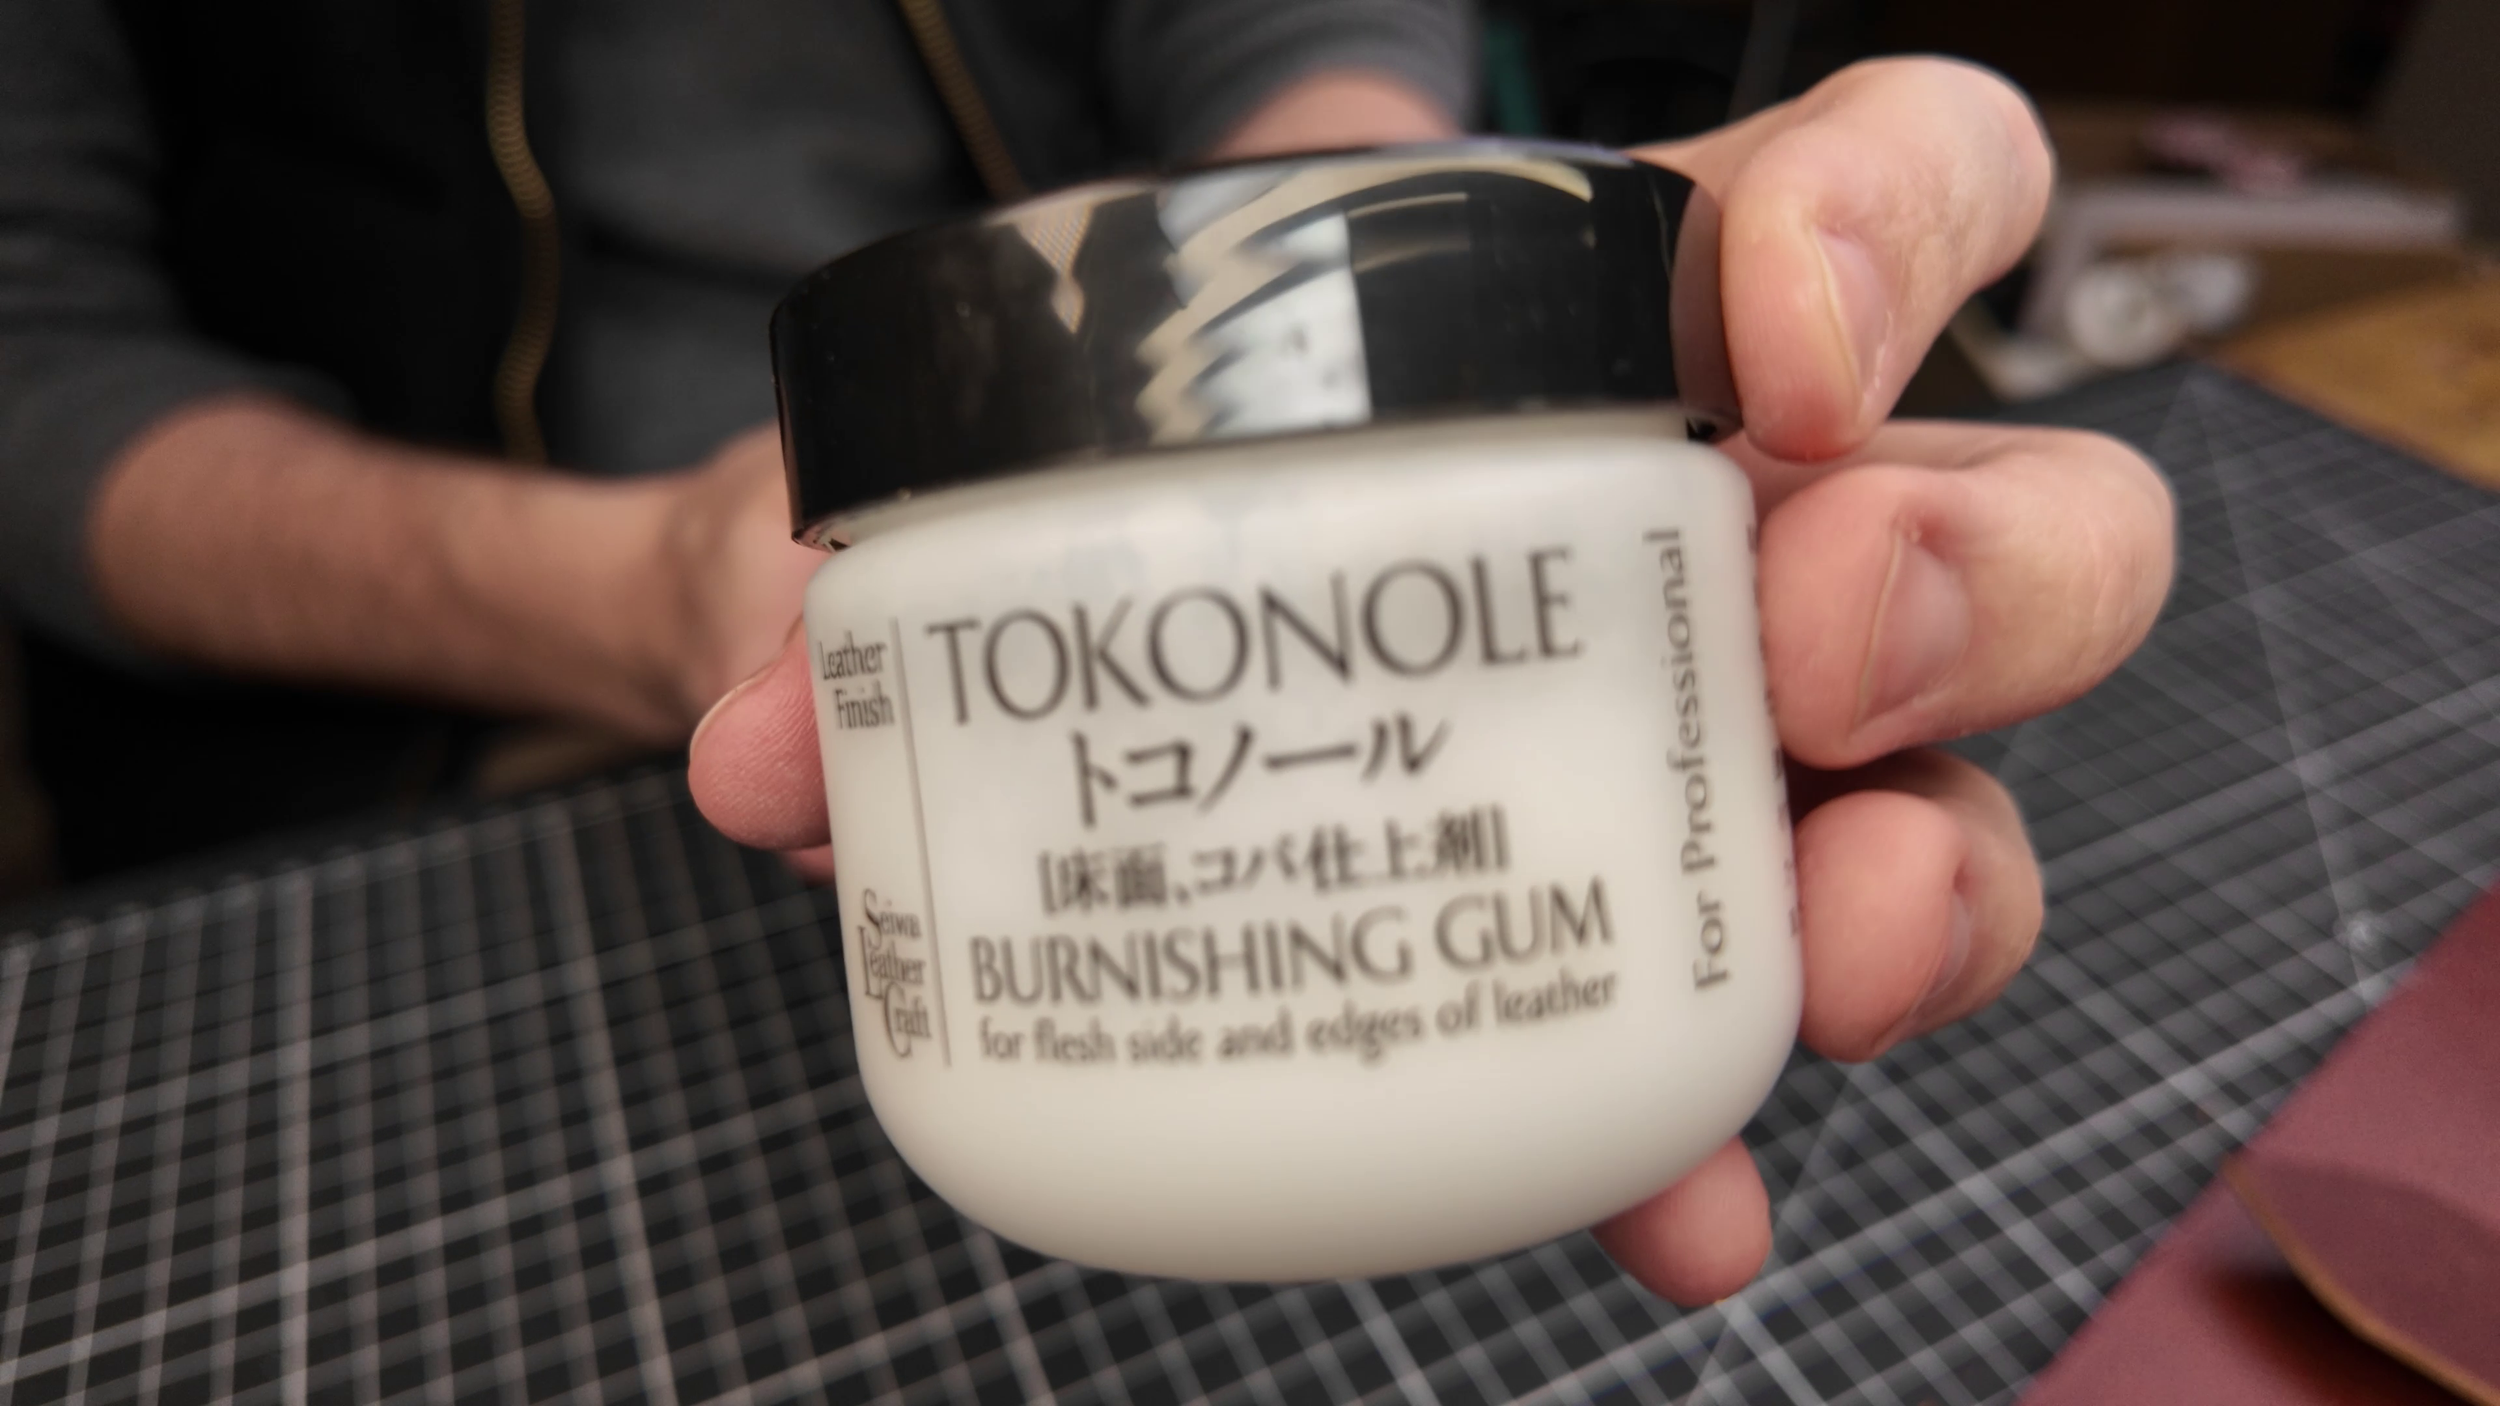
Tokonole is my favorite burnishing agent!
Step 6: Stitching
Mark stitch lines 3 mm from the edge.
Punch holes with diamond chisels (4 mm spacing).
Use saddle stitch with linen thread for authenticity.
Stitch bottom corners first, then sides and flap.
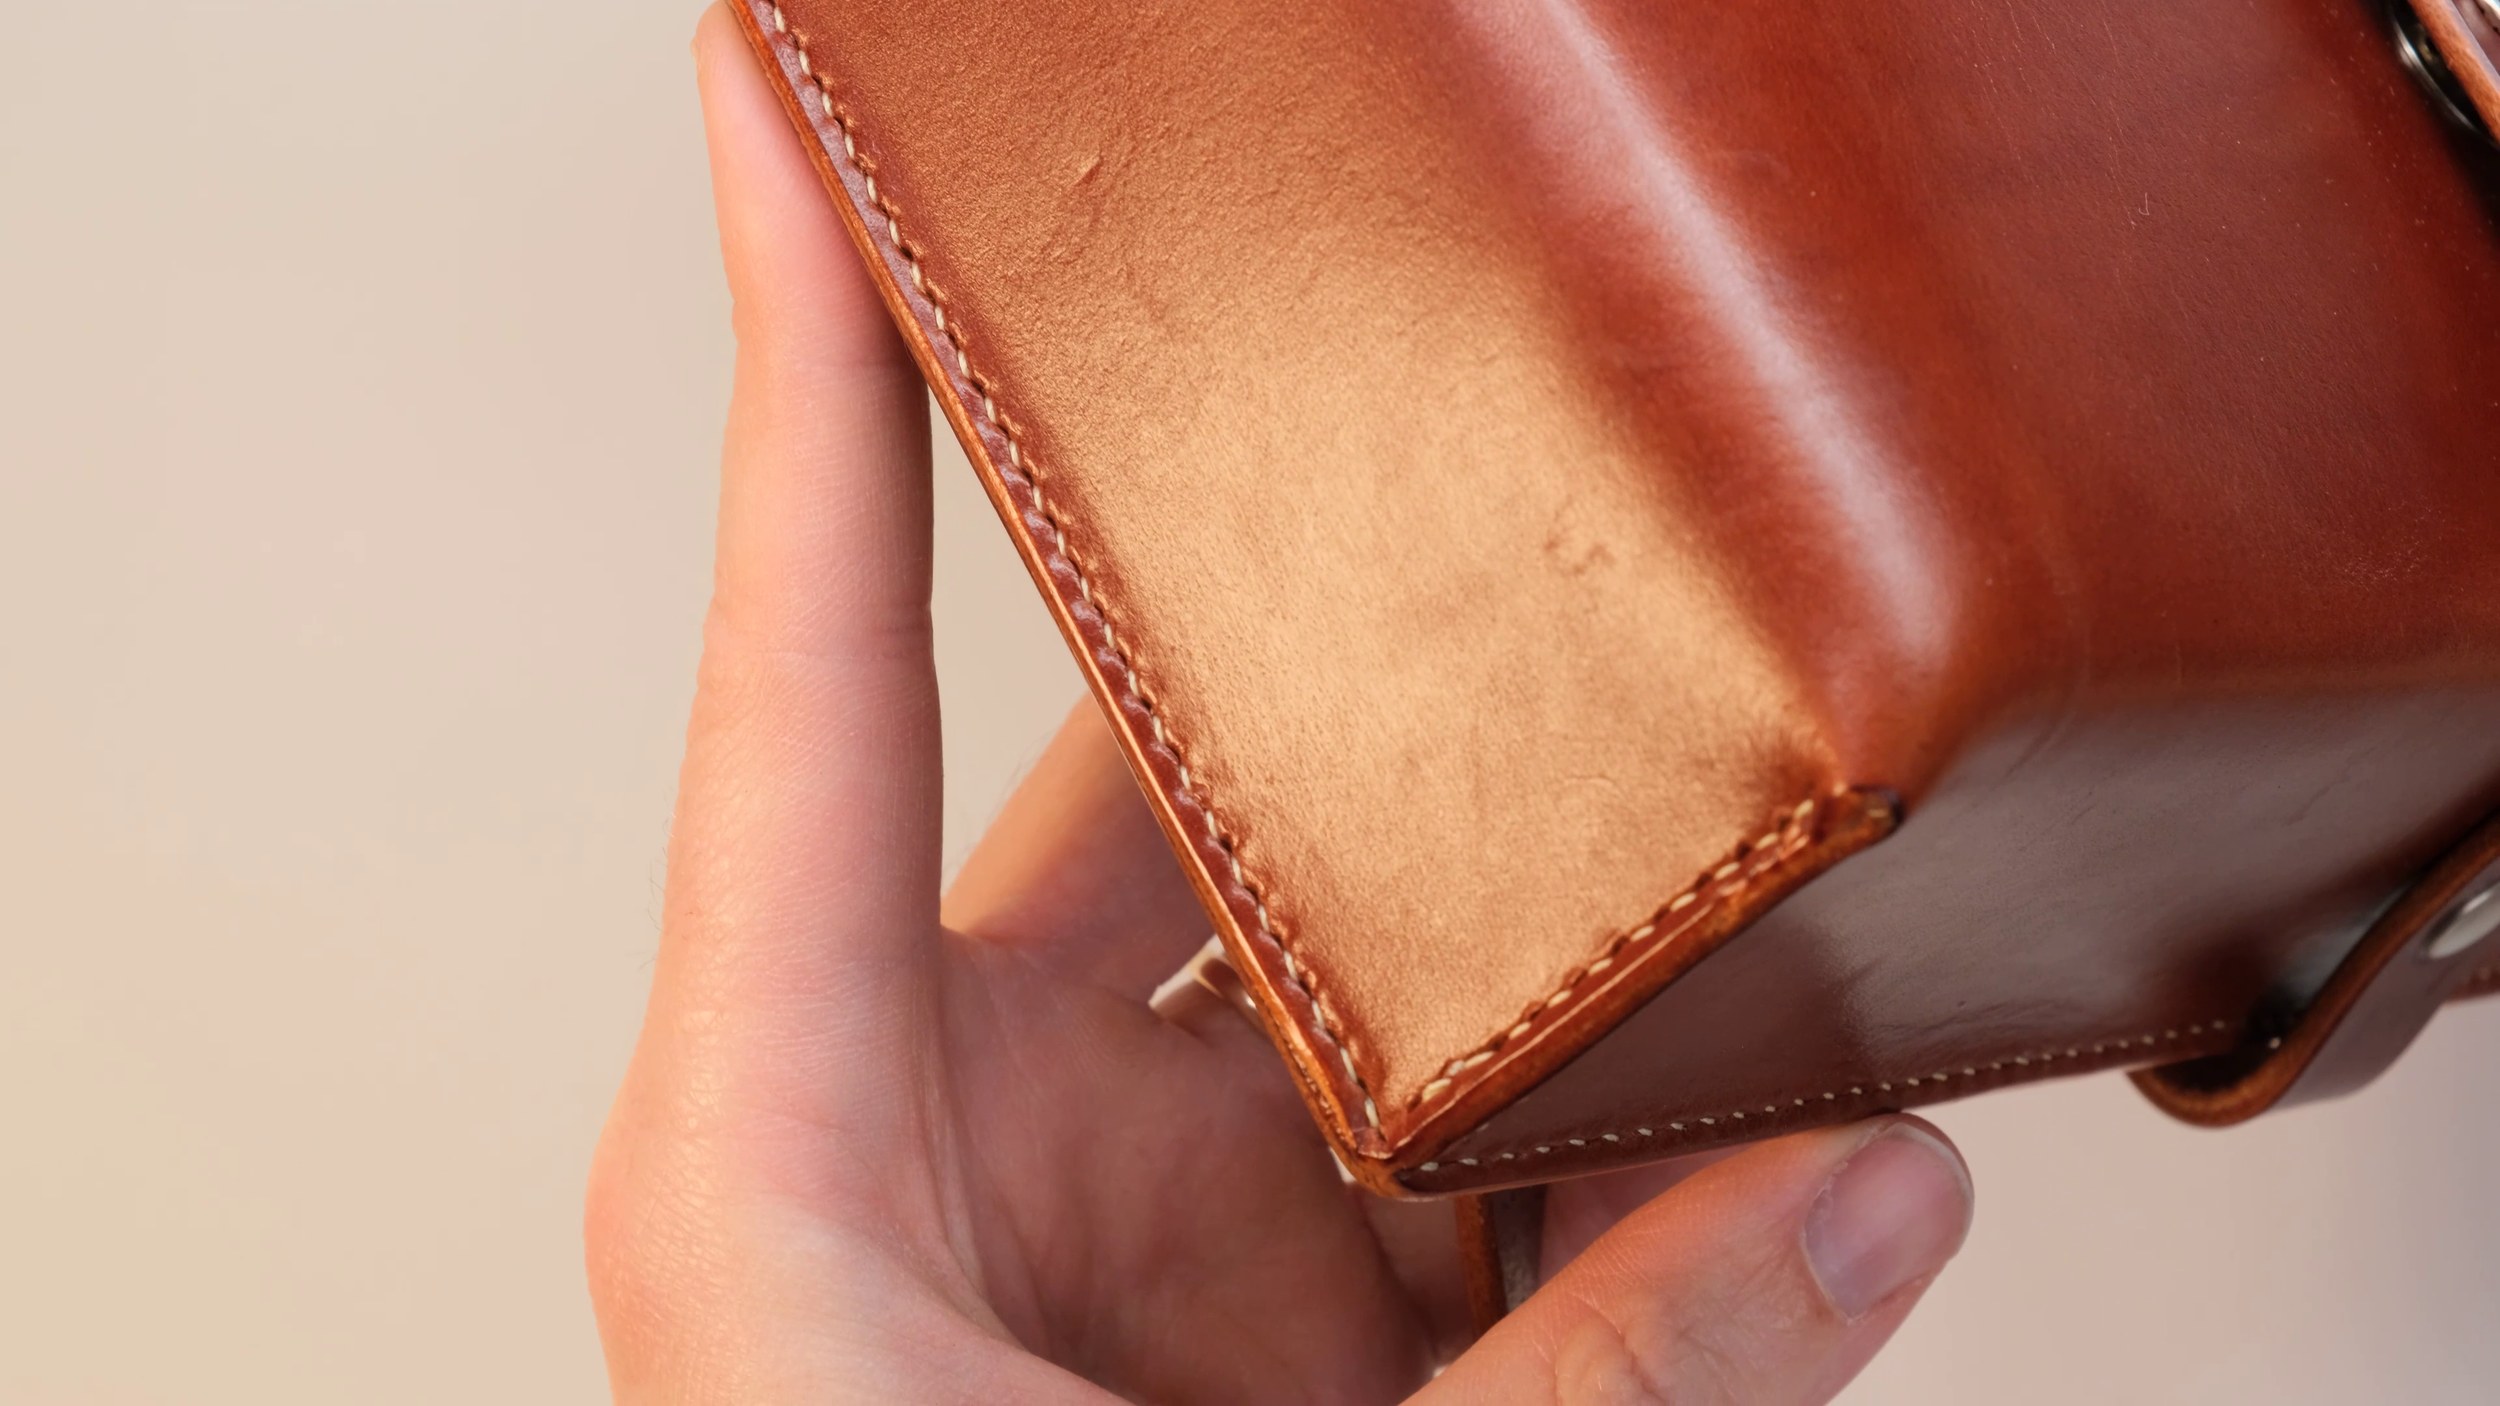
Saddle-stiched sides after burnishing.
Step 7: Final Assembly & Finish
Glue and stitch flap sides to form the box shape.
Burnish all edges again.
Apply Saphir crème surfine wax for a beautiful shine.
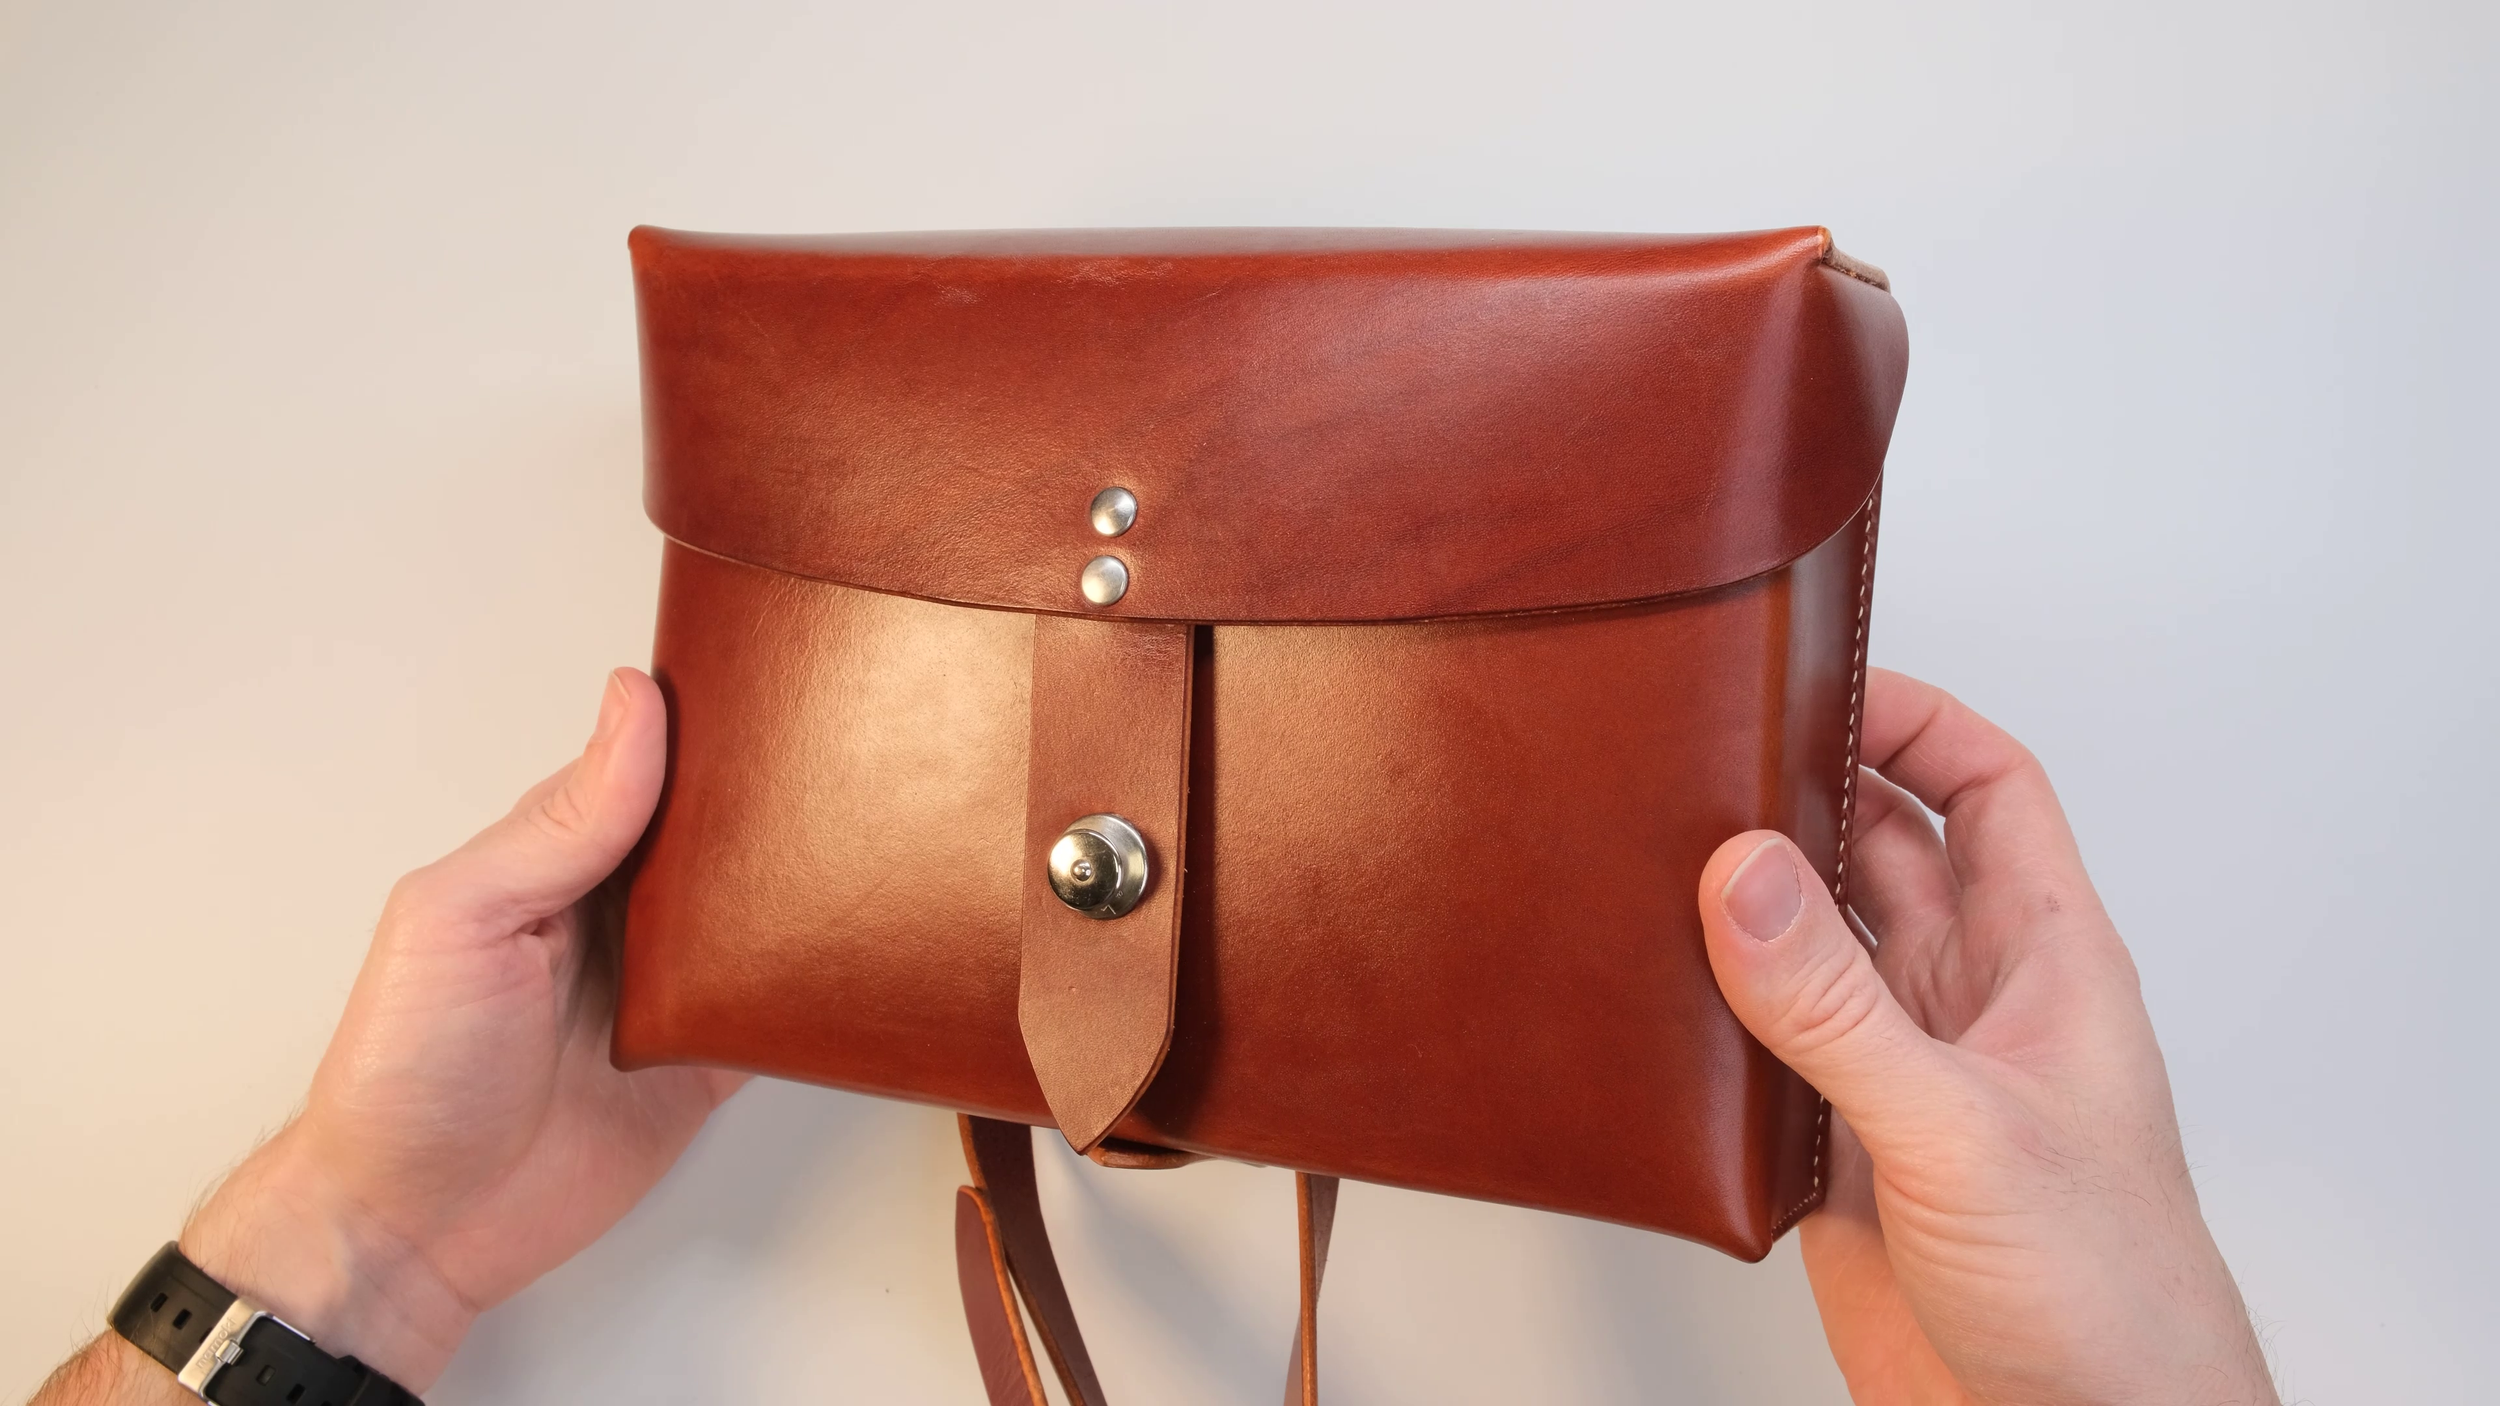
Finished Swiss military satchel made with Niagara vegtan leather from Radermecker.
Extra Tips
Wet the leather (casing) before stamping for deeper impressions.
Score fold lines with a groover for cleaner bends.
Always strop your tools before use for sharpness.
Why This Design?
Swiss military pouches were handmade by master saddlers well into the 1980s, built to withstand harsh alpine conditions. This project pays homage to that craftsmanship while adding modern touches like the LOXX closure.
Watch the Full Build Video
Download the Pattern
Download the pattern here 👉 ON MY ETSY STORE