Make an elegant card holder - Free PDF template
TL:DR: Pattern and build video at the end of the article below.
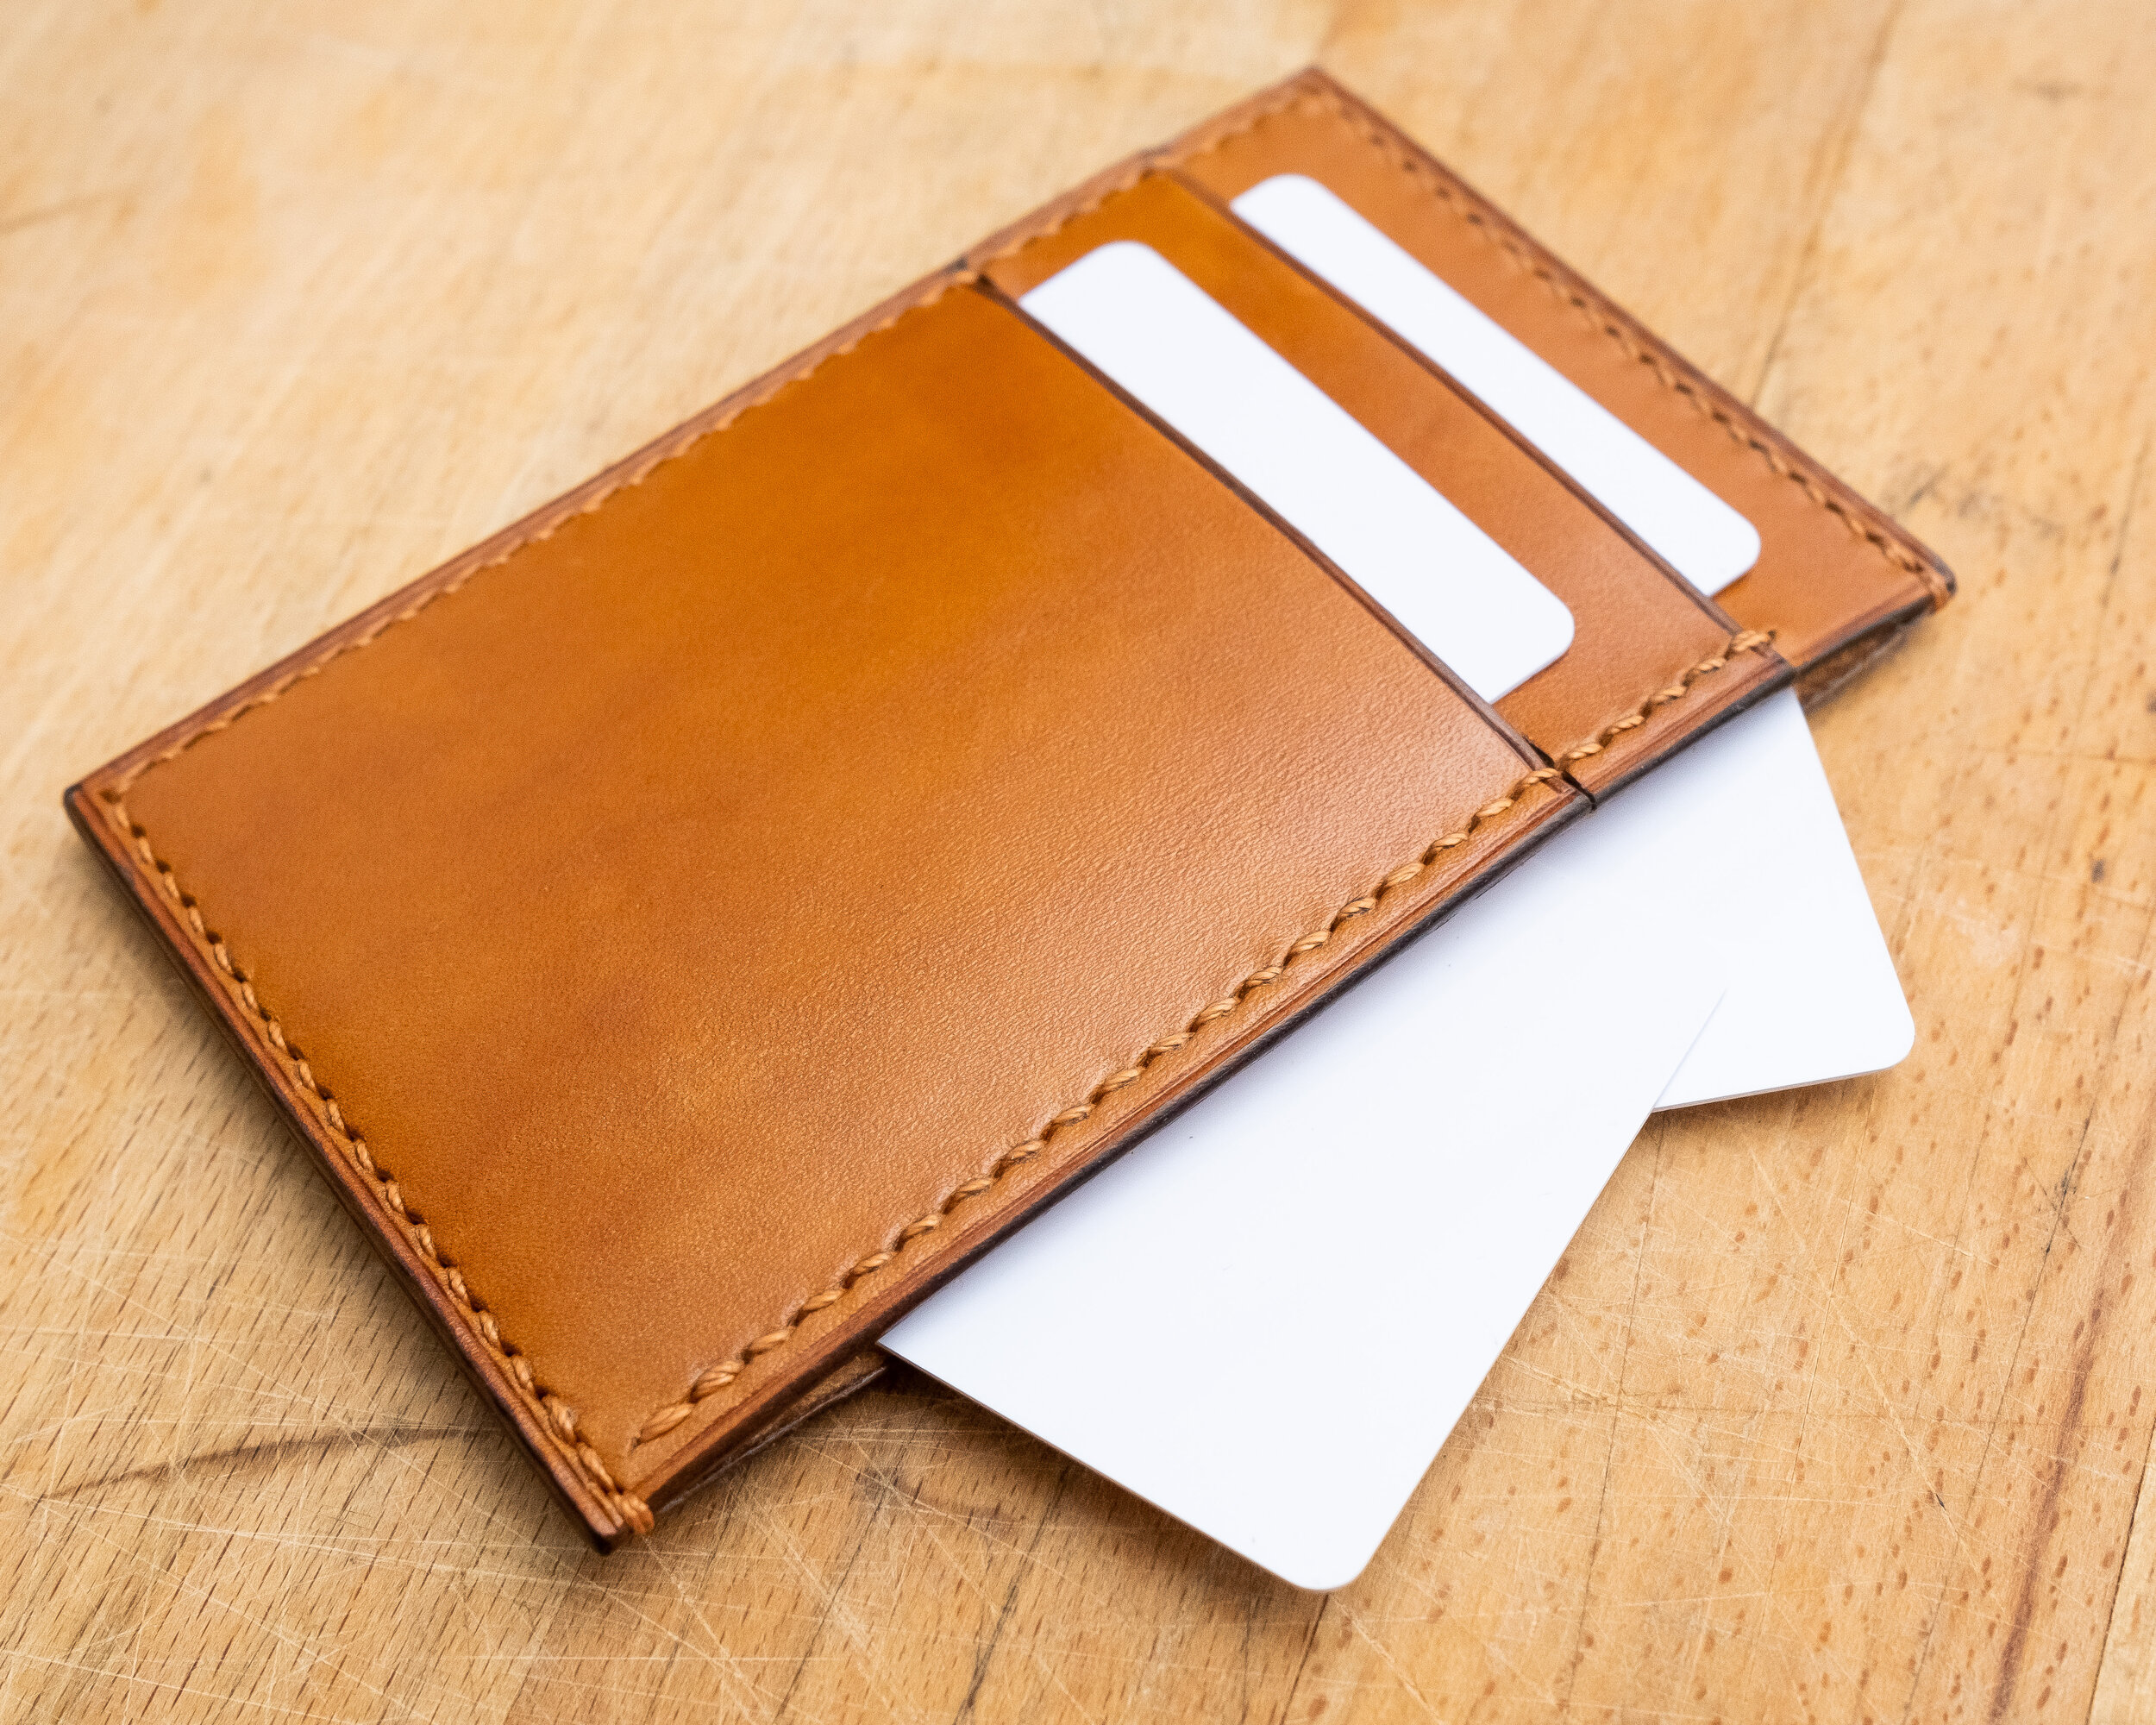
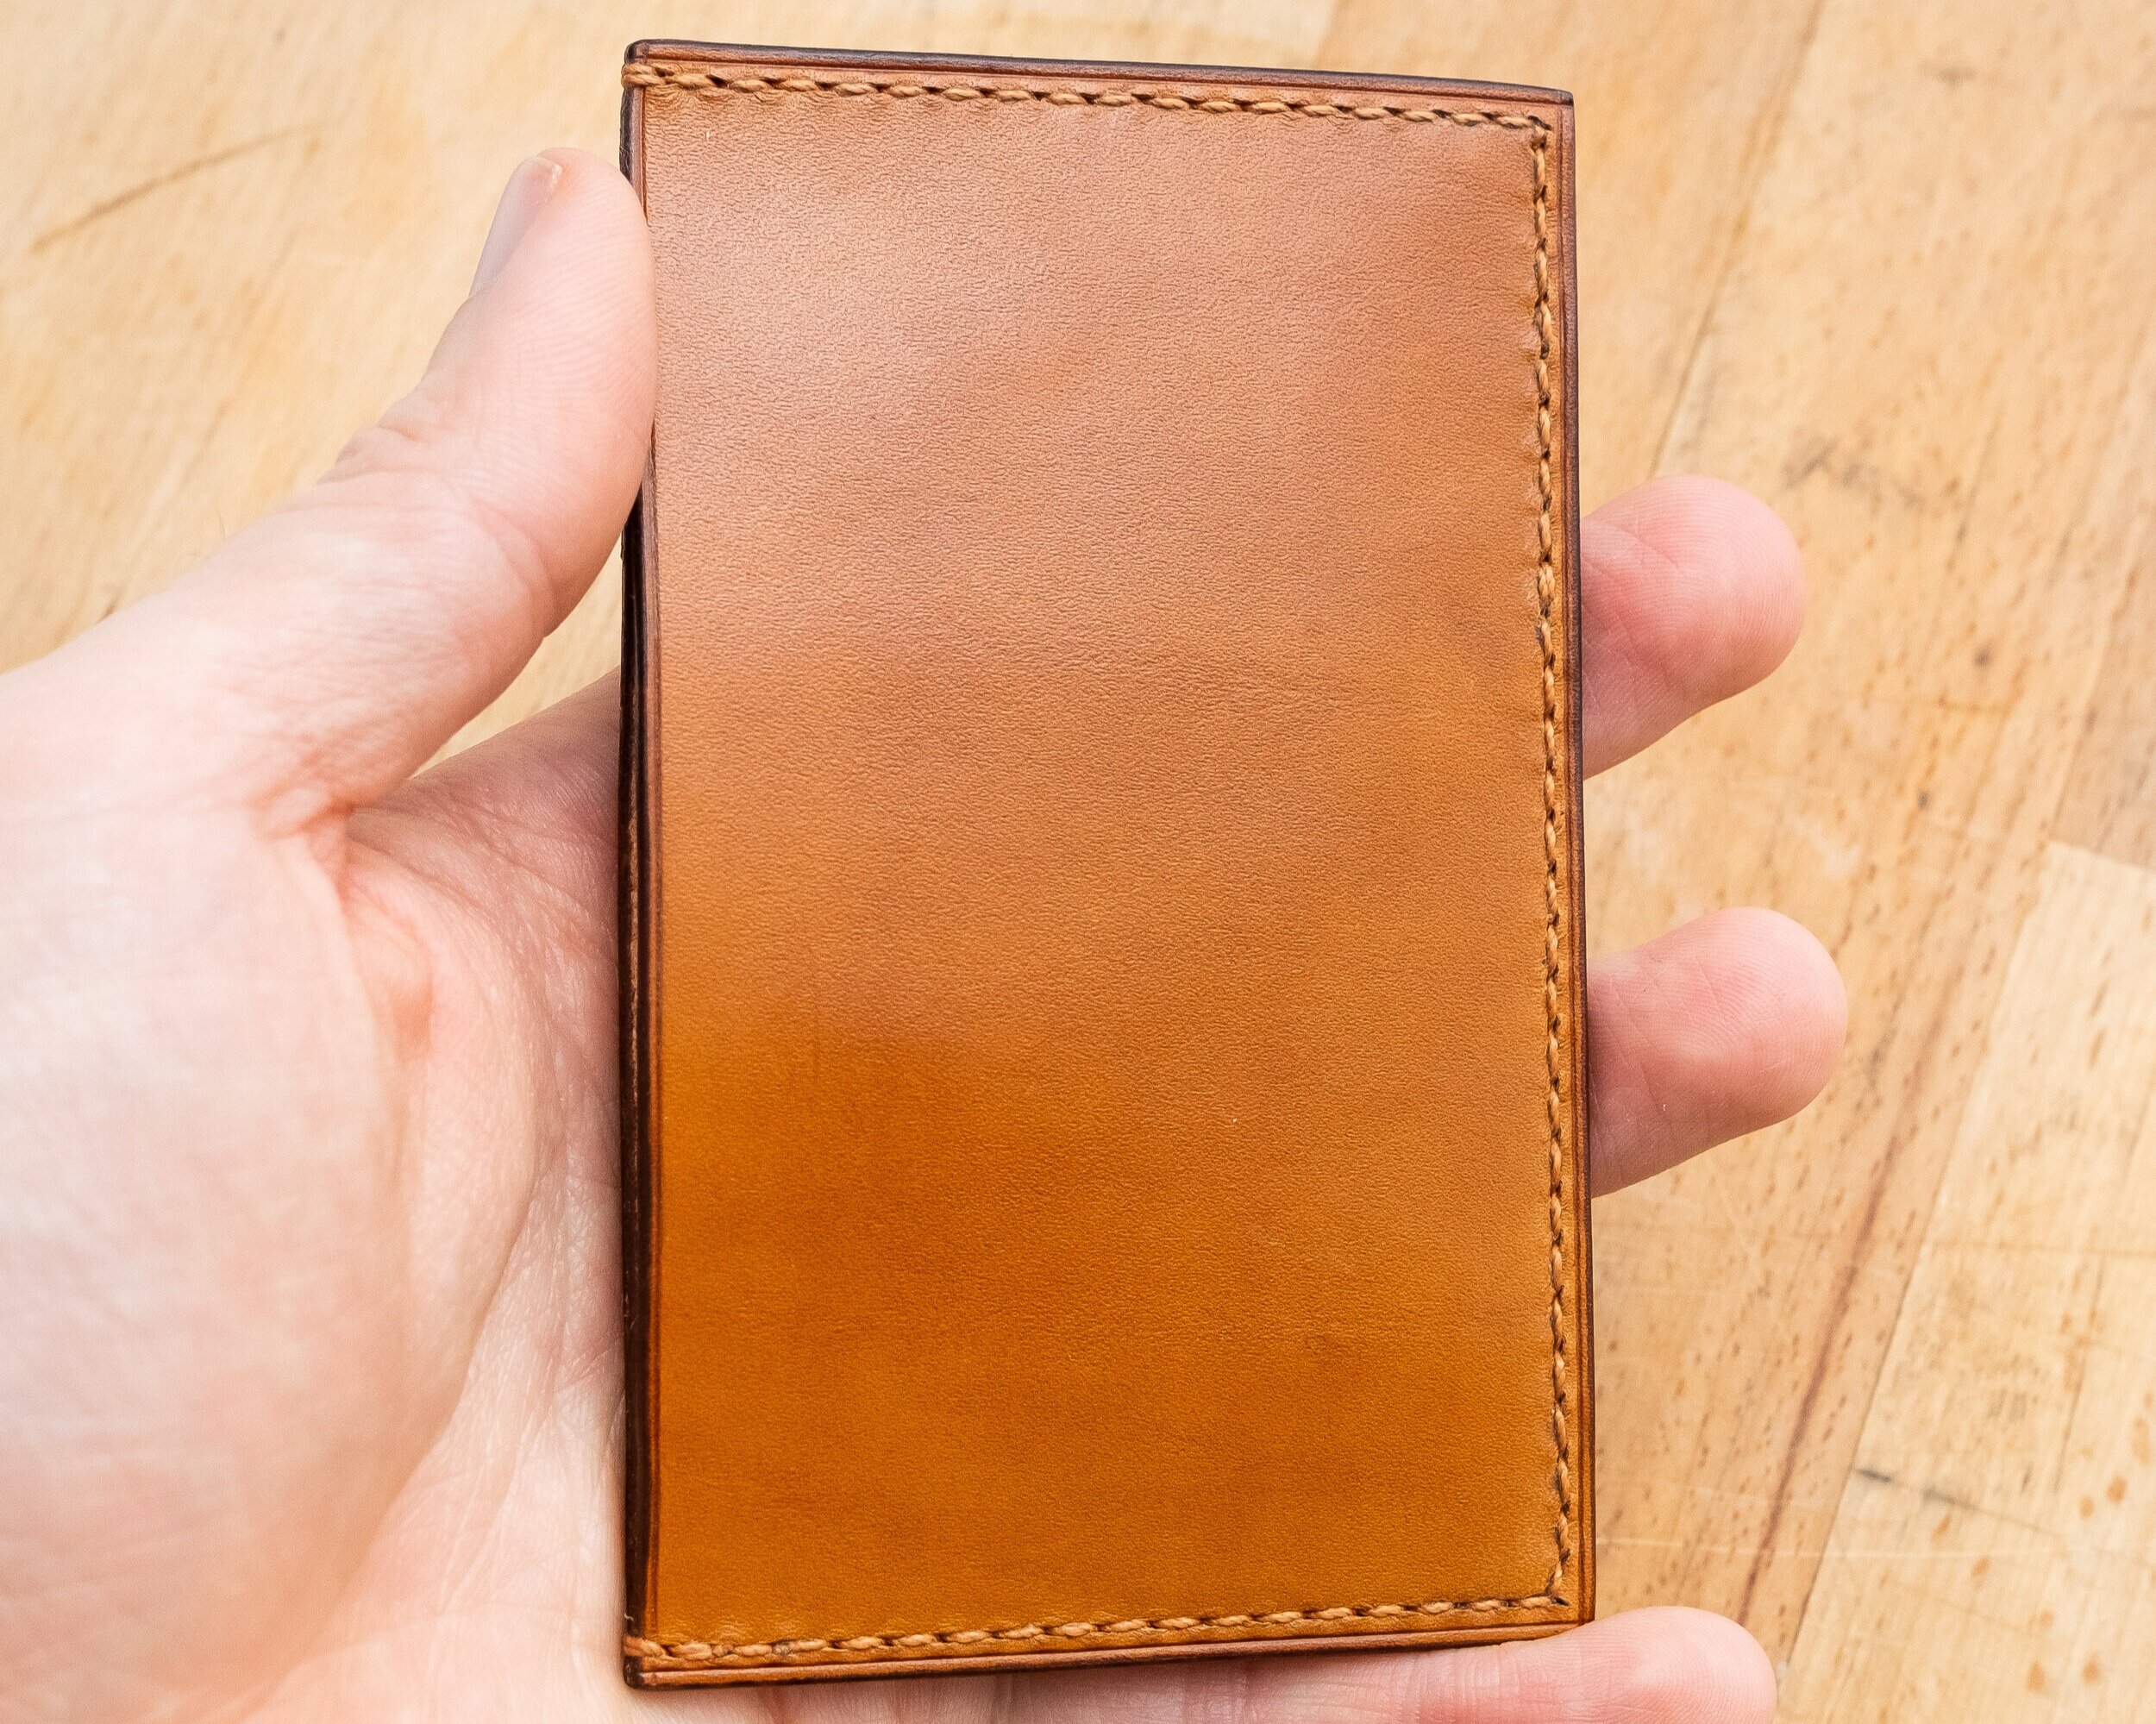
Today I’ll share with you how to make a very simple little card holder that works a treat for people who, like me, don’t want to carry more than a few cards and notes in their pocket.
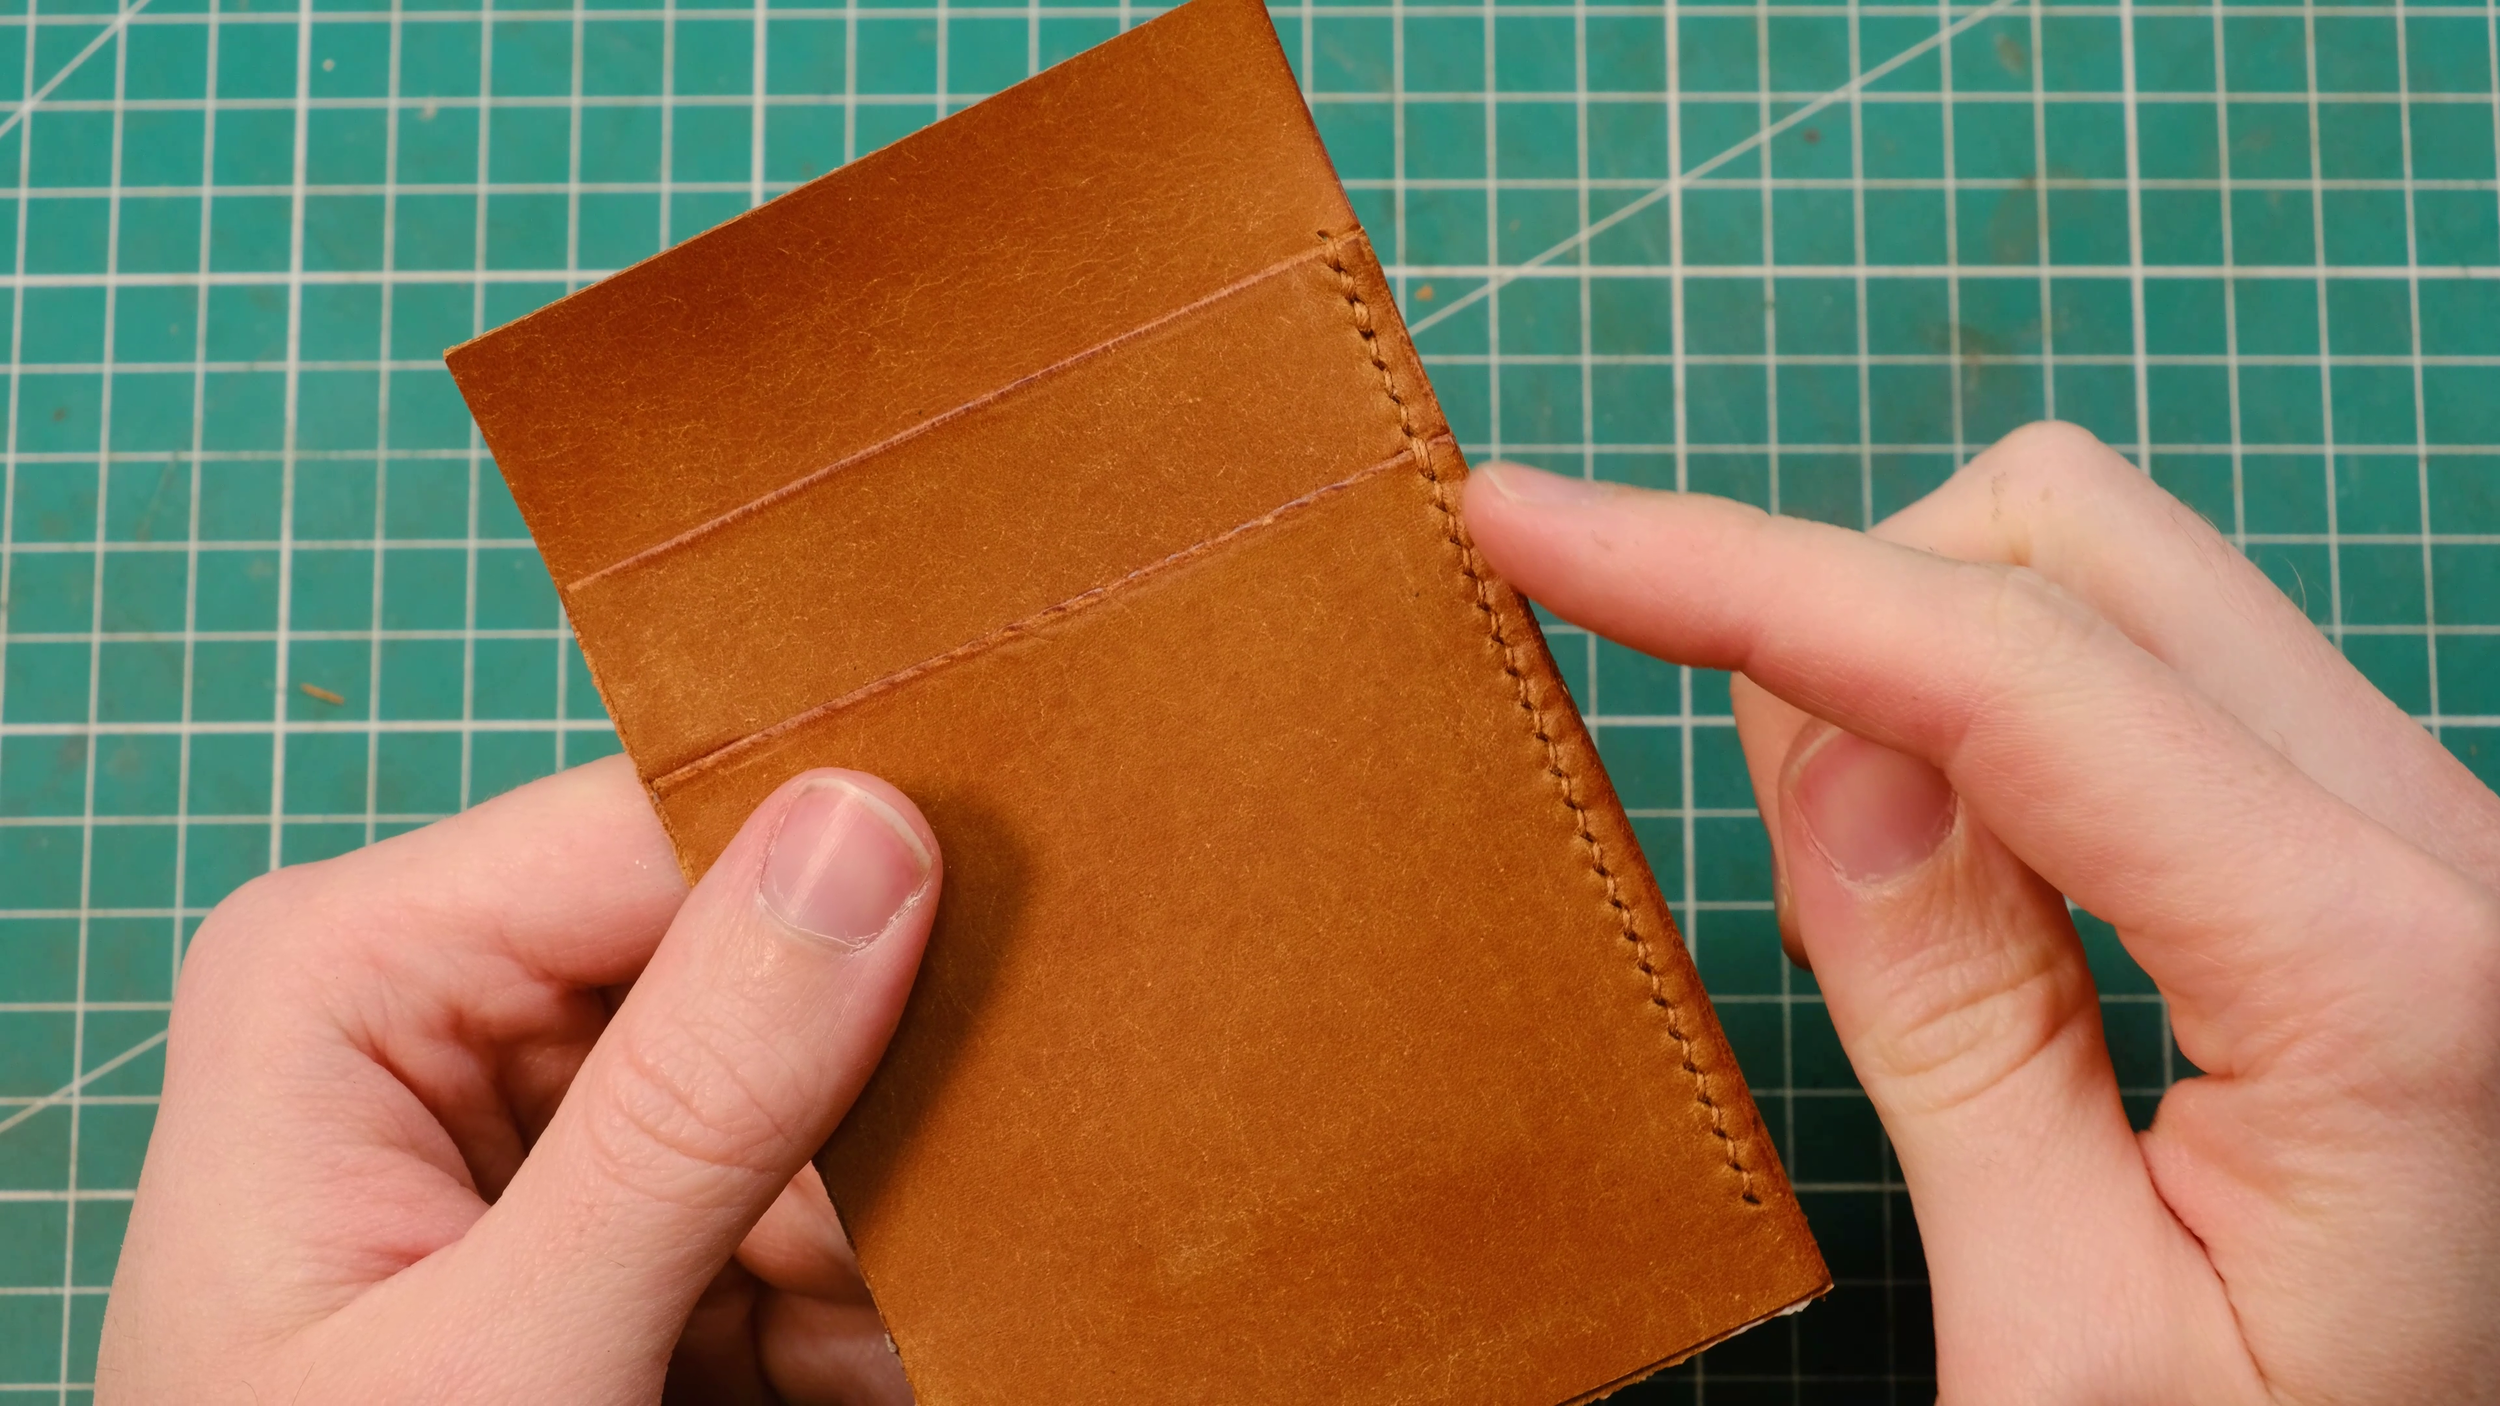
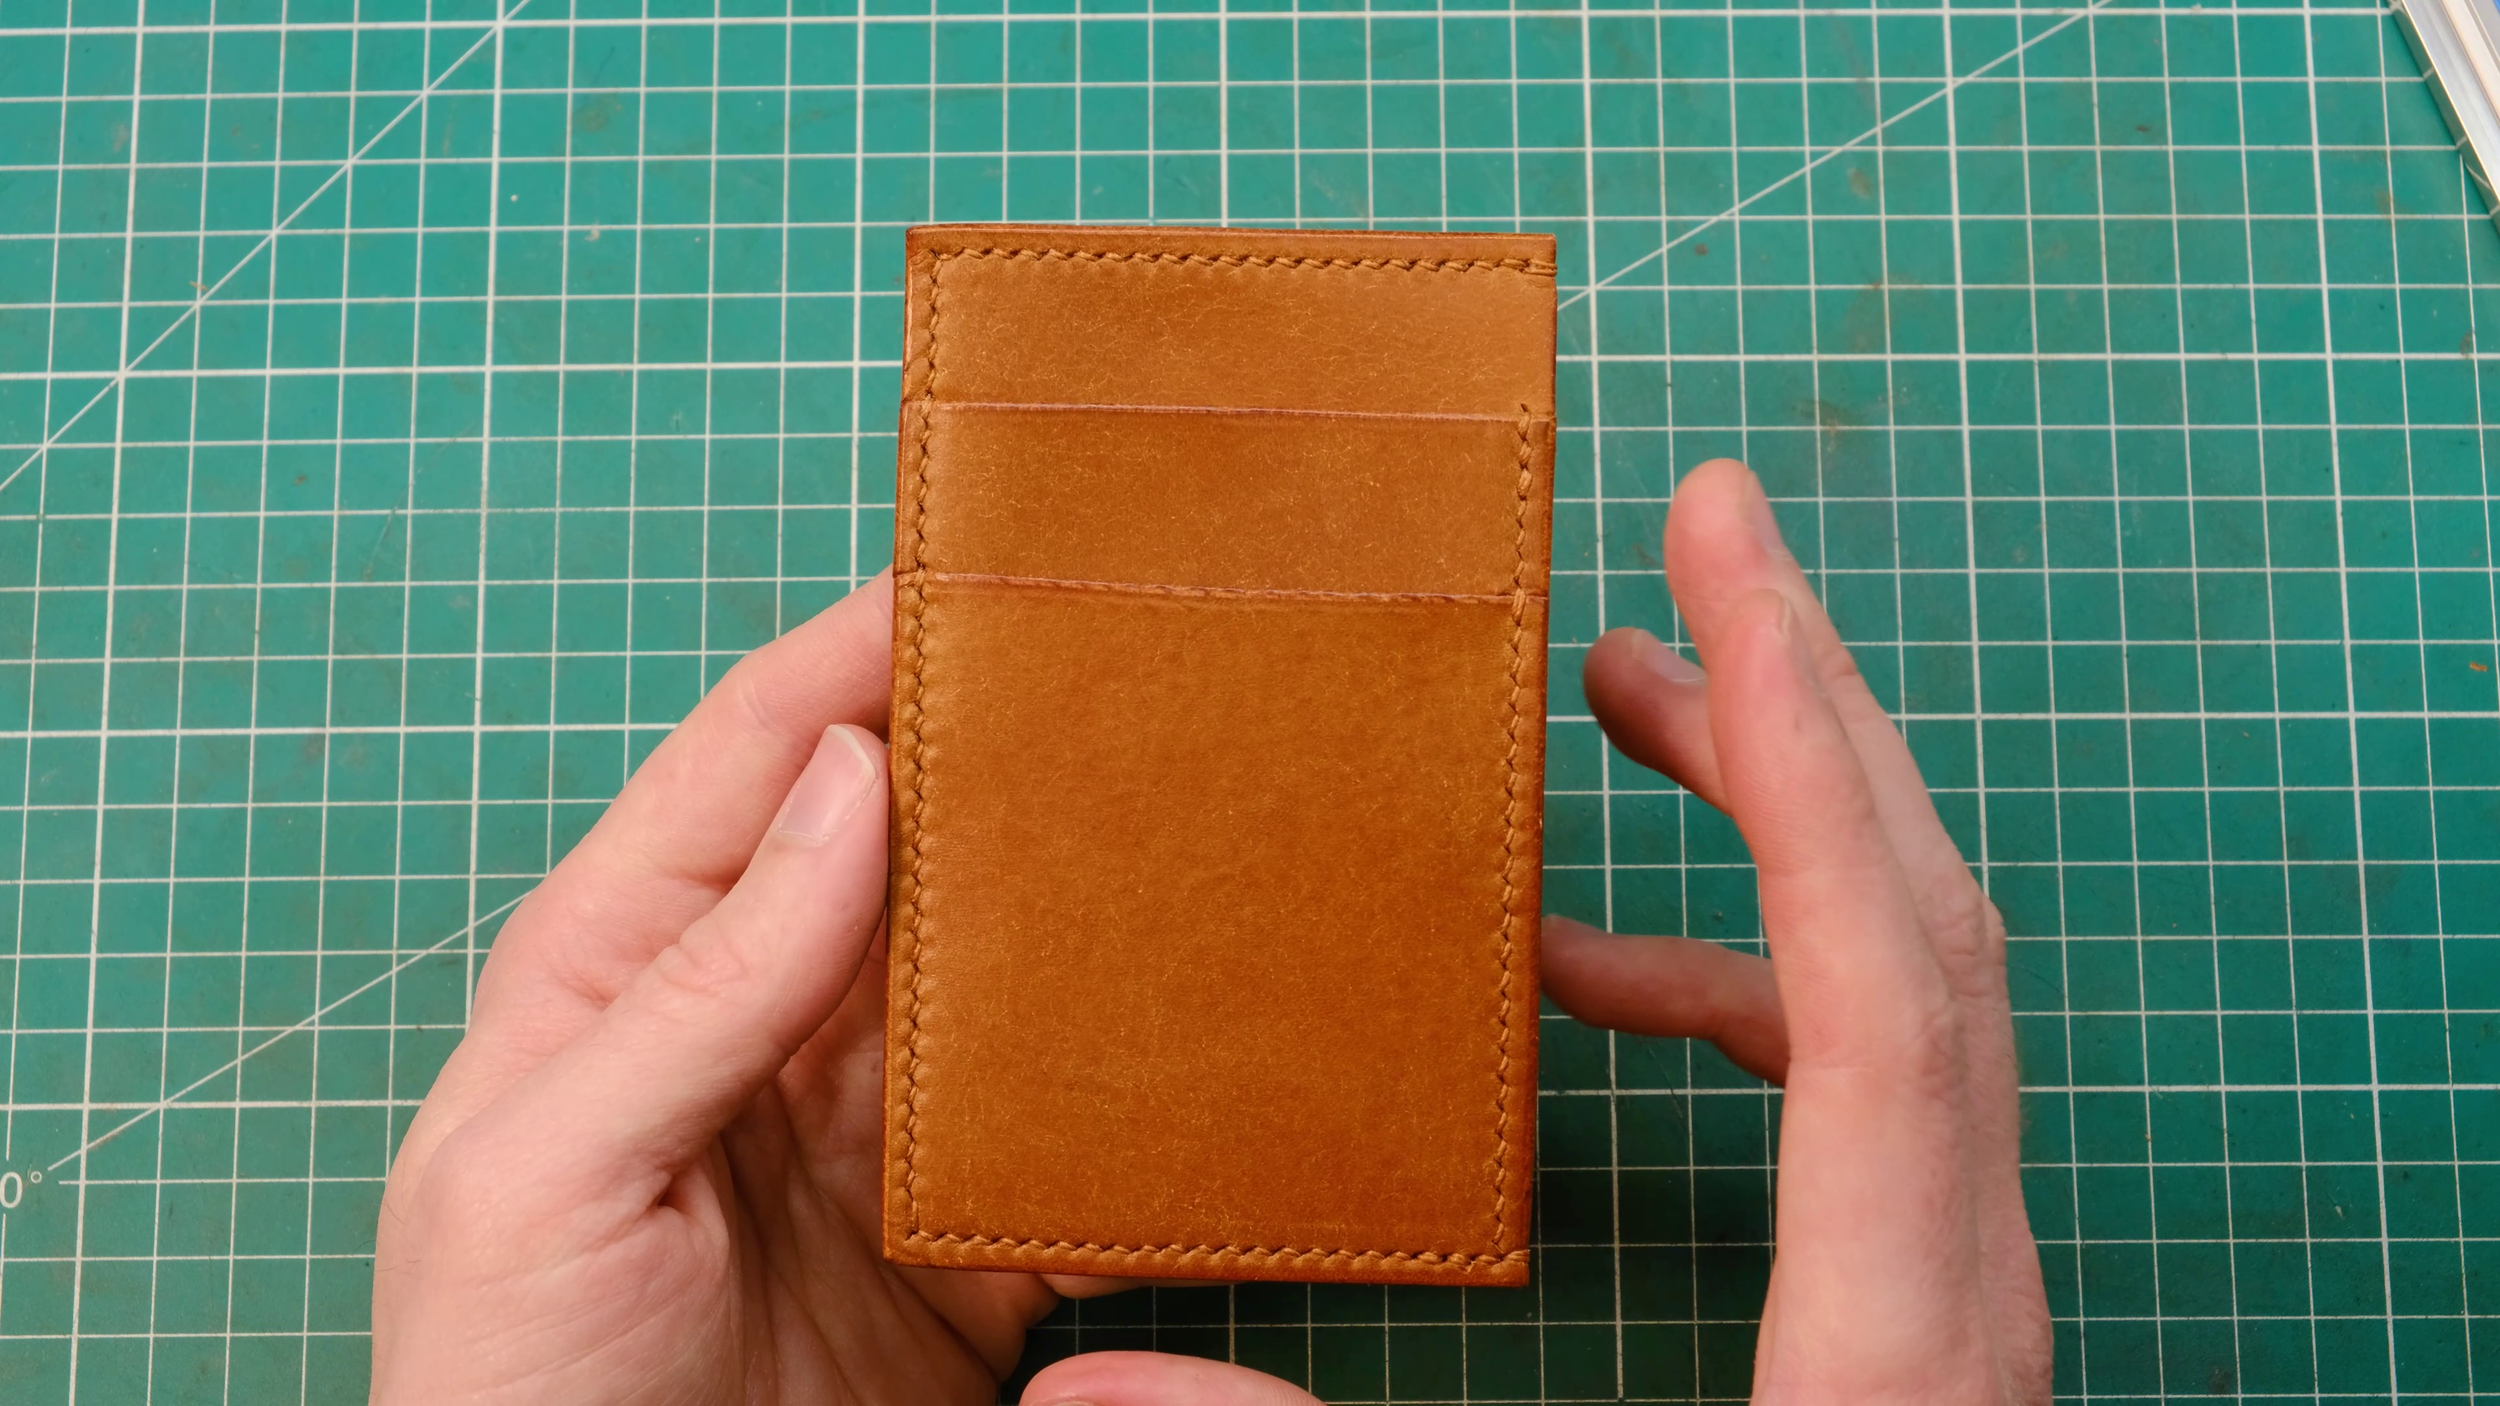
3 pockets to store all your essential cards and cash
What else does anyone really need…
What you’ll need
Vegetable tanned leather - 1,2mm thickness is recommended
Printer and A4 paper to print our the free PDF template
Cutting tool and mat
Straight edge - preferably metal
Pricking irons or awl
Stitching needles and waxed linen or nylon thread - Meisi thread is highly recommended
(optional) Edge beveller or sandpaper to round out edges
(optional) Burnishing agent of choice - Tokonole is highly recommended along with a 100% cotton cloth or glove
(optional) Edge creaser
With these tools in had, you are ready to make your very own cardholder!
Need extra card storage?
optional - Add card slots to the back
Print and cut out the template
The template will come in a free downloadable PDF file that you can print on any A4 size paper. Make sure you set your printer to 100% original size when printing and use the print guide on the template to check your print came out at the appropriate size.
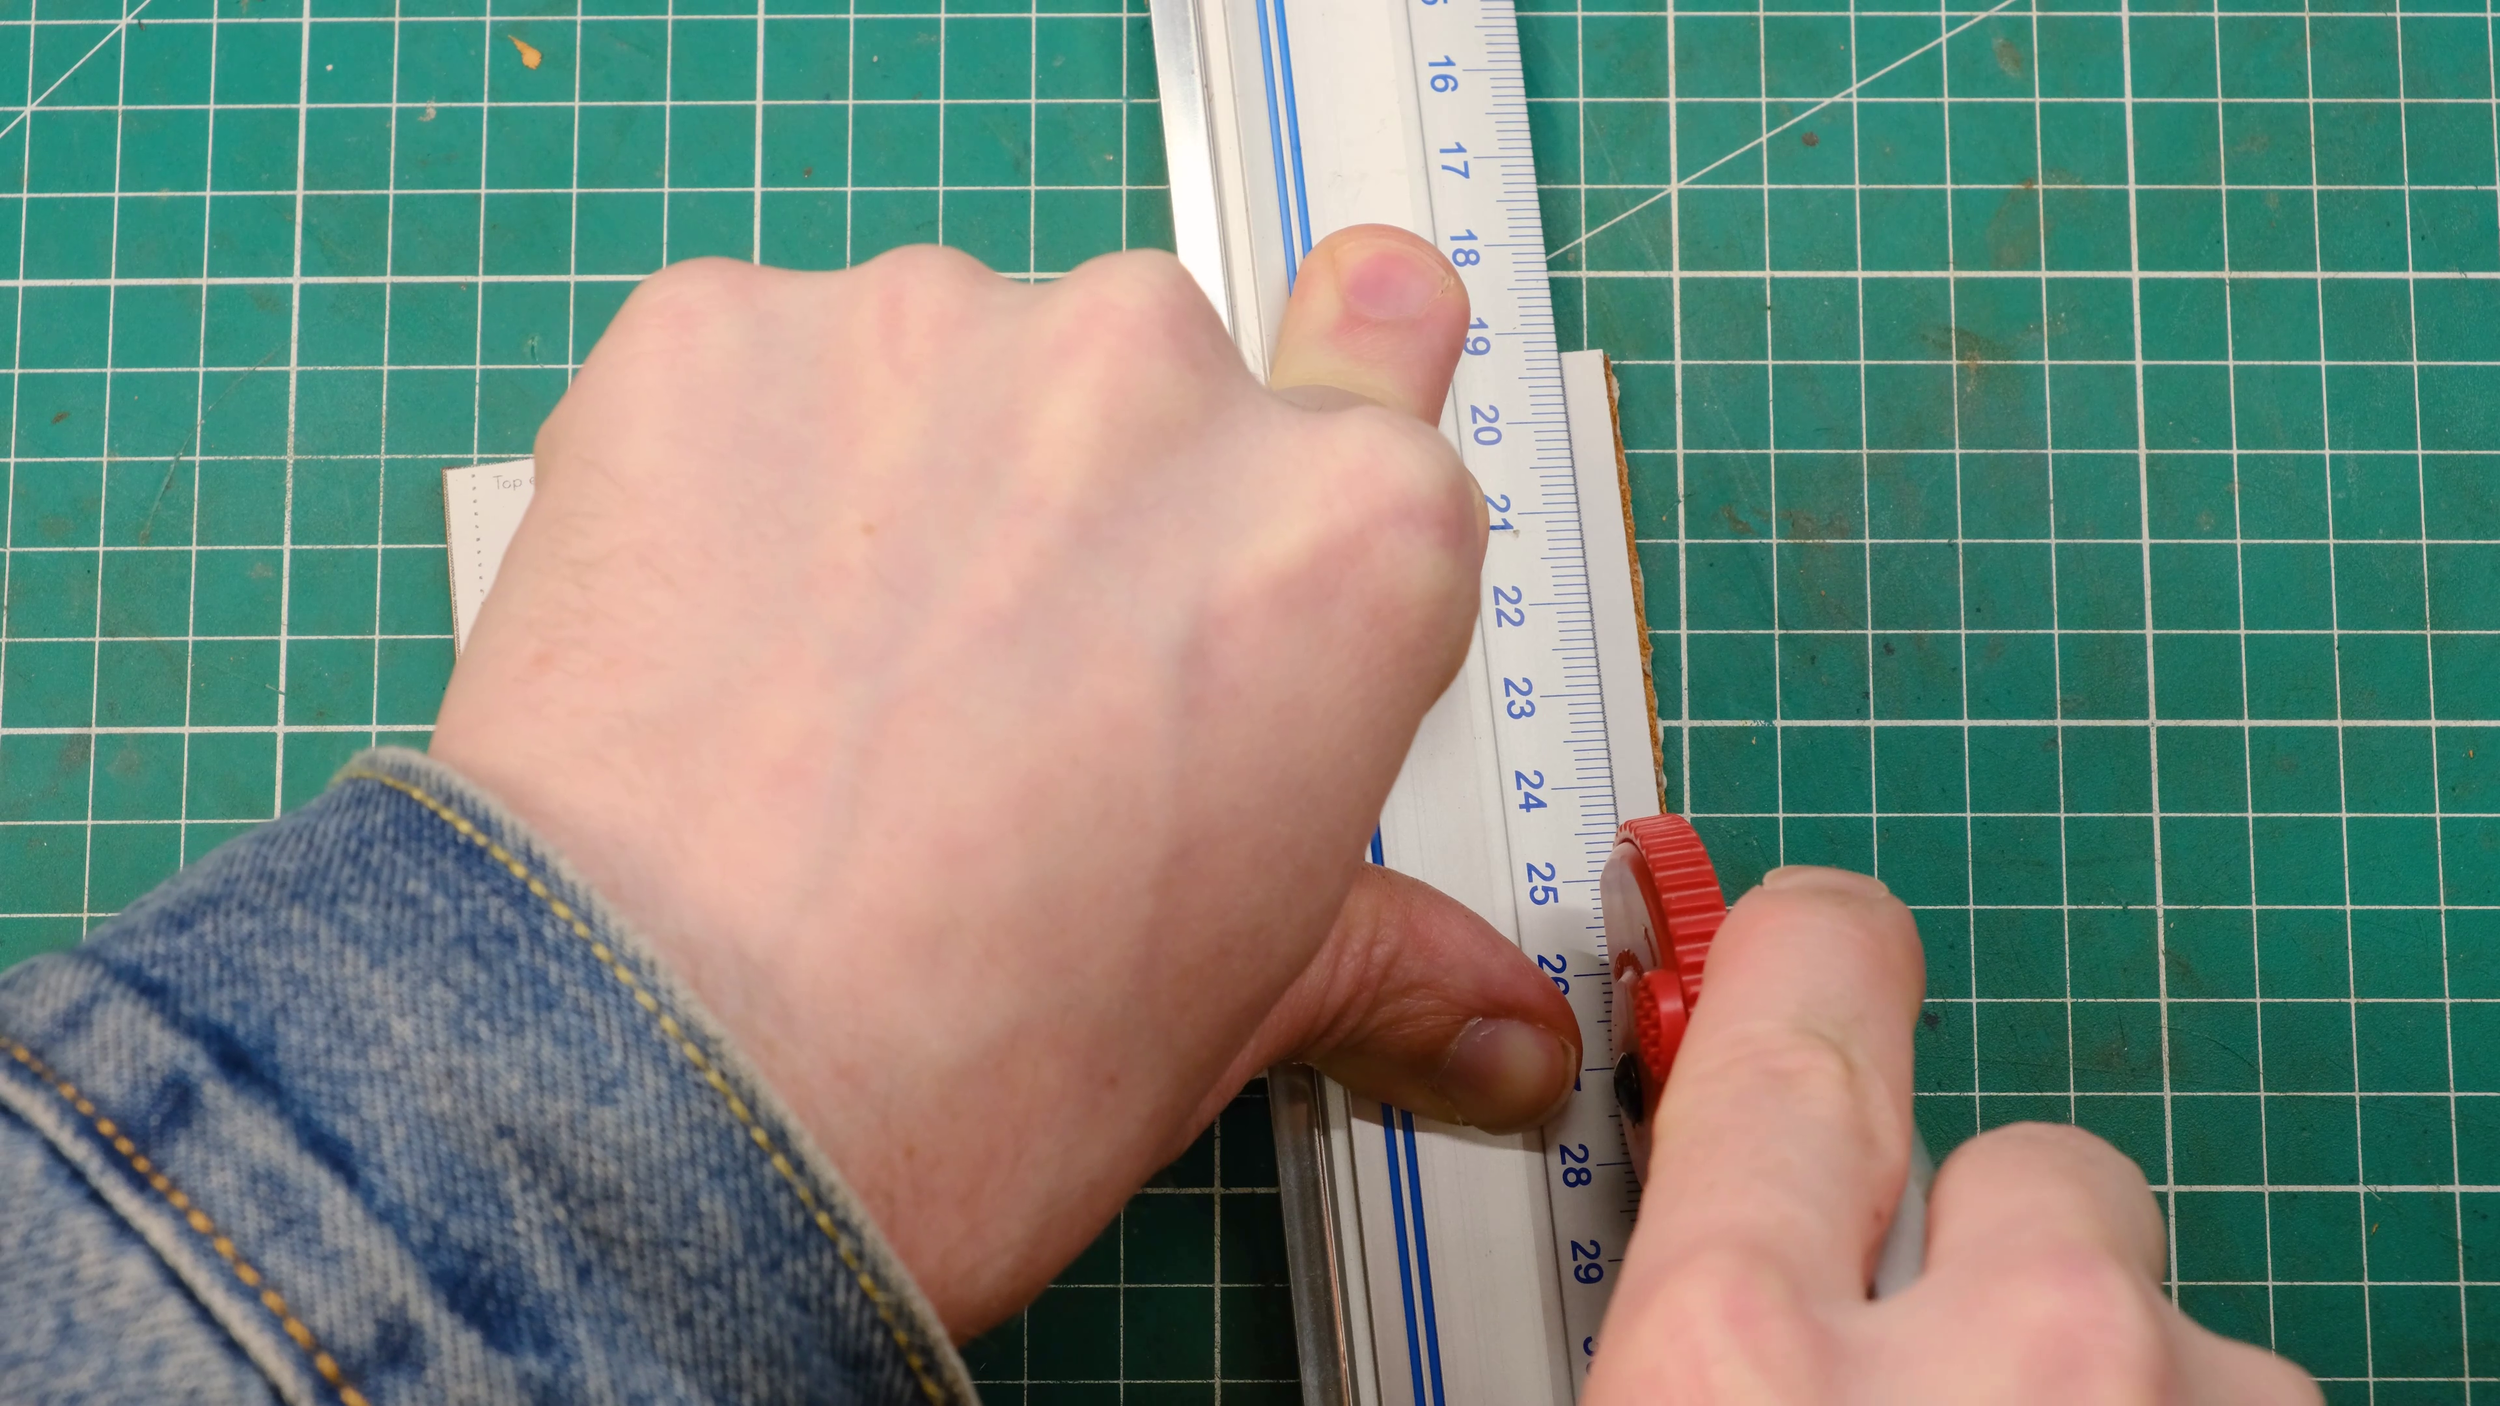
Cut our the template following the seam allowance guide. This will give you 5mm extra space all around your pieces to be able to cut neat straight lines once the pieces are glued together.
If necessary, apply a light coat of oil to your leather: as you don’t know how long the leather was in storage before getting to you, this is a good way of making sure you’re giving the leather the nourishing oils and protection it may need.
Trace the pattern on your leather and cut out the different pieces - you should have 1 Back Panel, 1 Front Panel, 1 Top Pocket and 1 Front Pocket. Optionally you could also cut out pockets to be added to the Back Panel if you need more card slots.
Before anything else, you’ll want to take care of any edges that won’t be reachable later in the build, beveling and burnishing them - I like to use the Tokonole here with a 100% cotton glove for a great burnish and tons of control. Make sure to address the top edges of the two card pockets, the side edge of the back panel as well as under the “ailerons” (for lack of a better word) of the top card pocket.
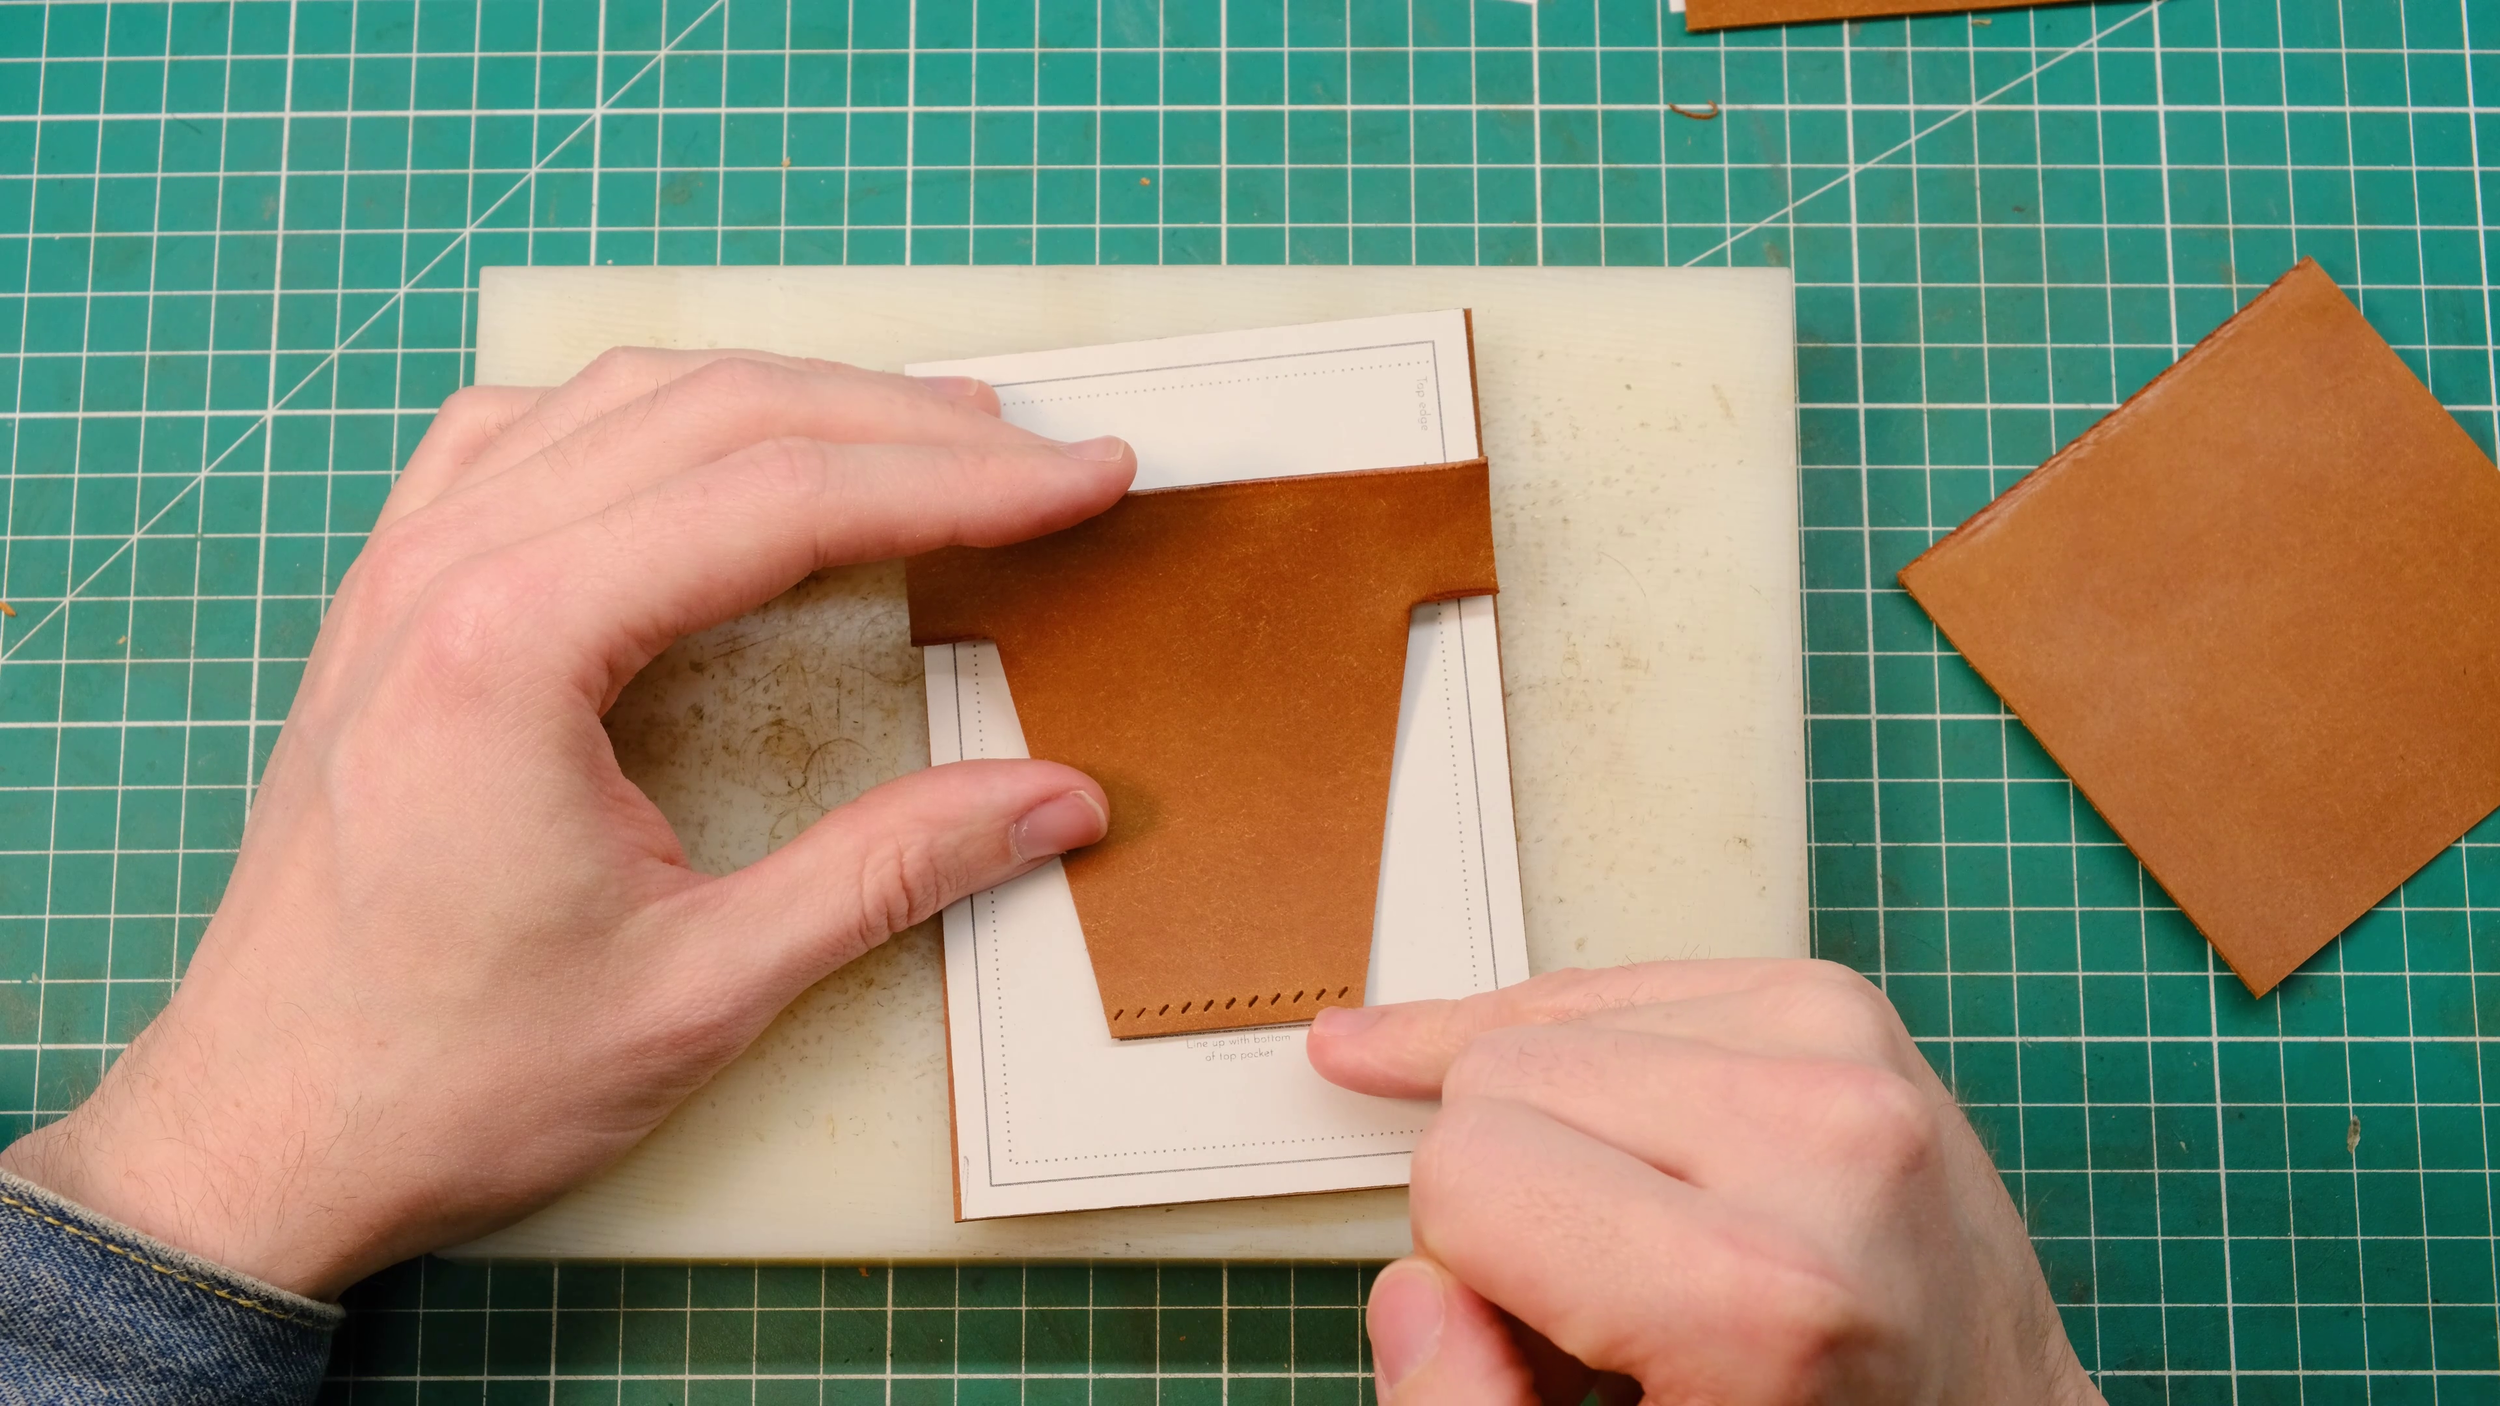
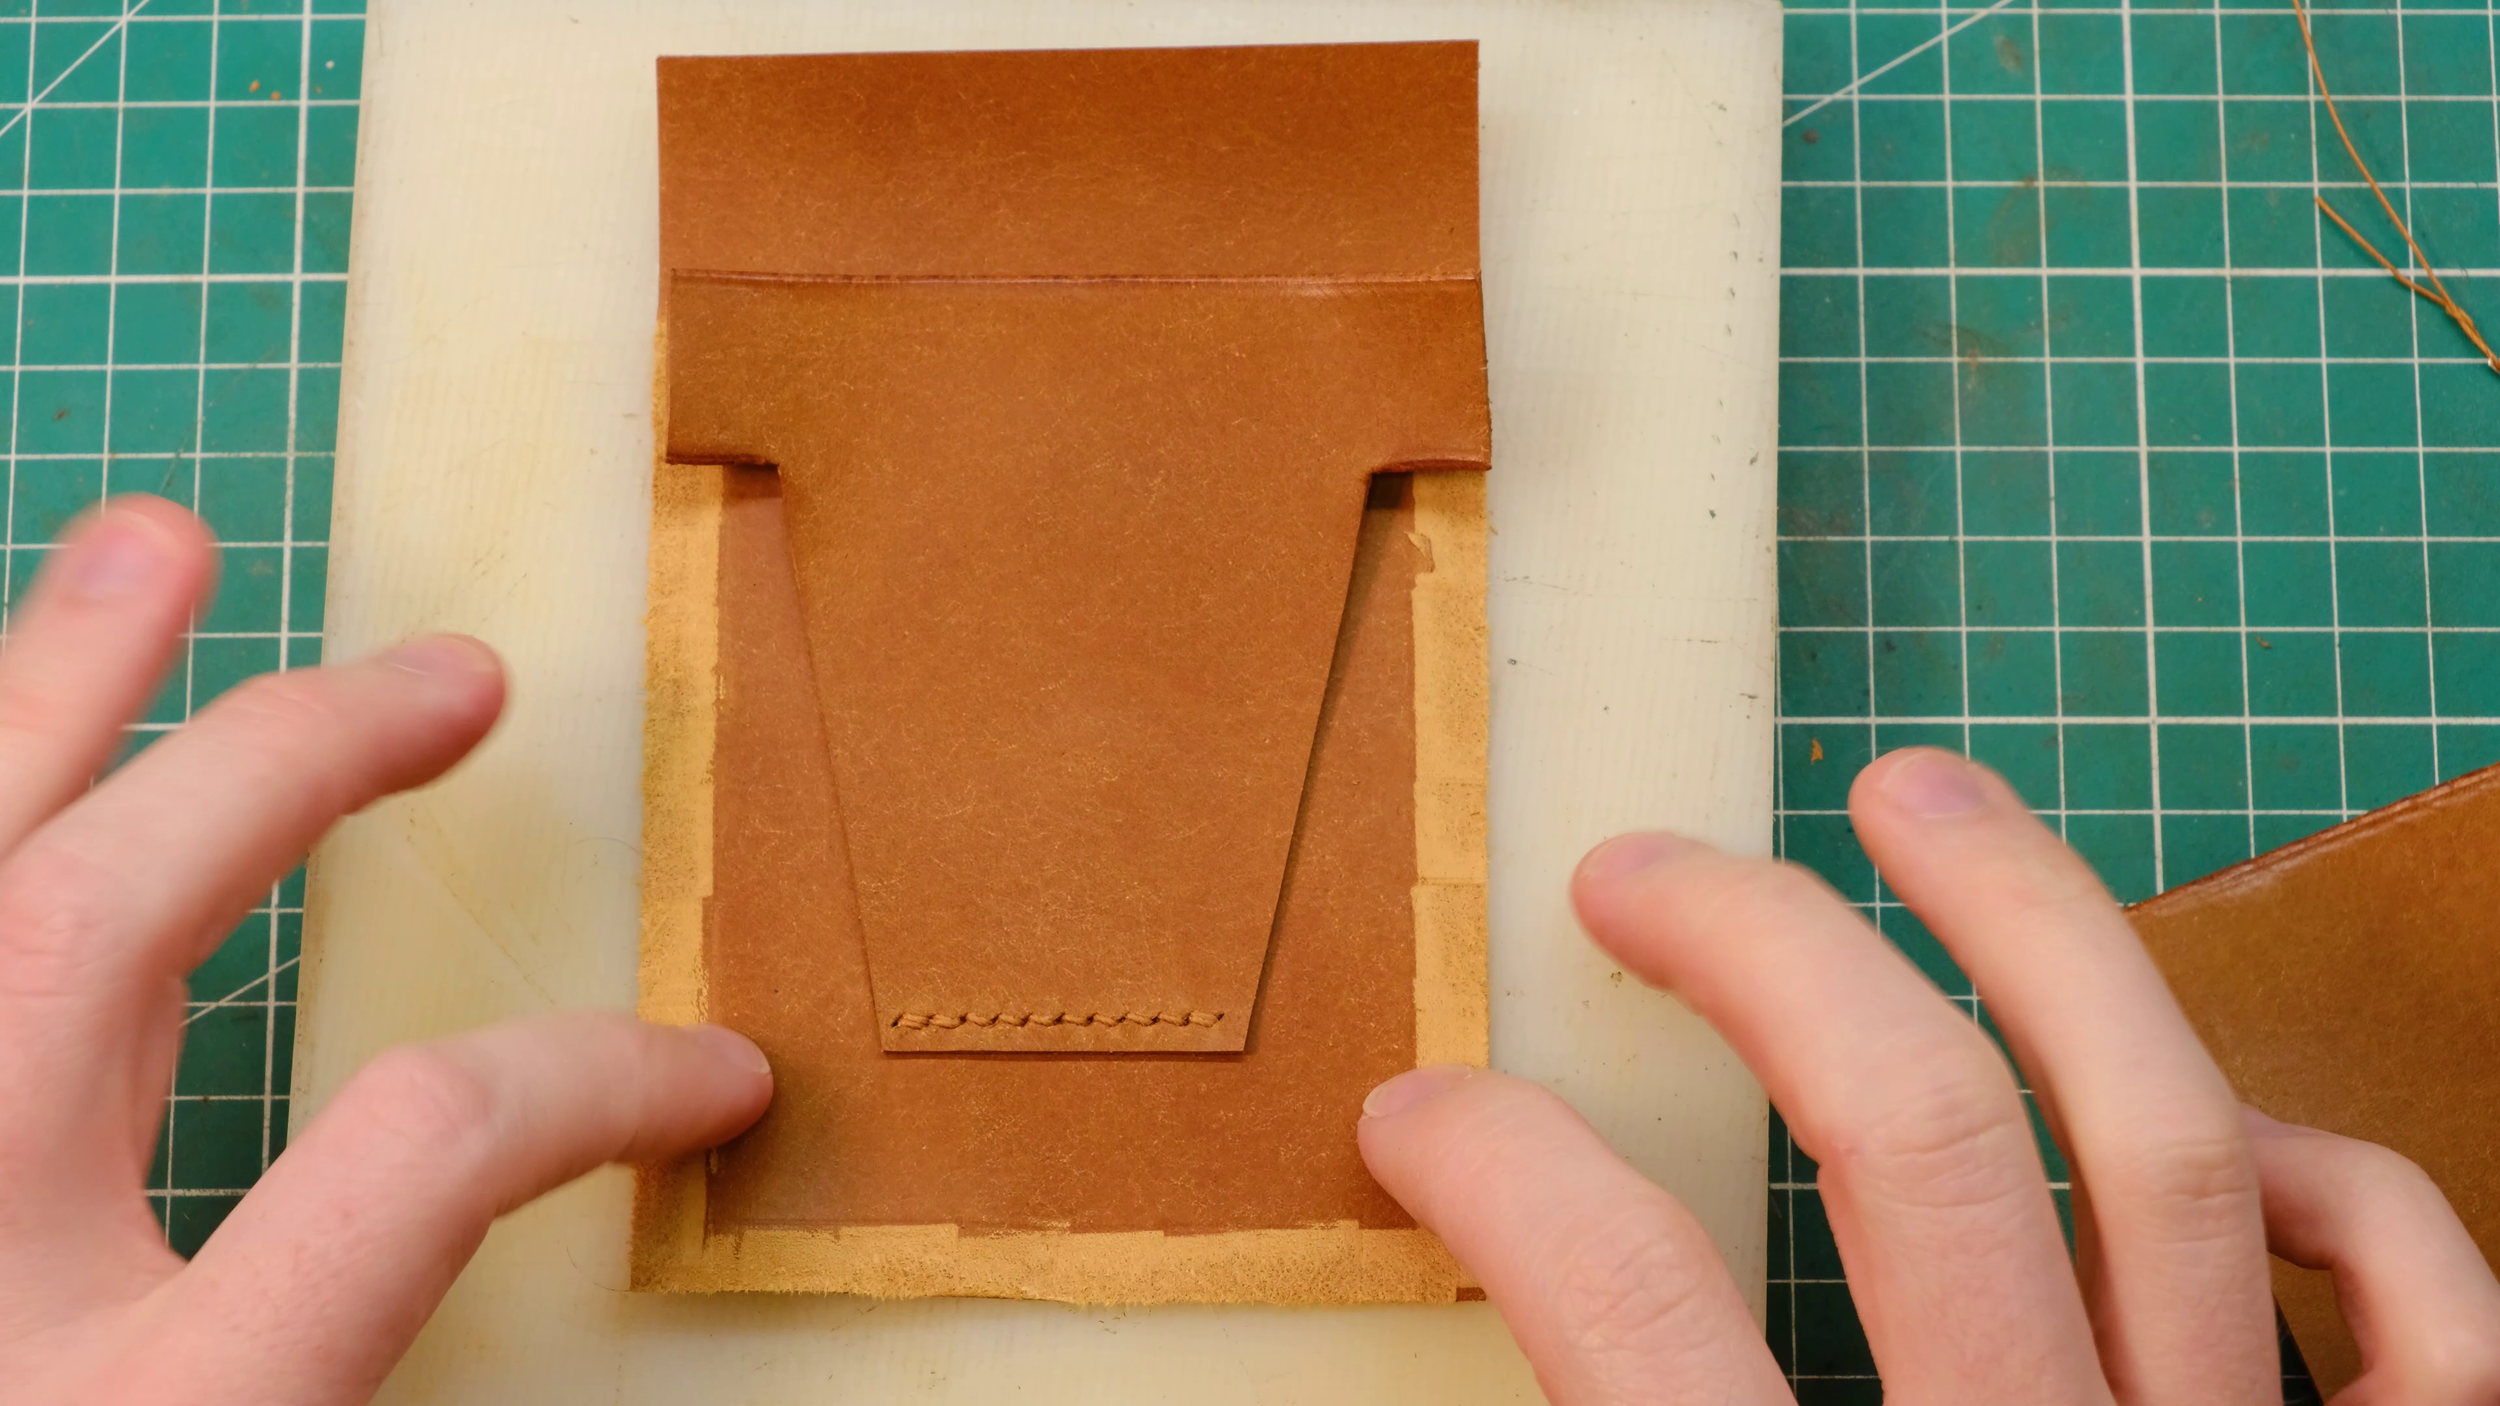
The next step is to stitch the top pocket in place. For this you’ll find a guide on the template against which you can place the top pocket to figure out where your stitch line will be. I find it easiest to place the pattern on top of the font panel, line up the top pocket and punch my stitching holes directly though before removing the paper to stitch.
You can then go ahead and skive the leather down where the front pocket will be glued on 8mm from the edge - this is 5mm seam allowance and 3mm to the stitch line.. This helps expose the fibers of the leather for the glue to hold on to as well as reduce the thickness on the sides of your final cardholder.
OPTIONAL - repeat this process on the back panel if you want to add card pockets!
Stitching and assembly
You’ve stitched up the top pocket with the front panel and glued on the front pocket? Great!
Place your front panel template back on top of your piece and cut off the seam allowance, leaving a nice clean edge to bevel and burnish on the right hand side of your front panel. Trace your stitch line down that same side (I like 2,5 or 3mm from the edge) and stitch up.
Now you are ready to clue the front and back panel together. I like to trace a line 8mm from the edge (seam allowance plus stitch distance from the edge) that helps me visualize where my glue should go. Line up the two burnished edges on your front and back panels and press them firmly for the glue to set.
Using the back panel template, you can now easily cut the excess seam allowance by placing the template on top of your piece and cutting down the indicated line, revealing clean cut edges all round your piece. Go ahead and stitch all around these 3 edges, bevel and burnish to your heart’s content.
Congratulations, you have just finished your leather cardholder!
Download the FREE PDF Template
You can download the free PDF template (or pattern) by submitting your email in the form below.
If you’ve enjoyed this blog post or template, please consider leaving me a comment letting me know what you would like to see next!
Thanks and have fun crafting :)
James Berry aka Le French Crafter
Once submitted, the link to the PDF file will appear here ⬆️⬆️









Learn how to craft a vintage Swiss military-inspired leather pouch with this step-by-step DIY guide. From cutting premium vegetable-tanned leather to installing hardware and saddle stitching, this tutorial covers everything you need to create a durable, stylish bag. Includes link to printable pattern and full video walkthrough!