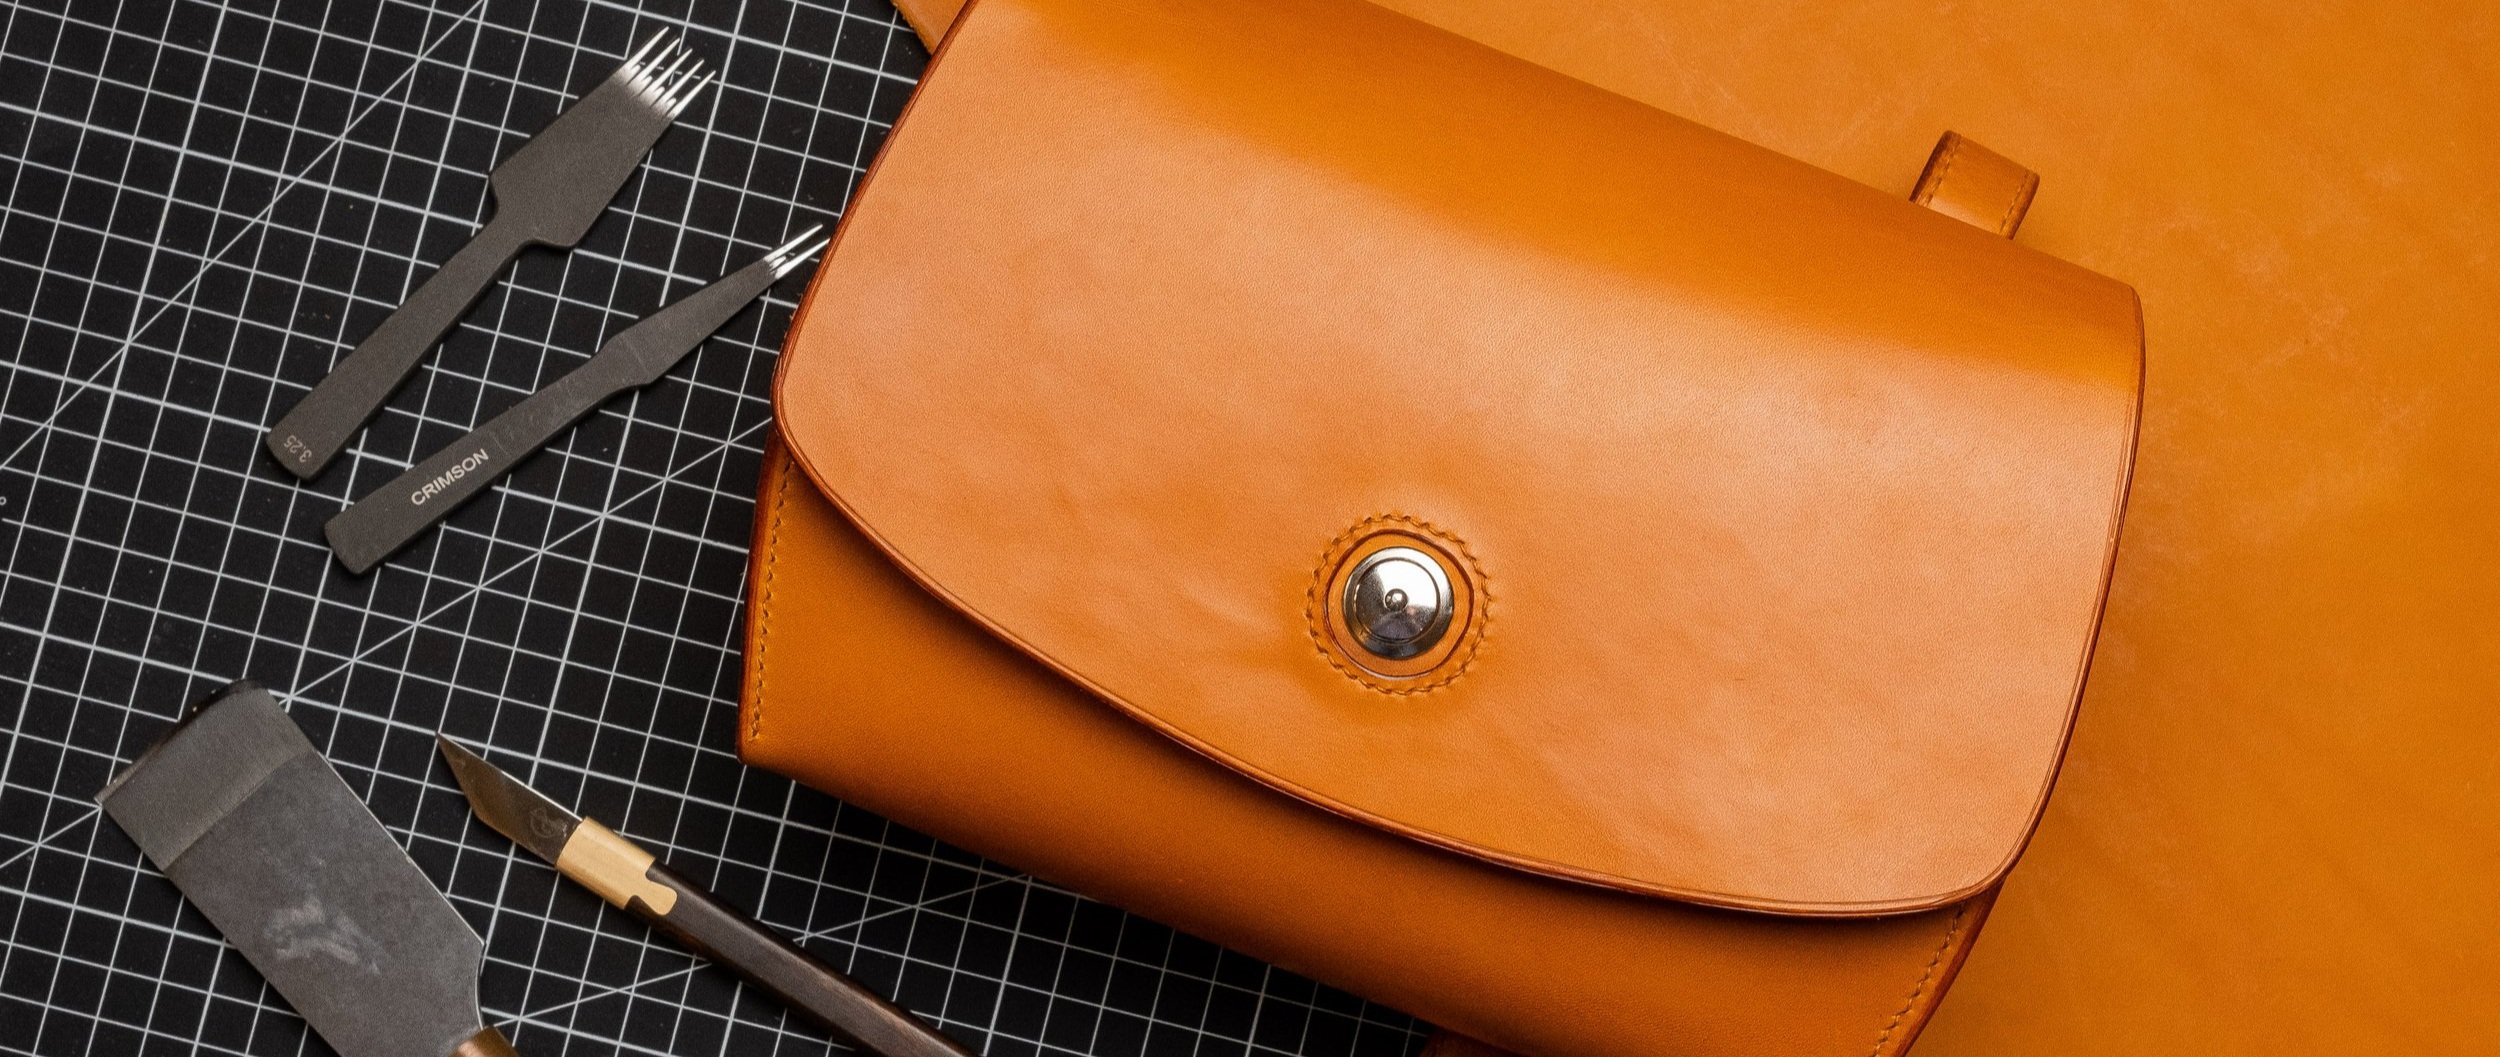
Classic leather handbag build - PDF template
Are you looking to build your very own leather handbag, for you or as a gift? I’ve got you covered with an A4-sized PDF template and full build video.
Read on to download your own version of the PDF template!
Choosing the leather
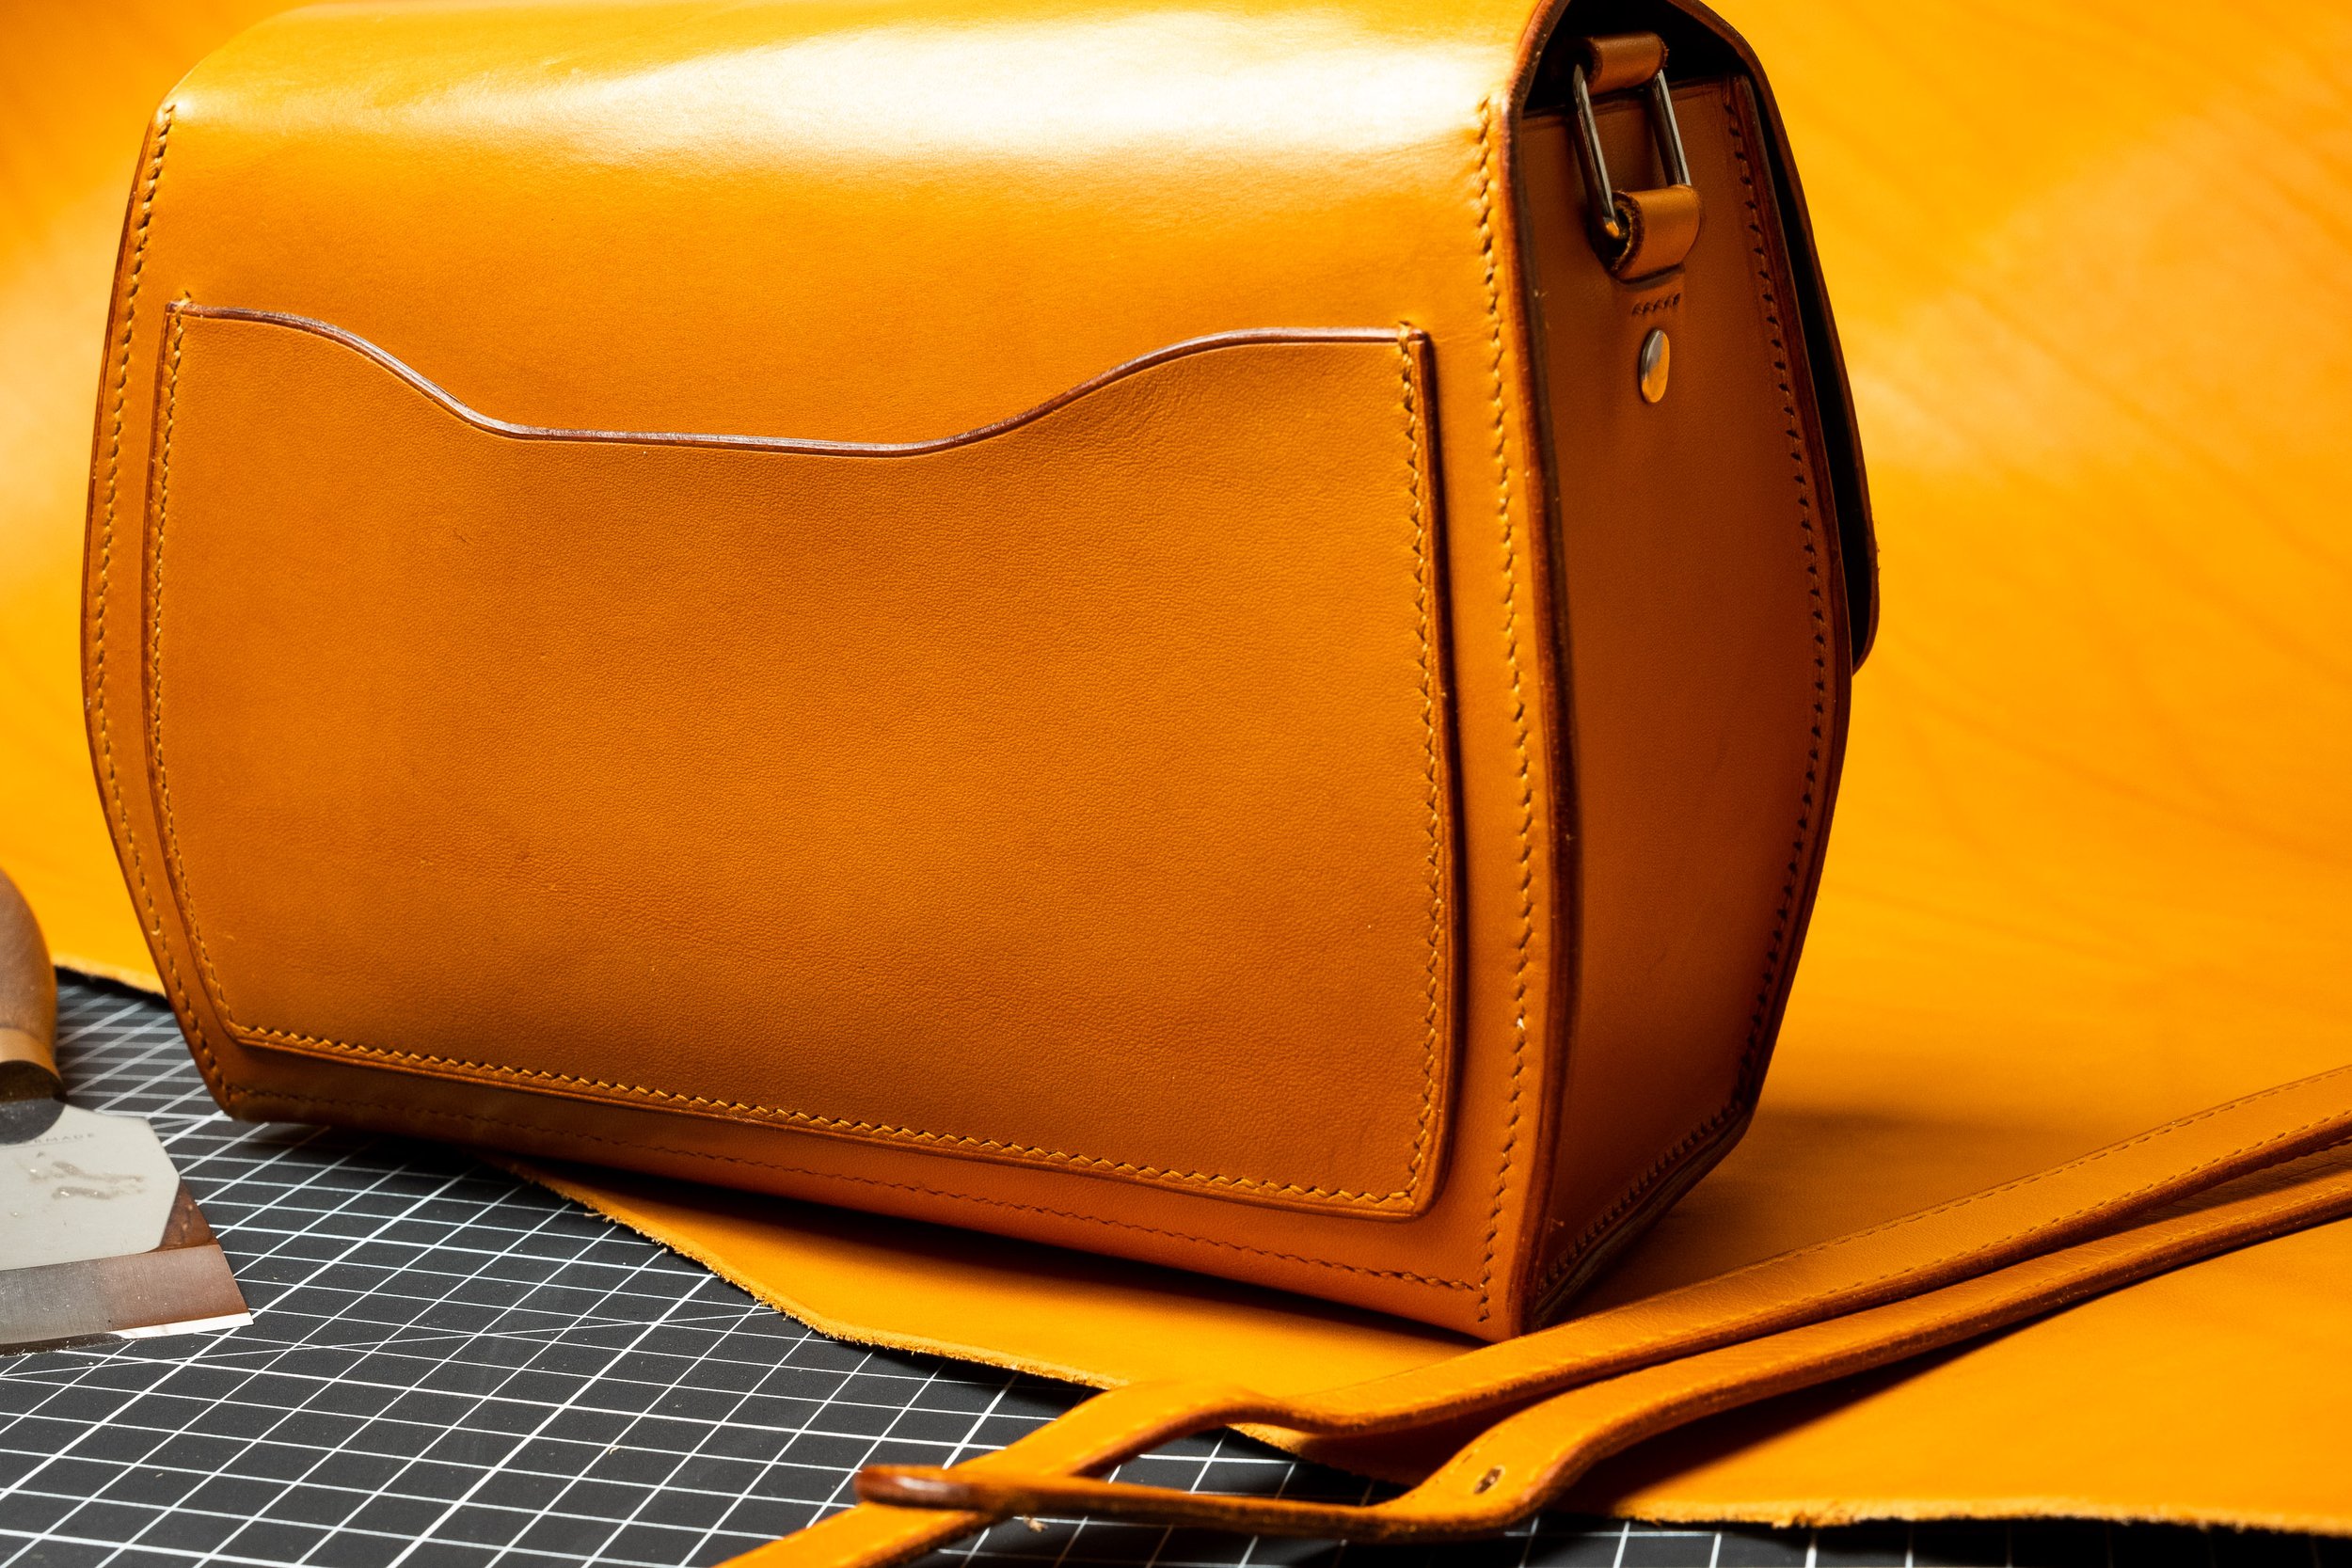
For this build I’m using Radermecker’s Niagara shoulder leather in cognac, it comes in 1.5 to 2mm thick which is perfect for me since I’ll be adding a leather lining that will bring the total thickness up to around 3mm, providing me with a nice rigidity.
If you plan on leaving the bag unlined, or if your lining is thinner, I would suggest using leather closer to 3mm to start off with.
Radermecker is an old tannery here in Europe and has a rich history of producing natural, robust and authentic saddle leathers. I’ve used them in the past and, as a small crafter, really appreciate being able to buy single sides, shoulders, half shoulders or belt-blanks from them as their leathers are, simply put, gorgeous, and come in a wide variety of sizes, colors and thicknesses.
They kindly provided the Niagara leather I’m using as the main leather for this build.
Download and print your template
⬇️⬇️⬇️ Click the picture below to purchase and download the template ⬇️⬇️⬇️

Download the PDF template for making a gorgeous lady's leather handbag or purse (with a small interior pocket for keys, wallet, etc.). Detailed build instructions are included.
Print out the template on regular A4 sized paper, making sure you set your printer settings to print at 100% of the original size. A print guide can be found on the template to help you check your measurements.
You can then cut out the different pieces and attach the bag body pieces together using tape.
In order to help you in your build, you can glue this template to some card stock, ensuring your template will last you many builds to come.
Build instructions
Preparing the gussets
Once all the pieces are cut out, we’ll start by skiving down the ends of the strap loops. This doesn’t need to be perfect, it simply needs to be thinned down as much as possible at the ends.
Place the side gusset template on your piece to see where to punch out the hole. My oblong punch is 22mm by 5mm, but if you don’t have one you can always cut this out by hand, using the template to mark out the cut.
Using a thin edge beveller, bevel the outside of the hole as well as the bottom inside portion.
The strap loop only needs to be beveled where the edge will be visible.
To make sure the edges match the color of the leather, I’m using Fiebing’s Pro Dye in their English Bridle color.
Carefully dye the edges and apply Tokonole as a burnishing agent.
At this point I go ahead and add a crease line on the strap loops. This is optional but helps give the final piece a much more elegant finish.
Fold them in half, add in your chosen strap hardware and glue in place.
I like to scuff up the grain side of the leather before applying any glue as this exposes the leather fibers and gives the glue something to bond to.
Gluing the strap loops in place isn’t necessary but it helps keep things in place until they’re riveted and stitched in.
Using the template, mark out and punch the hole for the rivet. I use a simple cap rivet here which will be more than strong enough along with the stitching.
Pro-tip
Run the thread through beeswax to stiffen it, helping you during the stitching process, and protecting the thread from wear and tear.
Back pocket
Before stitching this to the bag body, we need to take care of all the edges: this means beveling the edges, dying them and burnishing them.
Again, I like to add a crease line to my edges as I find this really adds to the finished look.
Place the template on your bag body to see where your back pocket is going to sit, and mark out the bottom stitching line: this will be your reference to help you temporarily glue down the back pocket while you stitch it.
Scratching the leather along this line will help the glue bond to the fibers.
Last but not least, stitch the pocket in place using the saddle-stitch technique.
Lining
For my lining material, I’m using vegtan leather in dark green as I want to make this bag as fancy as possible.
Again, you could build this bag without a lining if you wanted to, just make sure your leather is thick enough.
Glue the lining onto the side gussets, hiding the strap loops on the inside of the bag, ultimately helping keep this bag looking as good as possible.
Use a groover to create a channel 5mm from the edge of the gusset on the inside. This will be your guide to help you skive down those edges perfectly, a crucial step in the process, allowing you to bend the edges over later.
Take care of those top edges, beveling, dying and burnishing them to perfection.
Go ahead and glue the lining to the inside of the bag body.

Pro-tip
Use a rotary cutter to trim the excess leather as this is a surprisingly fast and precise tool.
Adding the interior pocket
This is an optional step but if you decide to add this in, note that I’ve left the template wider than needed. This is so you can install the pocket in and then trim as needed directly to the exact size when installed.
Once the top edge is ready, mark out where the top of the pocket needs to be on the bag body, mark the stitch line on the pocket, lay down a strip of double sided tape to hold the pocket in temporarily, and line up the pocket to the previous marks you made on the bag body.
Stitch in the pocket and trim the sides before gluing them in along the sides of the bag.
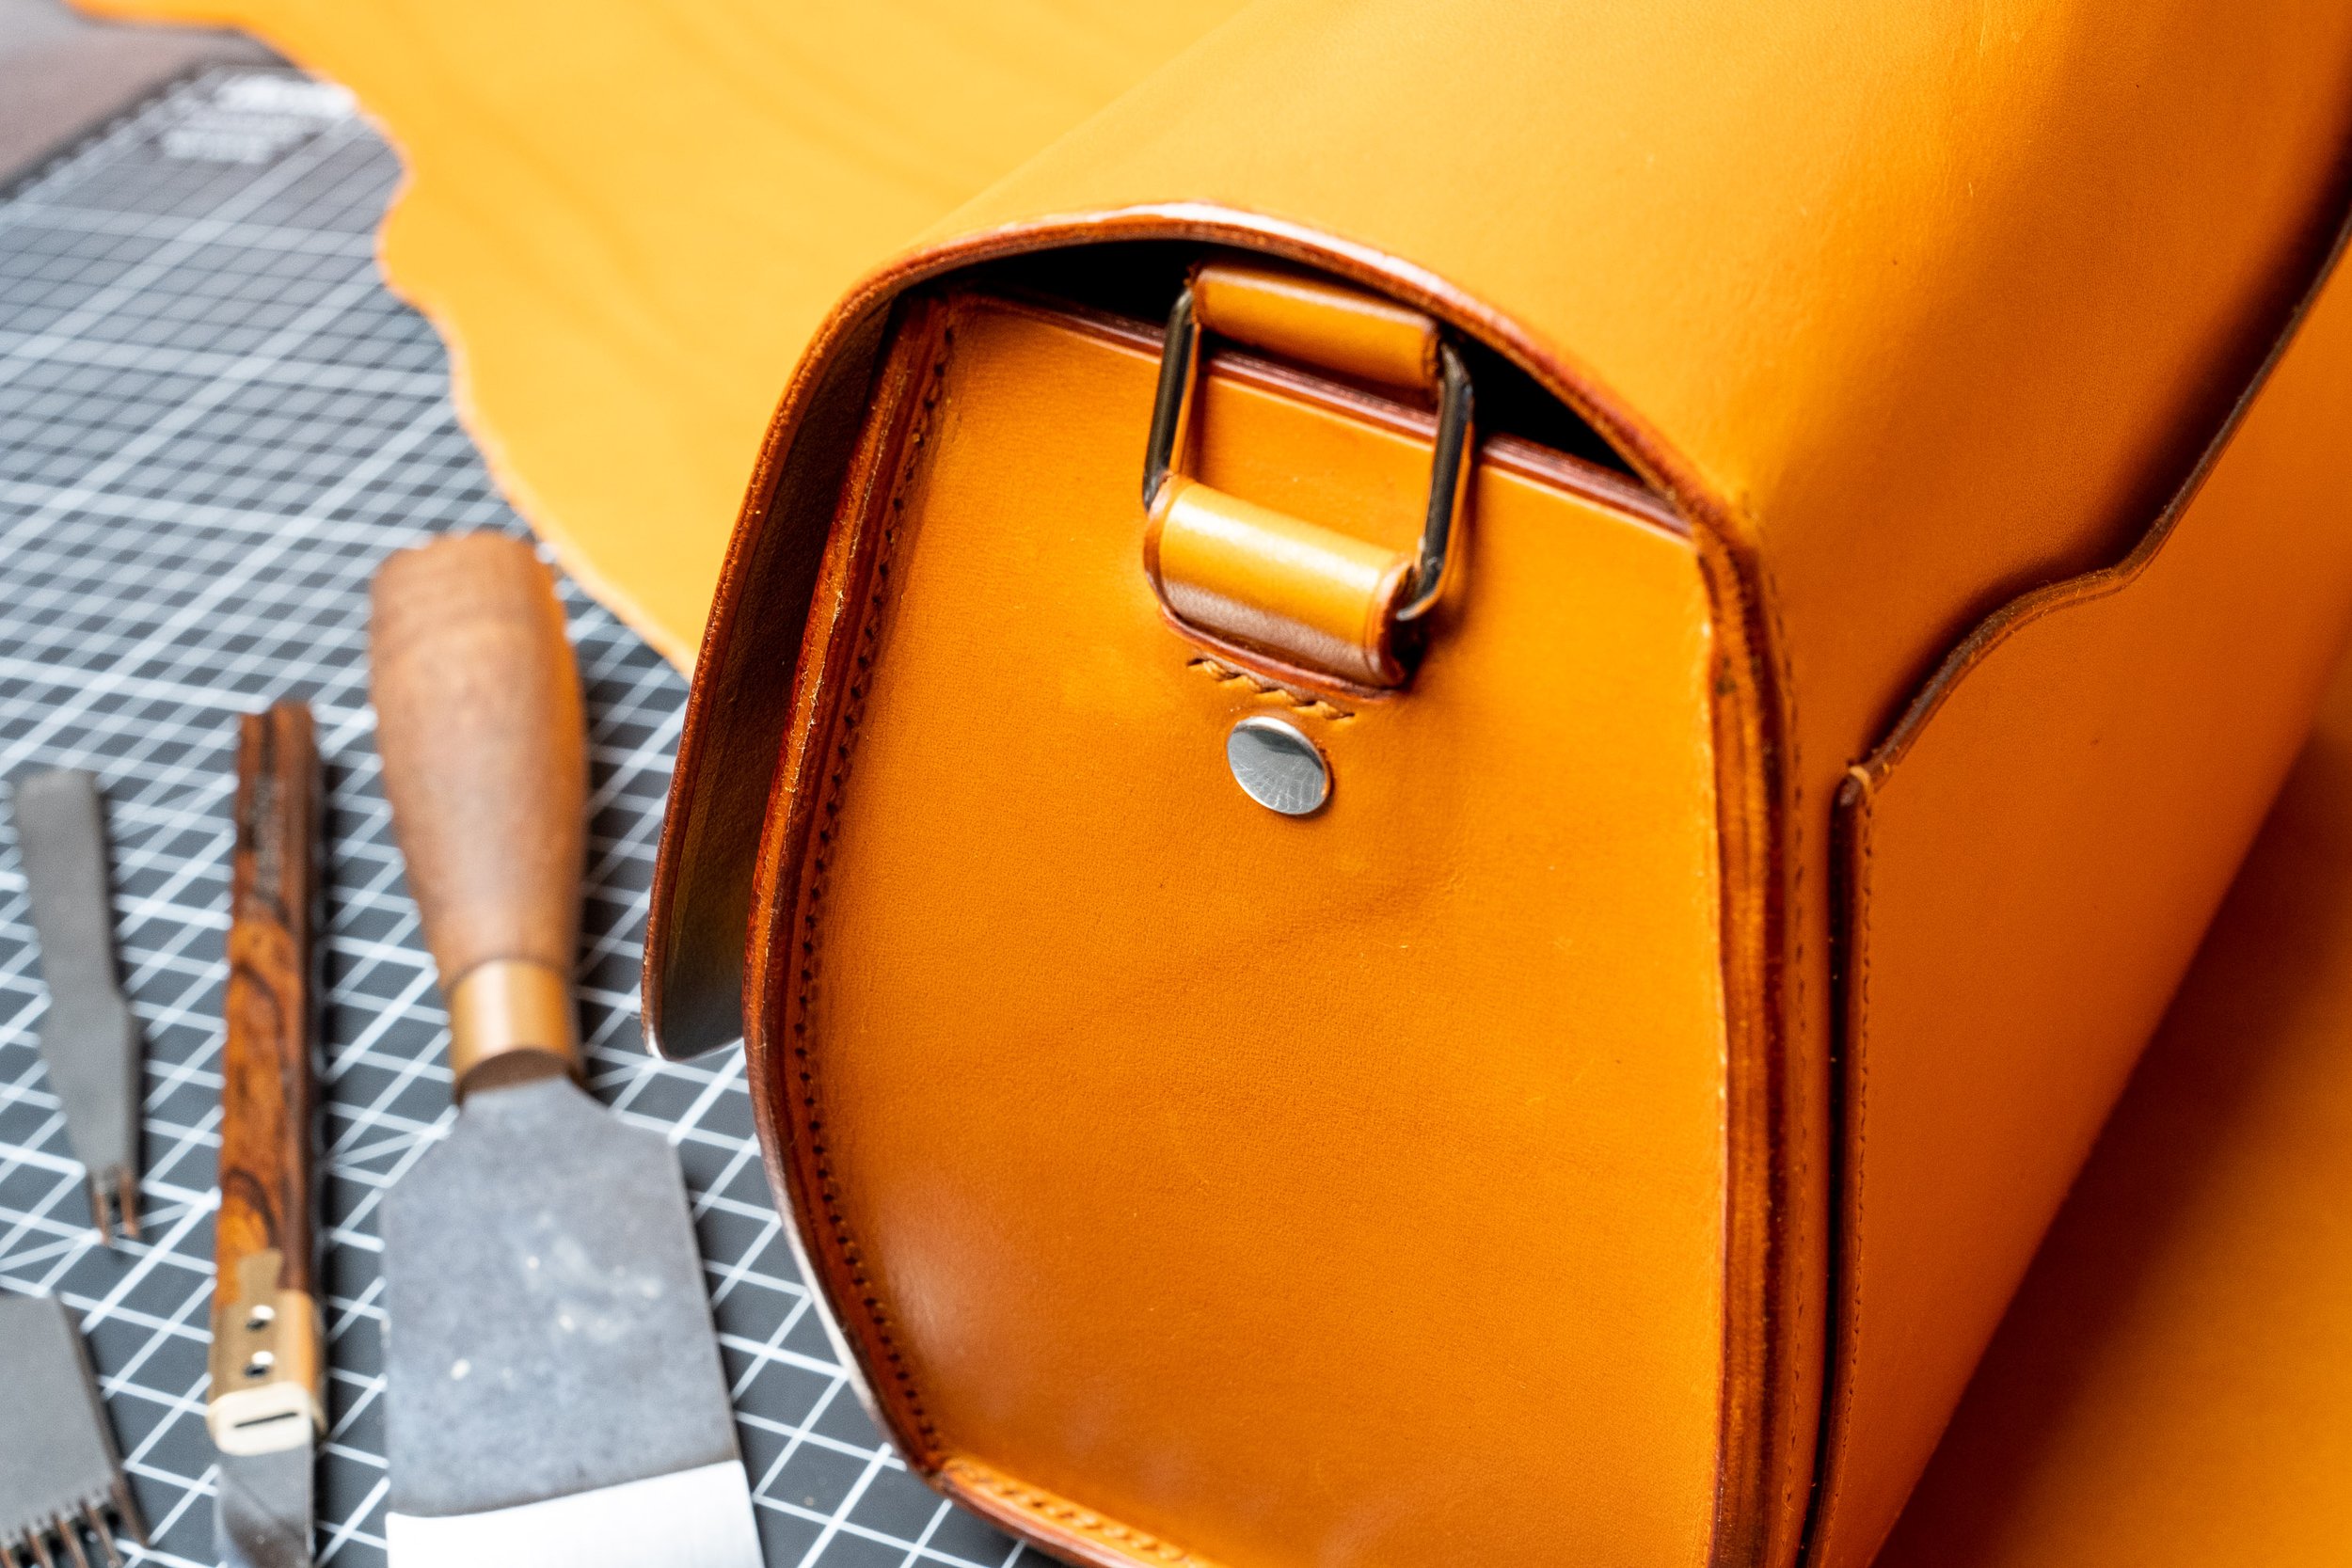
Install the closing mechanism
Using the template as a guide to see where to position your hardware, install your closing mechanism of choice. You may want to do this before gluing in your lining depending on your style preferences.
It’s important to note that I designed this bag with the LOXX closing mechanism in mind but I strongly recommend you think about adapting this part to your preferred closing mechanism choice.
I really find that LOXX provide a great, elegant, and secure system, allowing you to open and close the bag securely very easily.
Adding in the gussets
Starting off the final lap of this build let's address the front edge of the bag.
After sanding down to even out any blemishes, give the edge the usual dye, burnish and crease line.
We can now prepare the inside edges of the bag for gluing the gussets in place by roughing them up where the glue will be added.
Using your fingers, gently roll the edges of the gussets outwards. Once you’re about half way there, you can accentuate the roll using a bone folder, making sure the rolled edge comes out at a 90° angle if possible.
Pro-tip: neoprene cement glue needs to be applied on both edges and dry for 5 minutes before the two pieces can be gently squeezed together. Wait until the glue becomes nearly dry to the touch before gluing the two pieces together.
Gluing the gussets in place can be a bit tricky, making sure that you tackle those tight corners, lining up all the edges as close as possible.
To help you throughout this process you may want to use a couple dozen small paper clips to hold your pieces together.
Pro-tip
Neoprene cement glue needs to be applied on both edges and dry for 5 minutes before the two pieces can be gently squeezed together. Wait until the glue becomes nearly dry to the touch before gluing the two pieces together.
Stitching the gussets and final touches
Carefully punch out the holes all around the gussets, sticking close to the inside of the gussets. Optionally you can stitch around the front flap but I like to leave the front simple and neat.
Very carefully use a Dremel to shave down all those edges, ensuring everything fits perfectly.
With those edges getting closer to their final form, bevel them down and use some fine sandpaper to even out any blemishes.
Give these edges a final dye, burnish, and one last edge crease.
Before sending your bag out into the world, make sure to finish your leather with a good wax, nourishing the leather and protecting it against the elements.
So we’ll simply finish the bag by adding a protective layer of wax and for me, this means grabbing my trusty Saphir Renovateur as I find it leaves me with the absolute best finish possible.
About Radermecker
Click here to see their leathers!
The RADERMECKER® tannery produces a natural, robust and authentic saddle leather, the result of the know-how of their craftsmen. They tan ox and bull leather using vegetable oils and the resulting products are recognized for their durability, their touch and their finish.
Their leathers are the result of 150 years of experience. Our craftsmanship has been passed down from generation to generation with a common objective: to enhance the essence of the leather at every stage of its production.
Click the logo above to check out their website.
Have you enjoyed this article? Found it informative?
Let me know by leaving me a comment!