Make a leather zip sling bag or pouch with PDF template
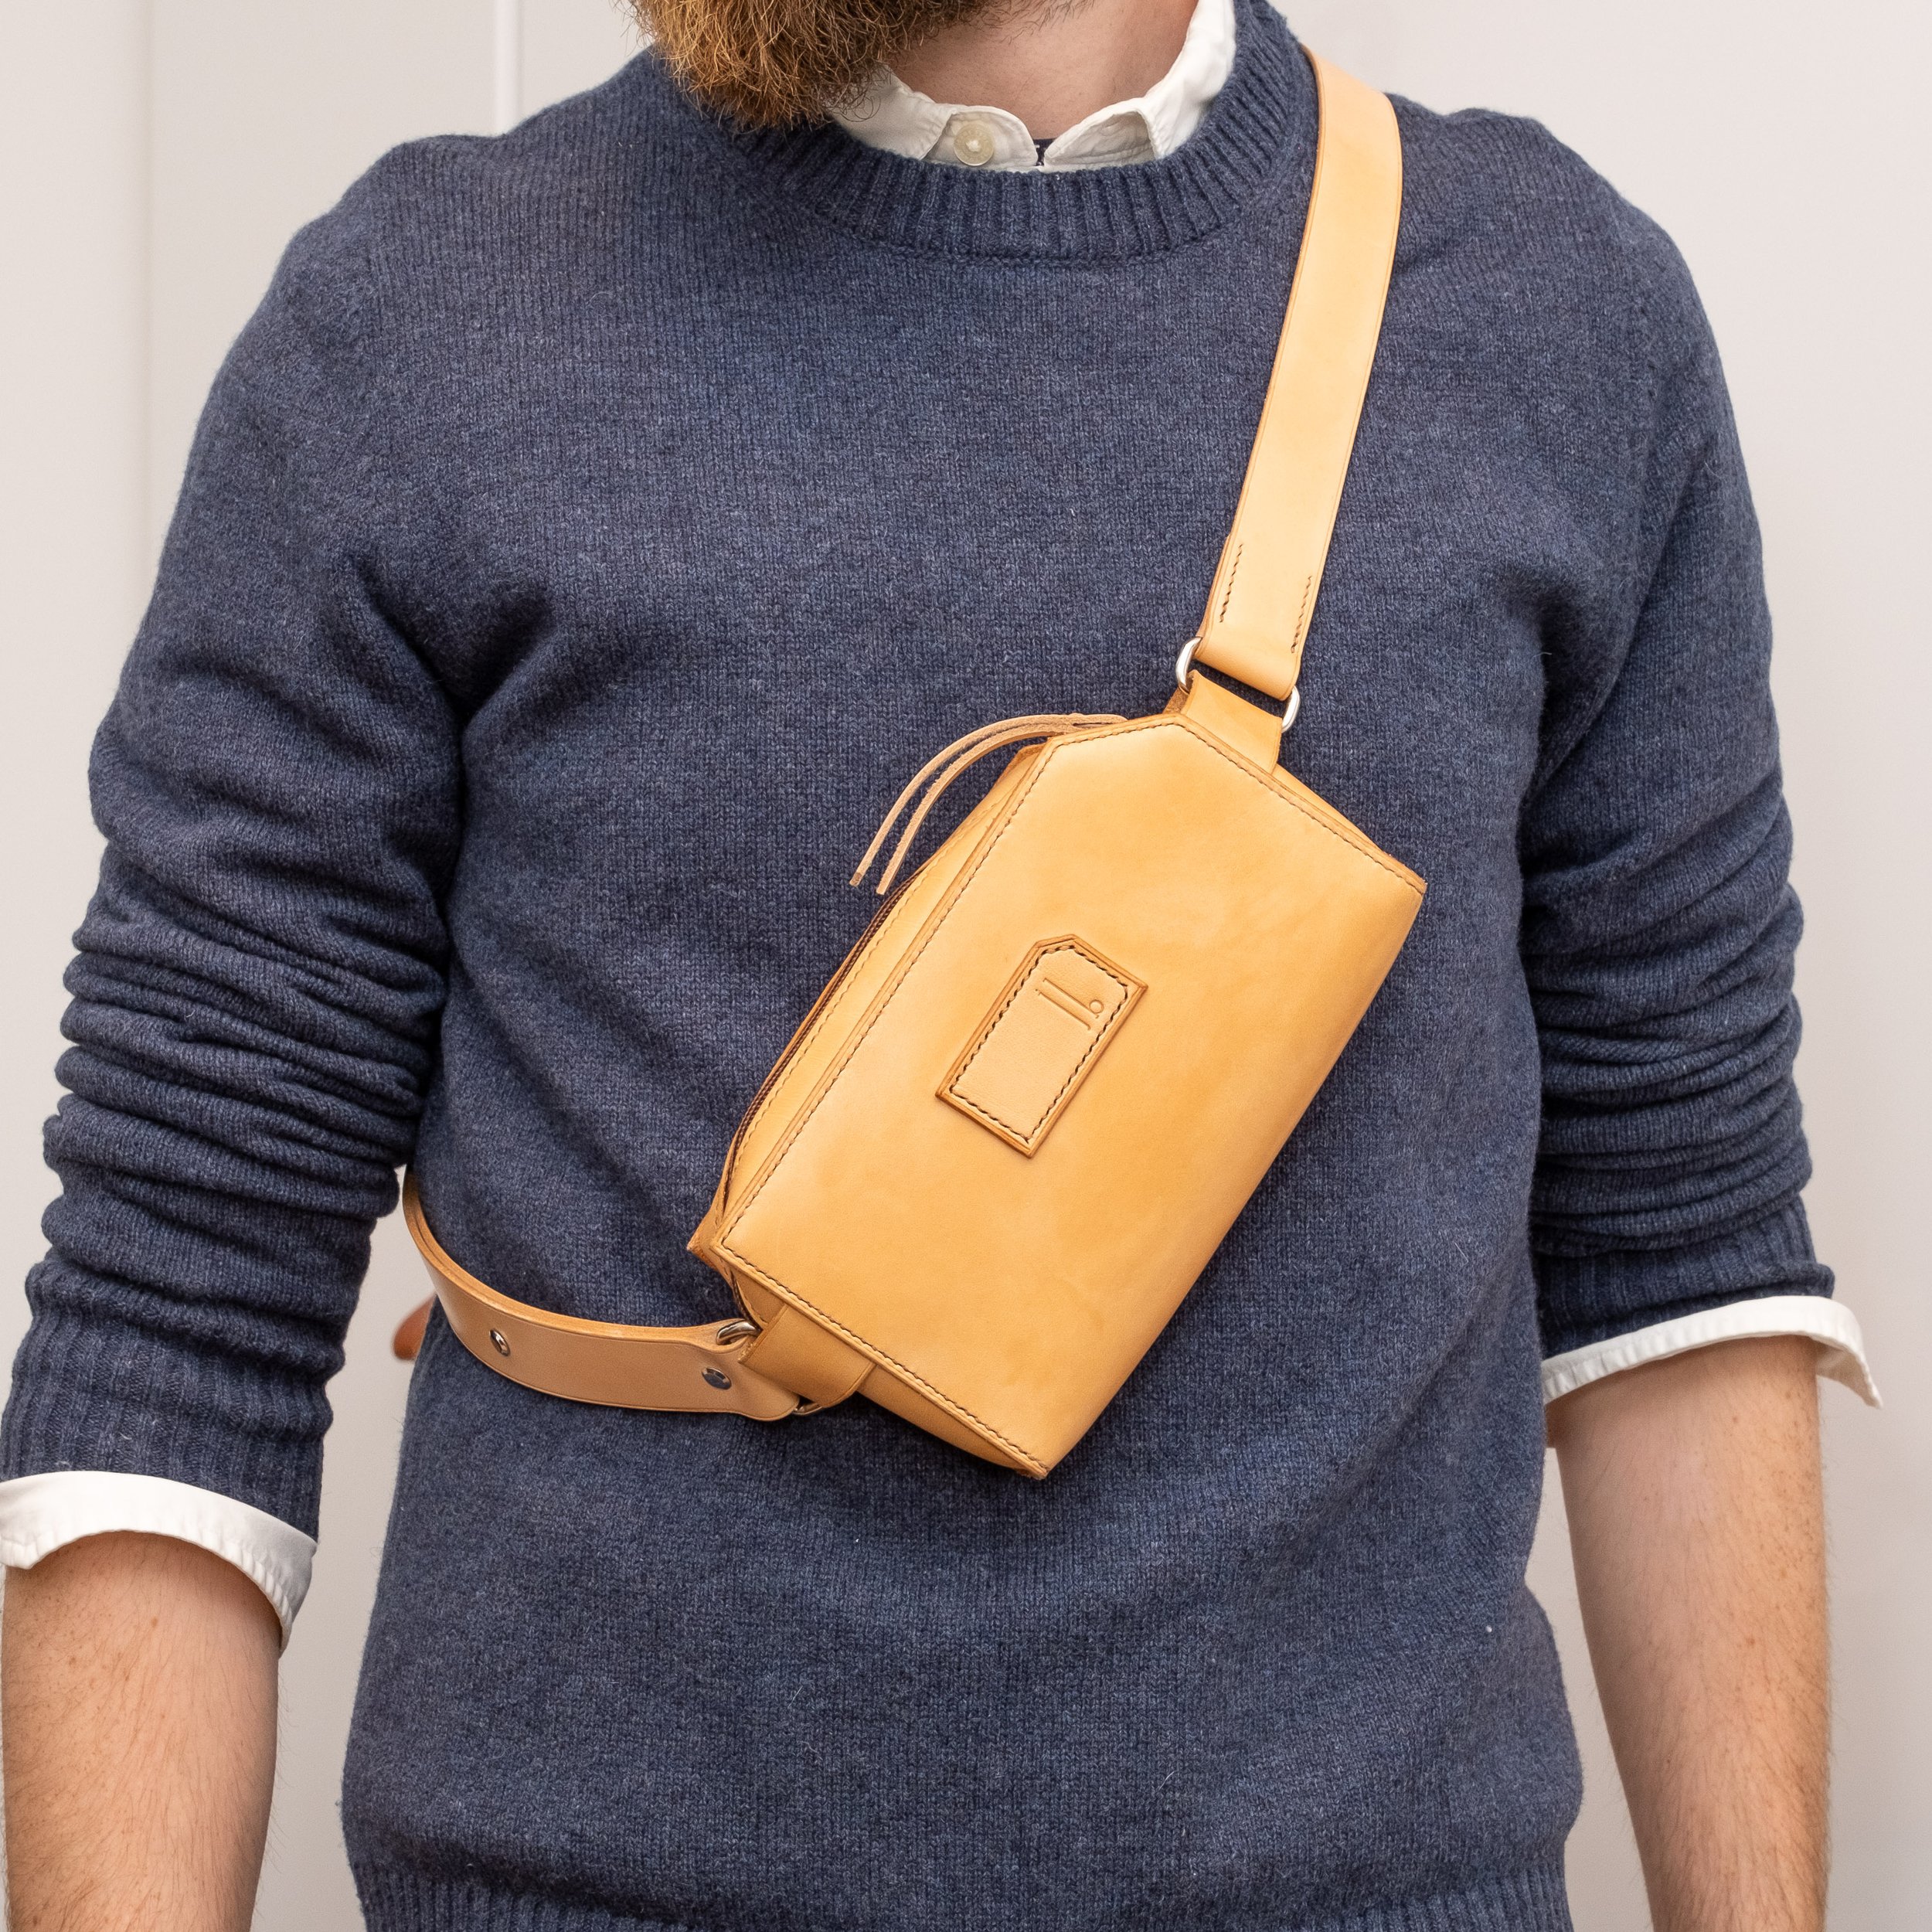
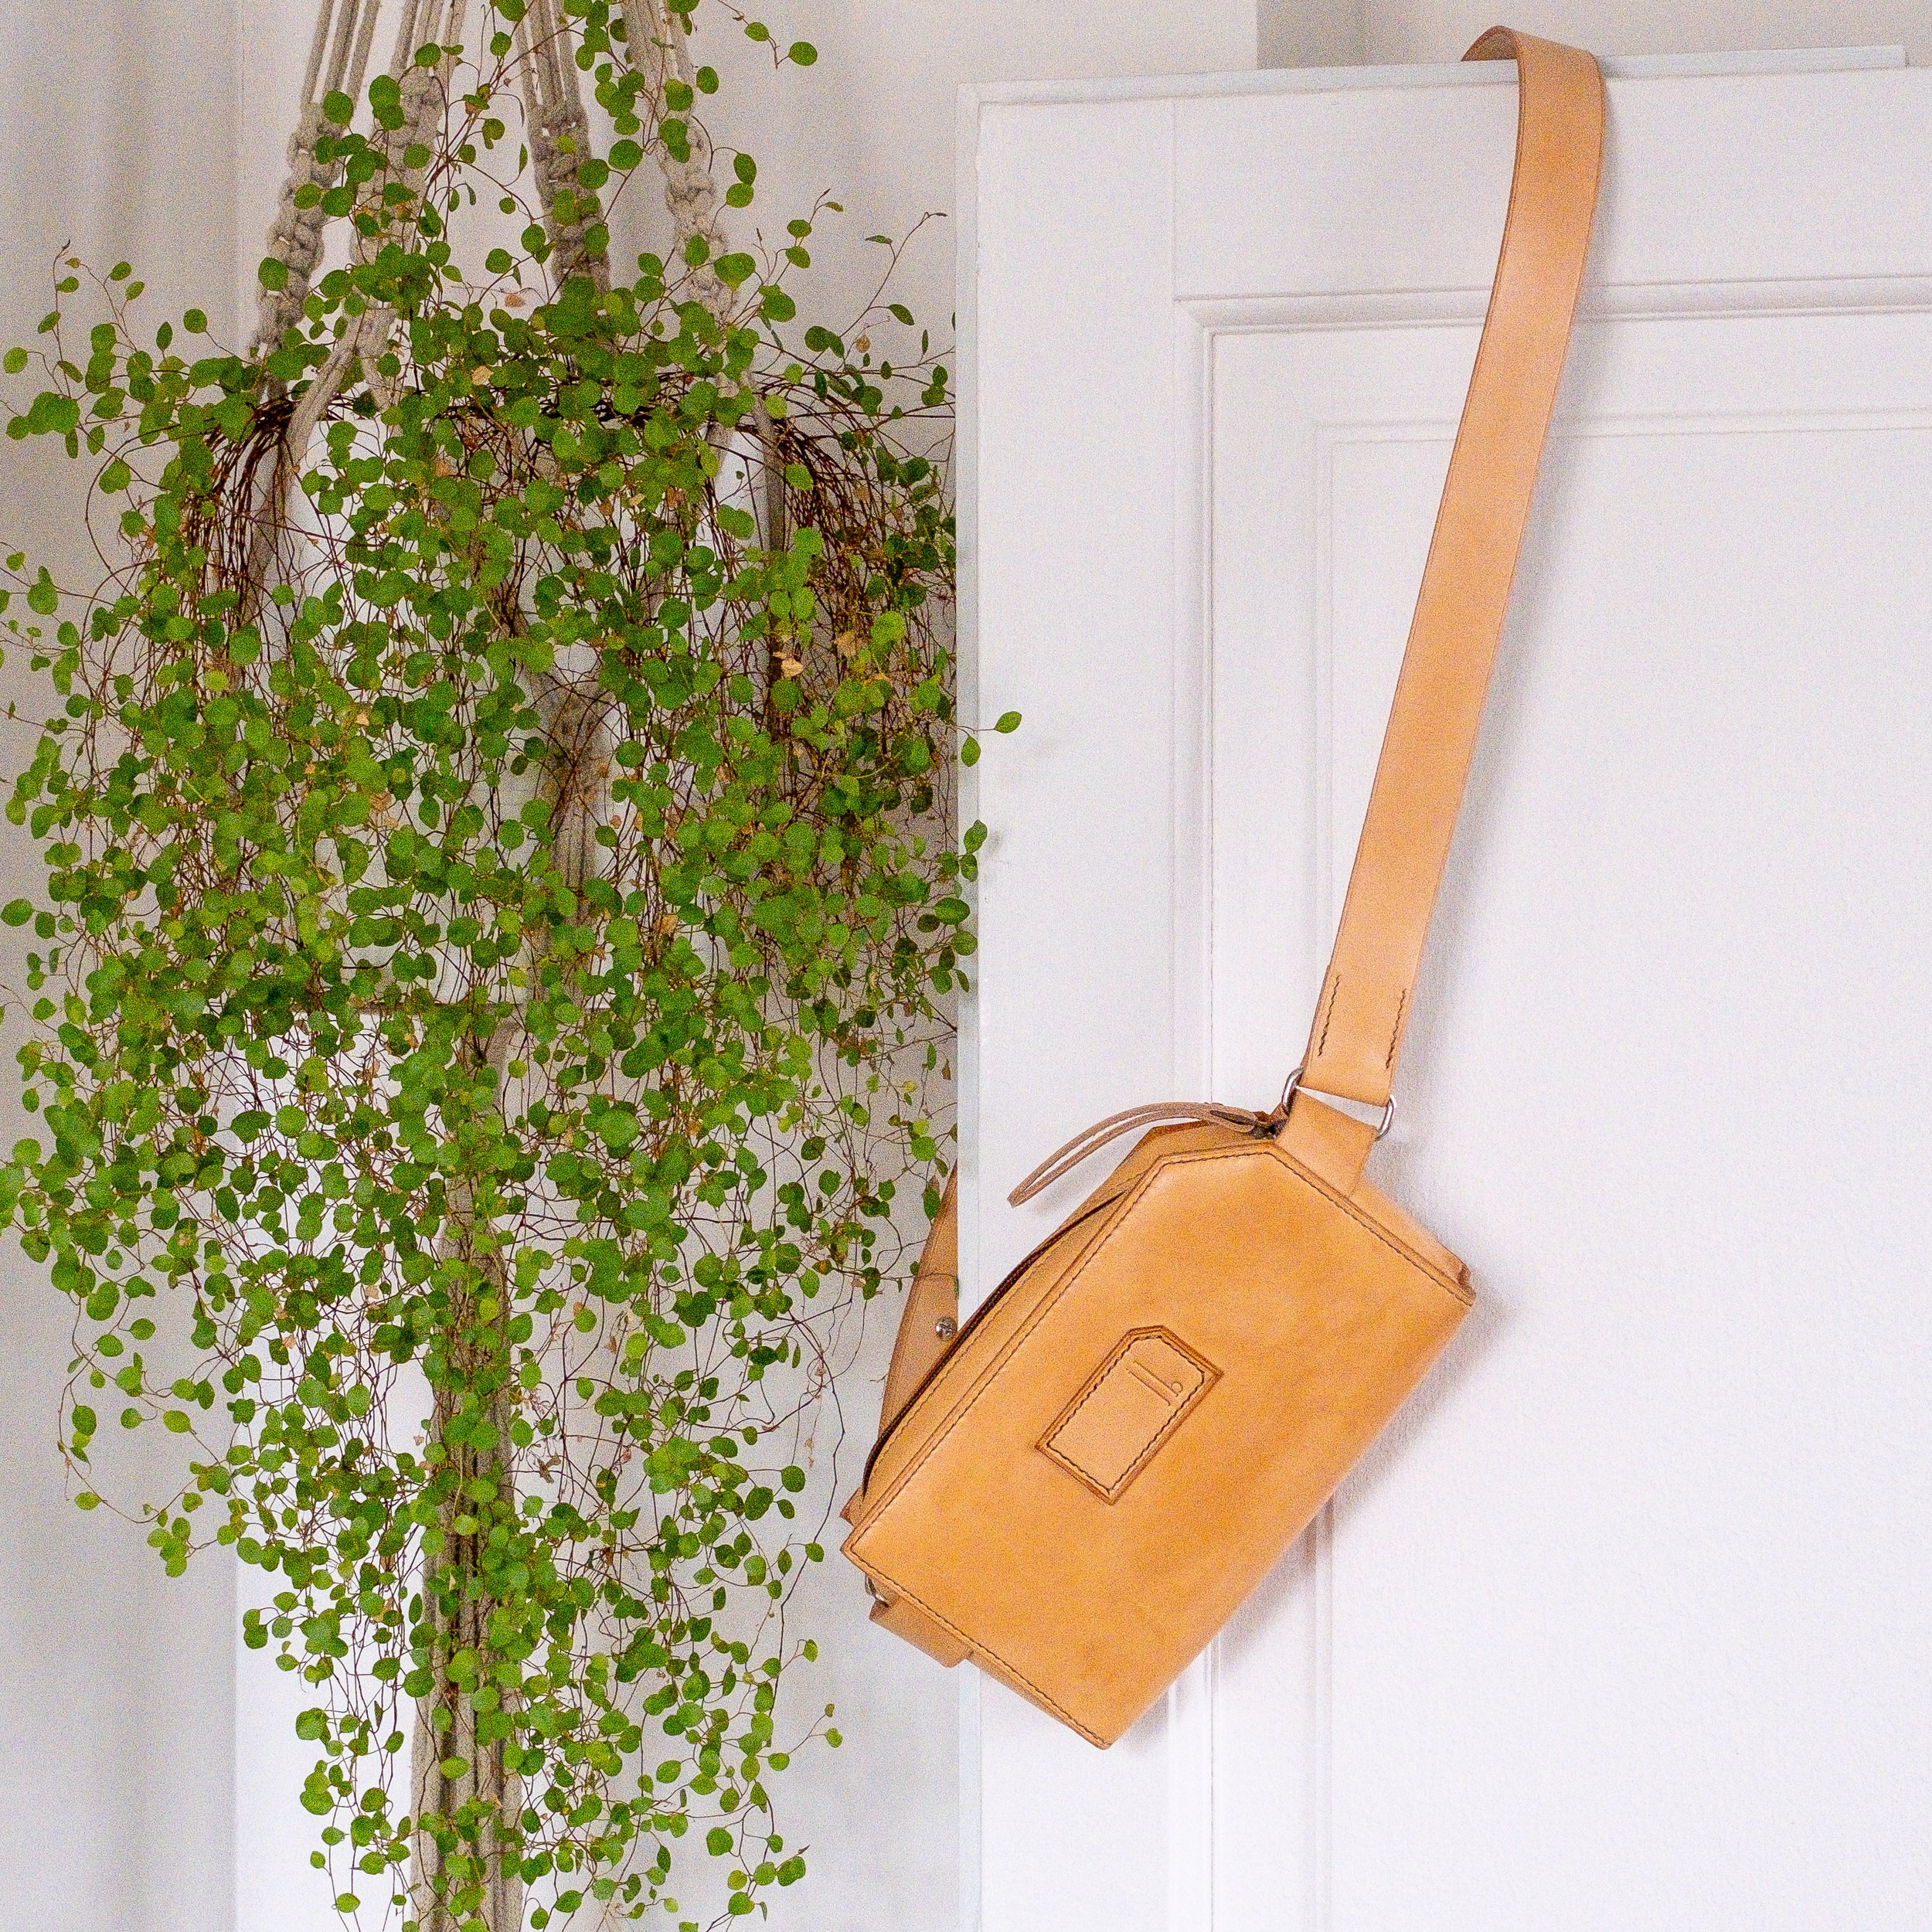
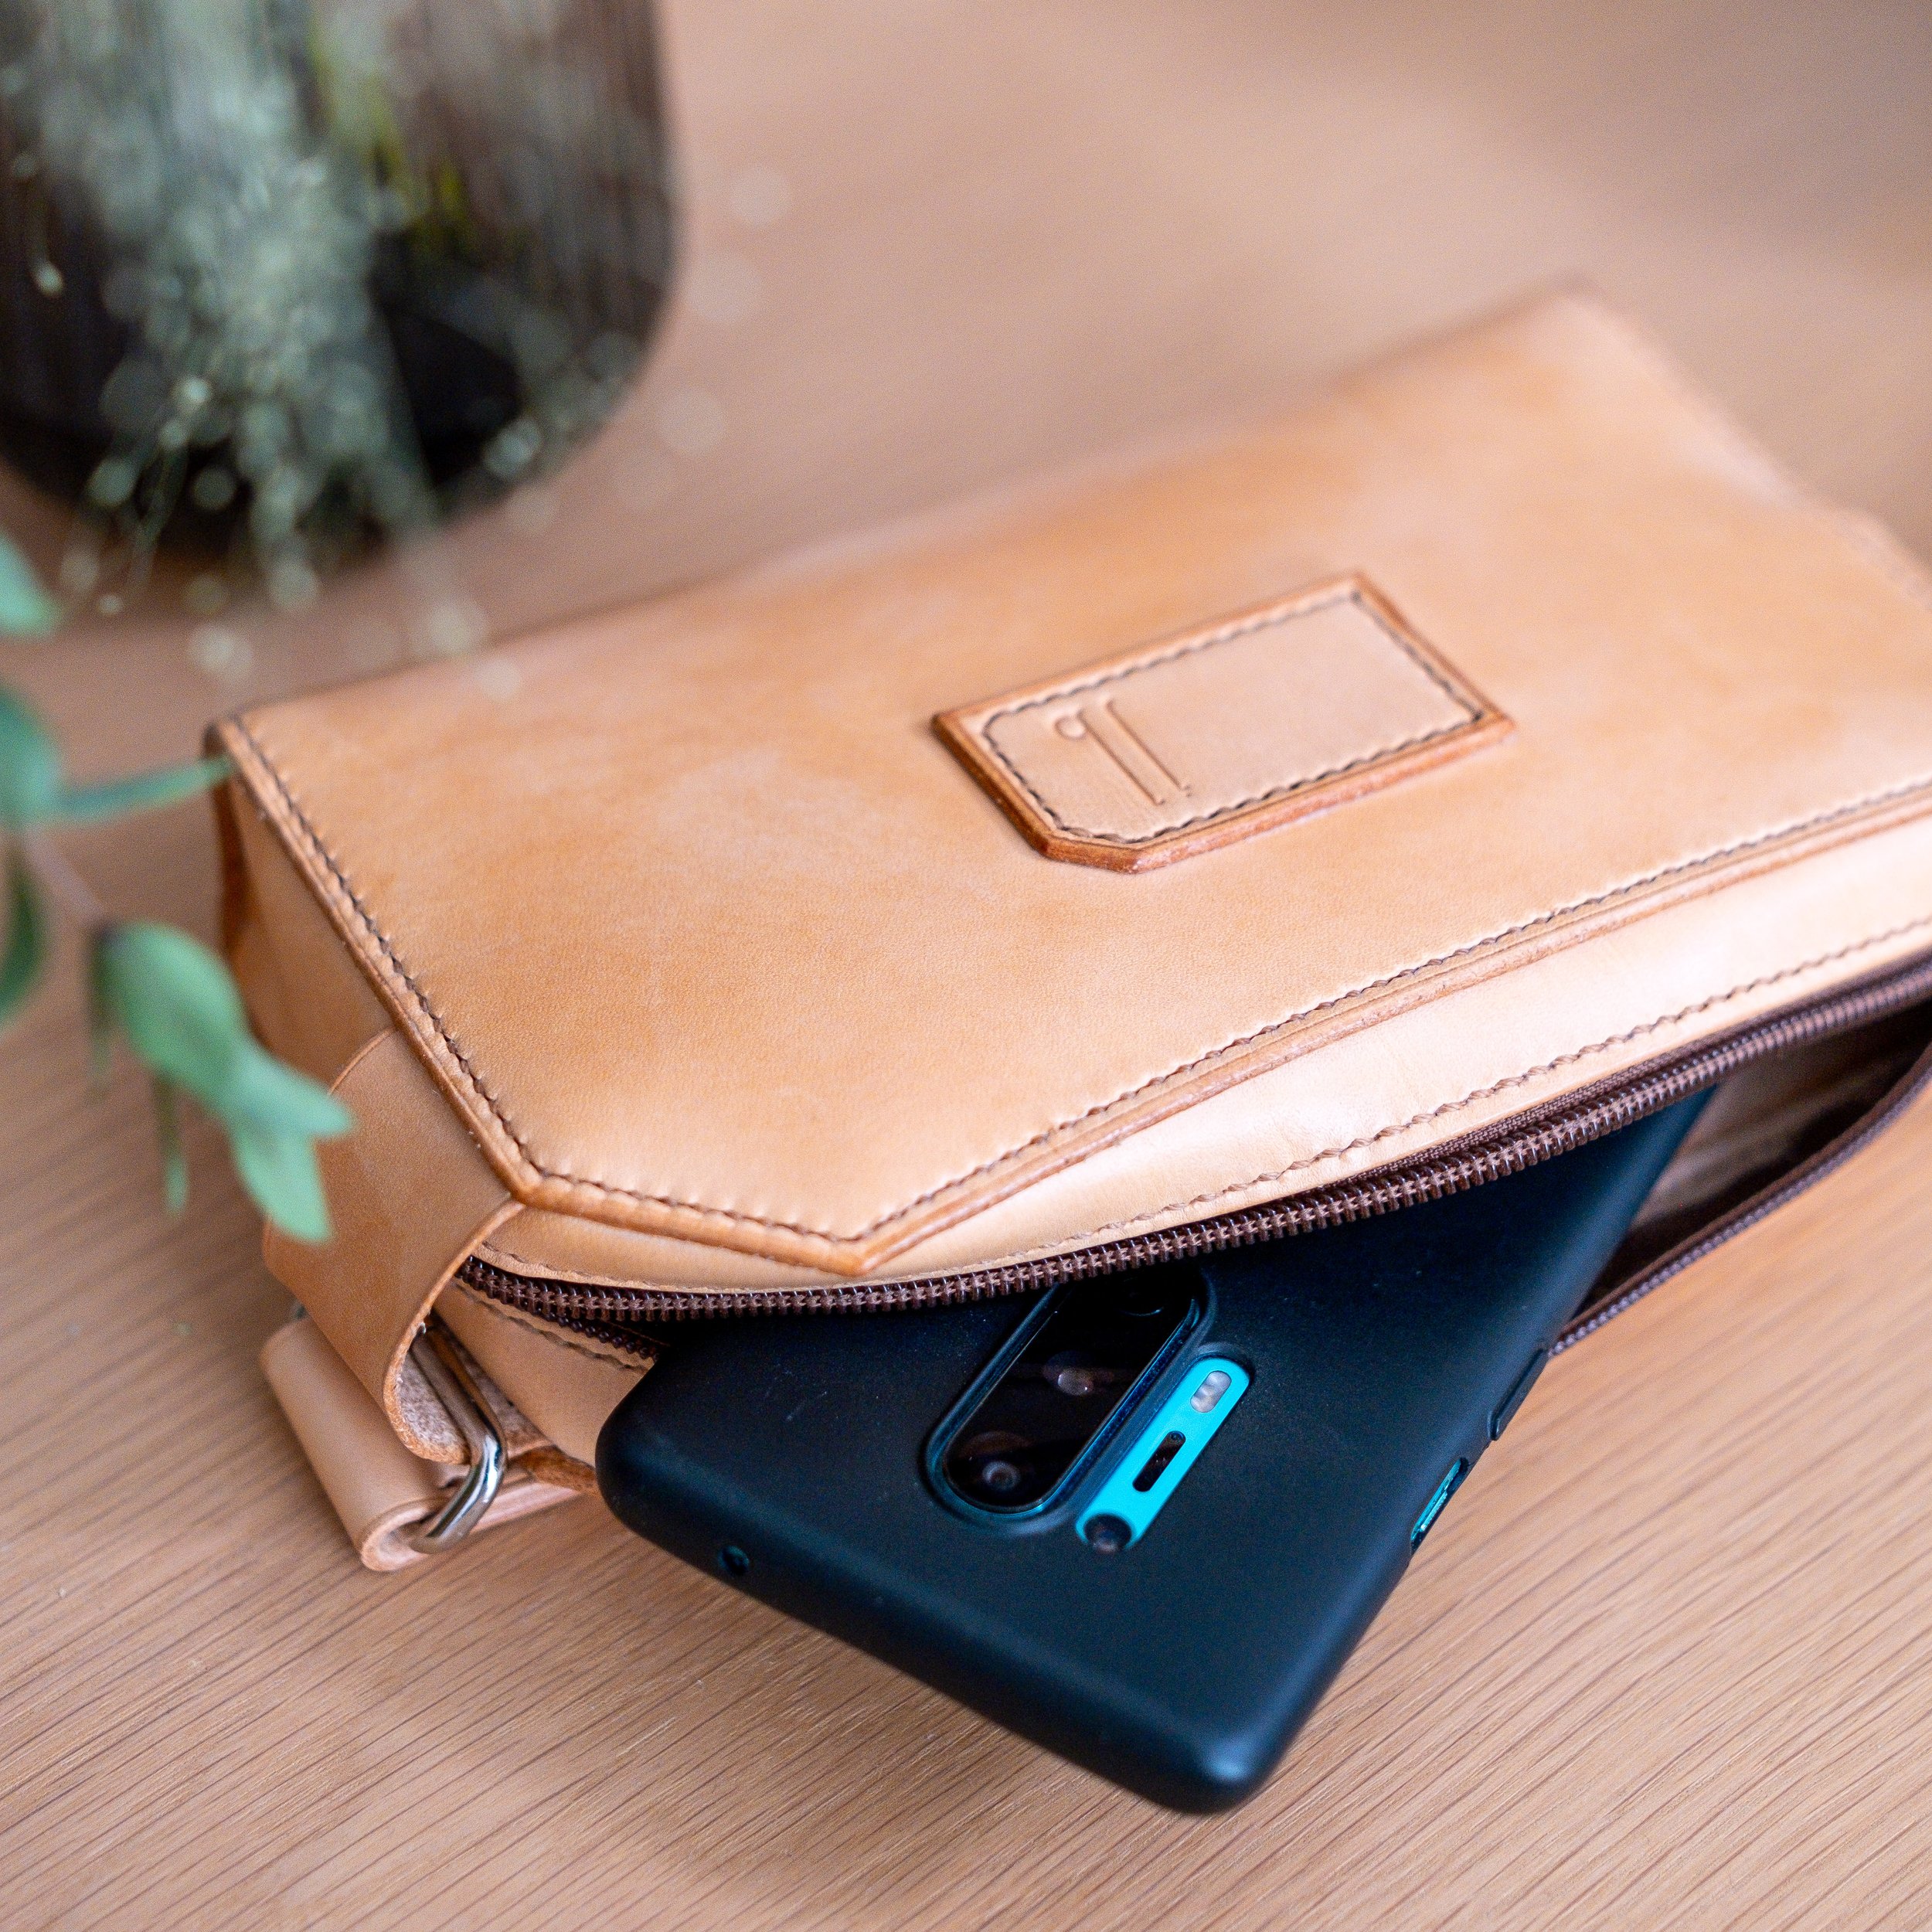
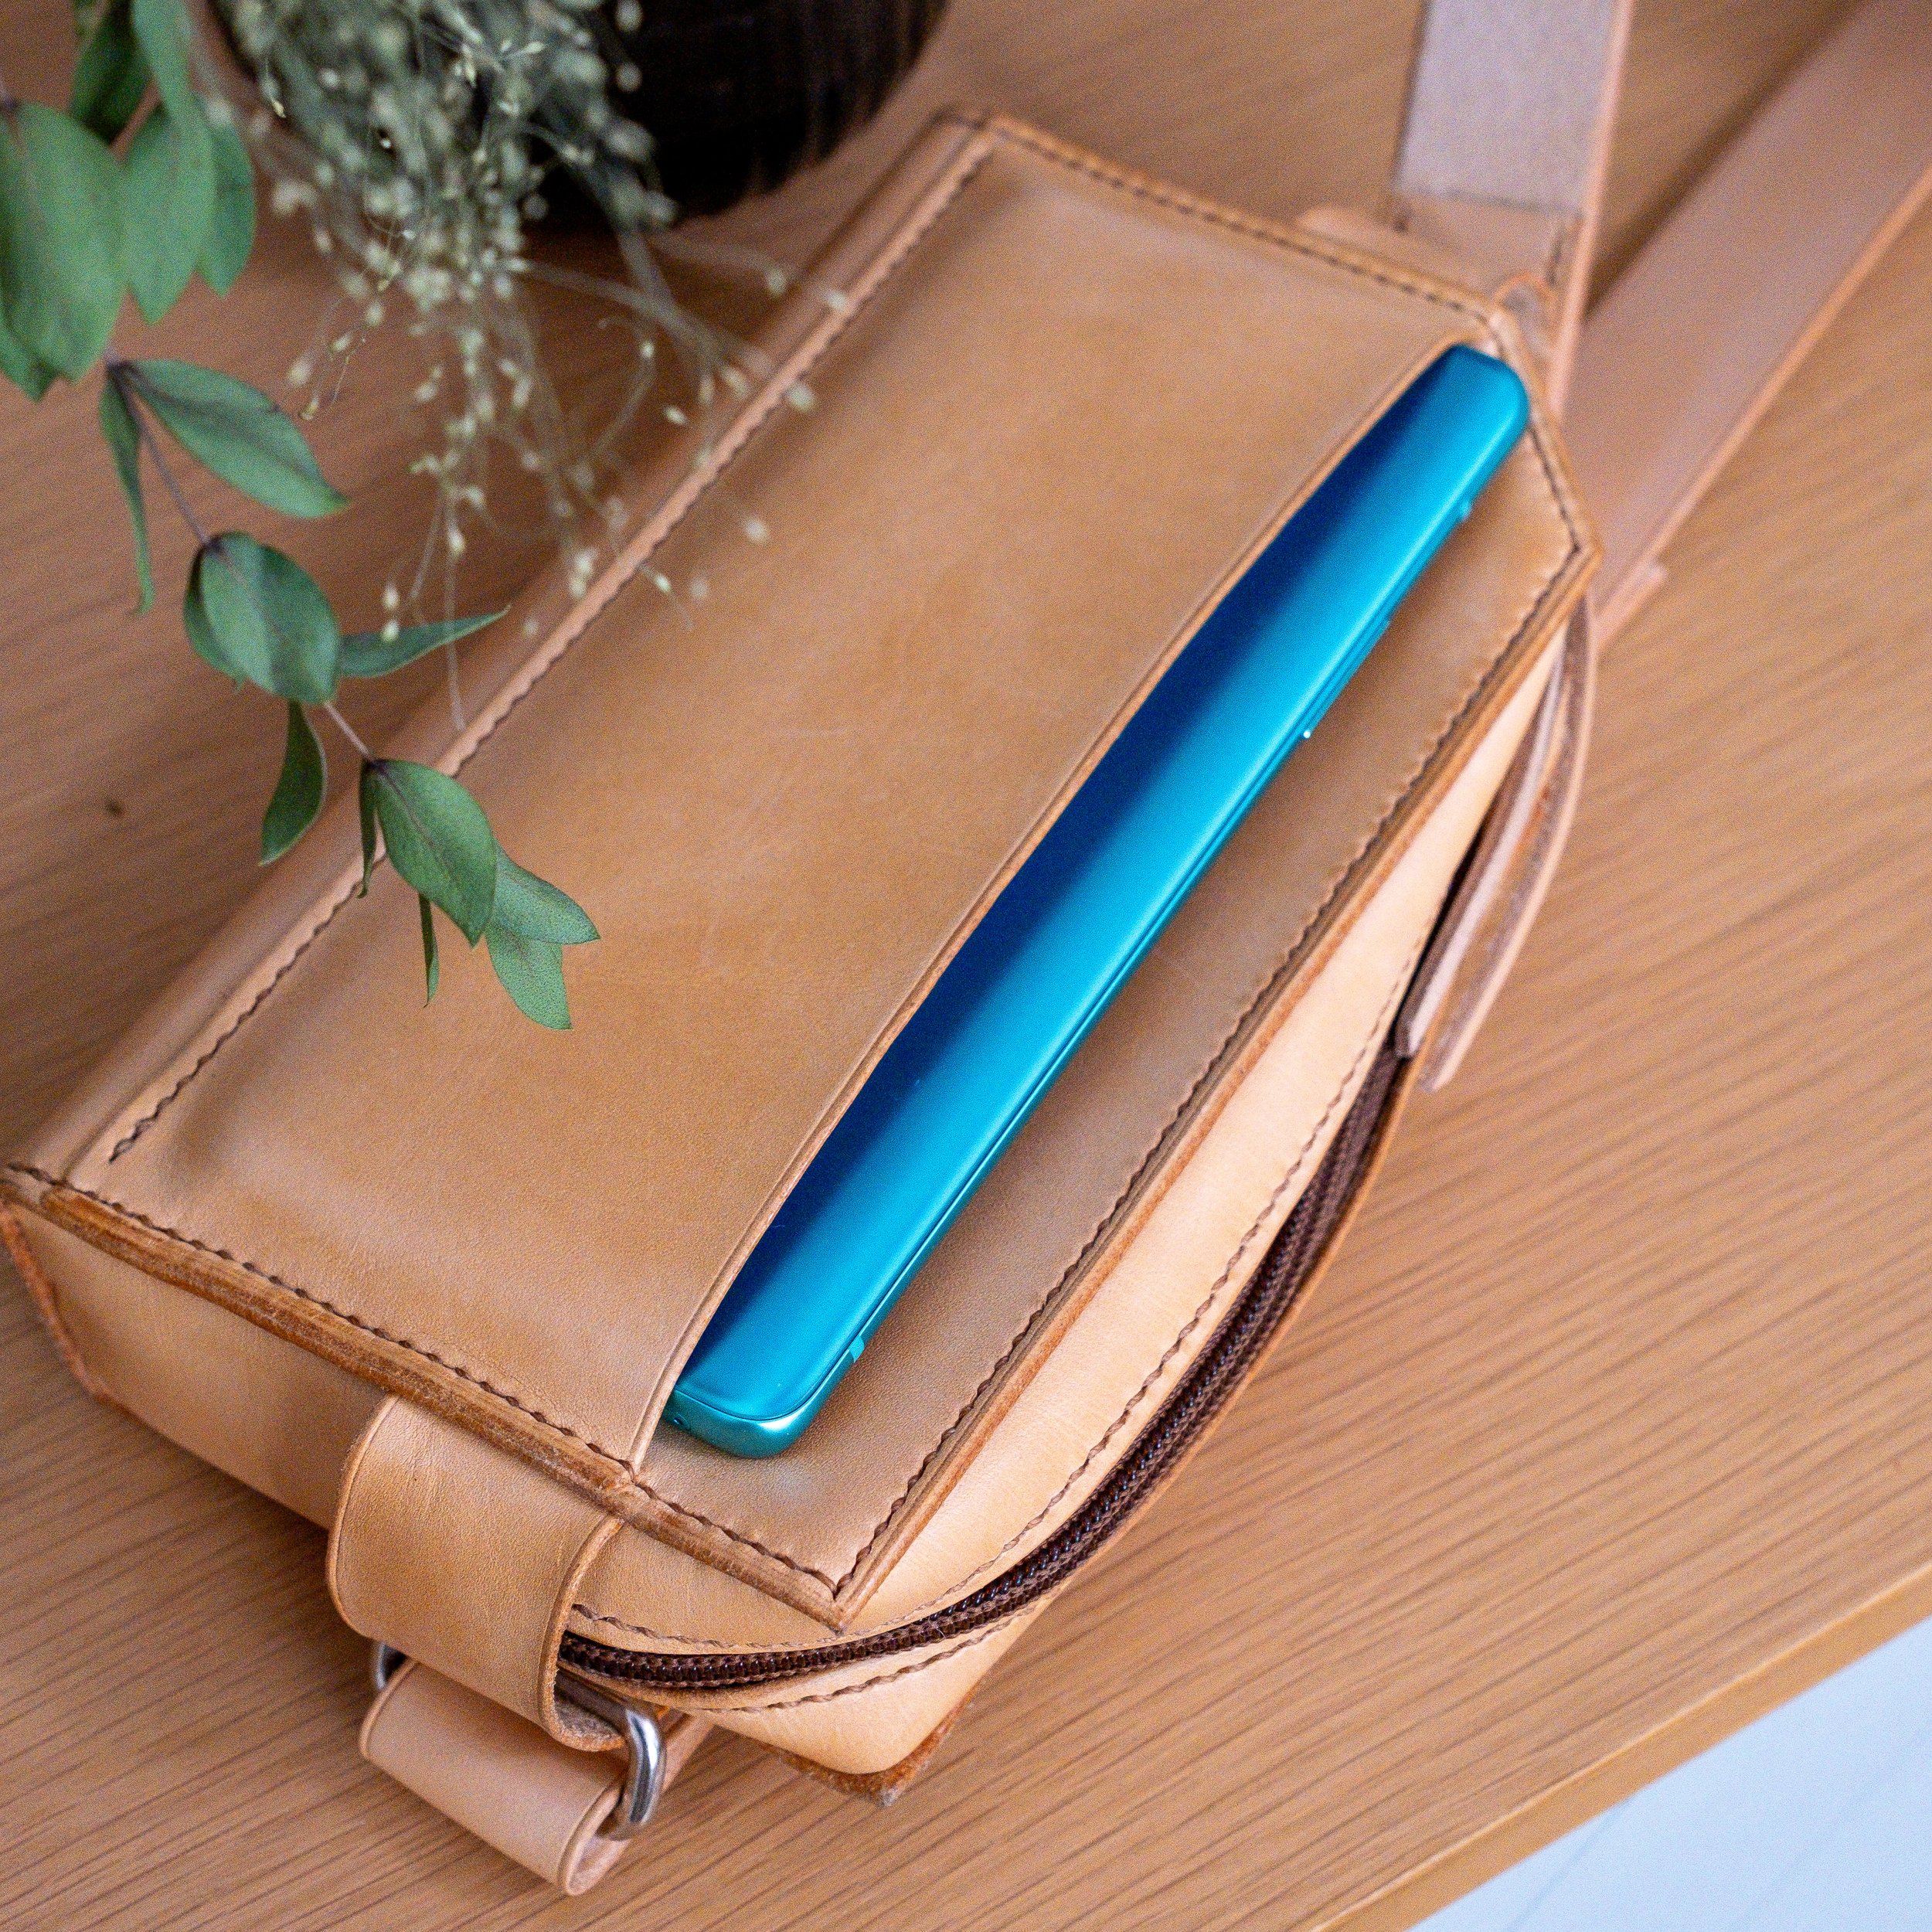
In this blog post you’ll find all the information needed to make your very own sling bag out of leather. A downloadable PDF template is available on Etsy and can be printed on A4 size paper.
Watch the full build guide video
Are you curious to see how this gets made? Want to know what goes into making this or how hard the build is?
I’ve got you covered with this full build video!
Grab the PDF template
The PDF template for this cross body leather bag can be purchased on my Etsy page here: https://bit.ly/45ssZBm
While I’ve been using mine as a cross-body bag, you could also adapt it to be a hip pouch or bum bag.
Tools needed
The first thing you’ll need is to print out the template on A4 paper at 100% of the original size. Check your template is accurate using the size guide on the template: if not accurate you may want to play around with the printer size settings to get it right.
Here is a small list of the tools needed for this build:
Leather
Metal strap hardware (with two 30mm buckles or D-rings)
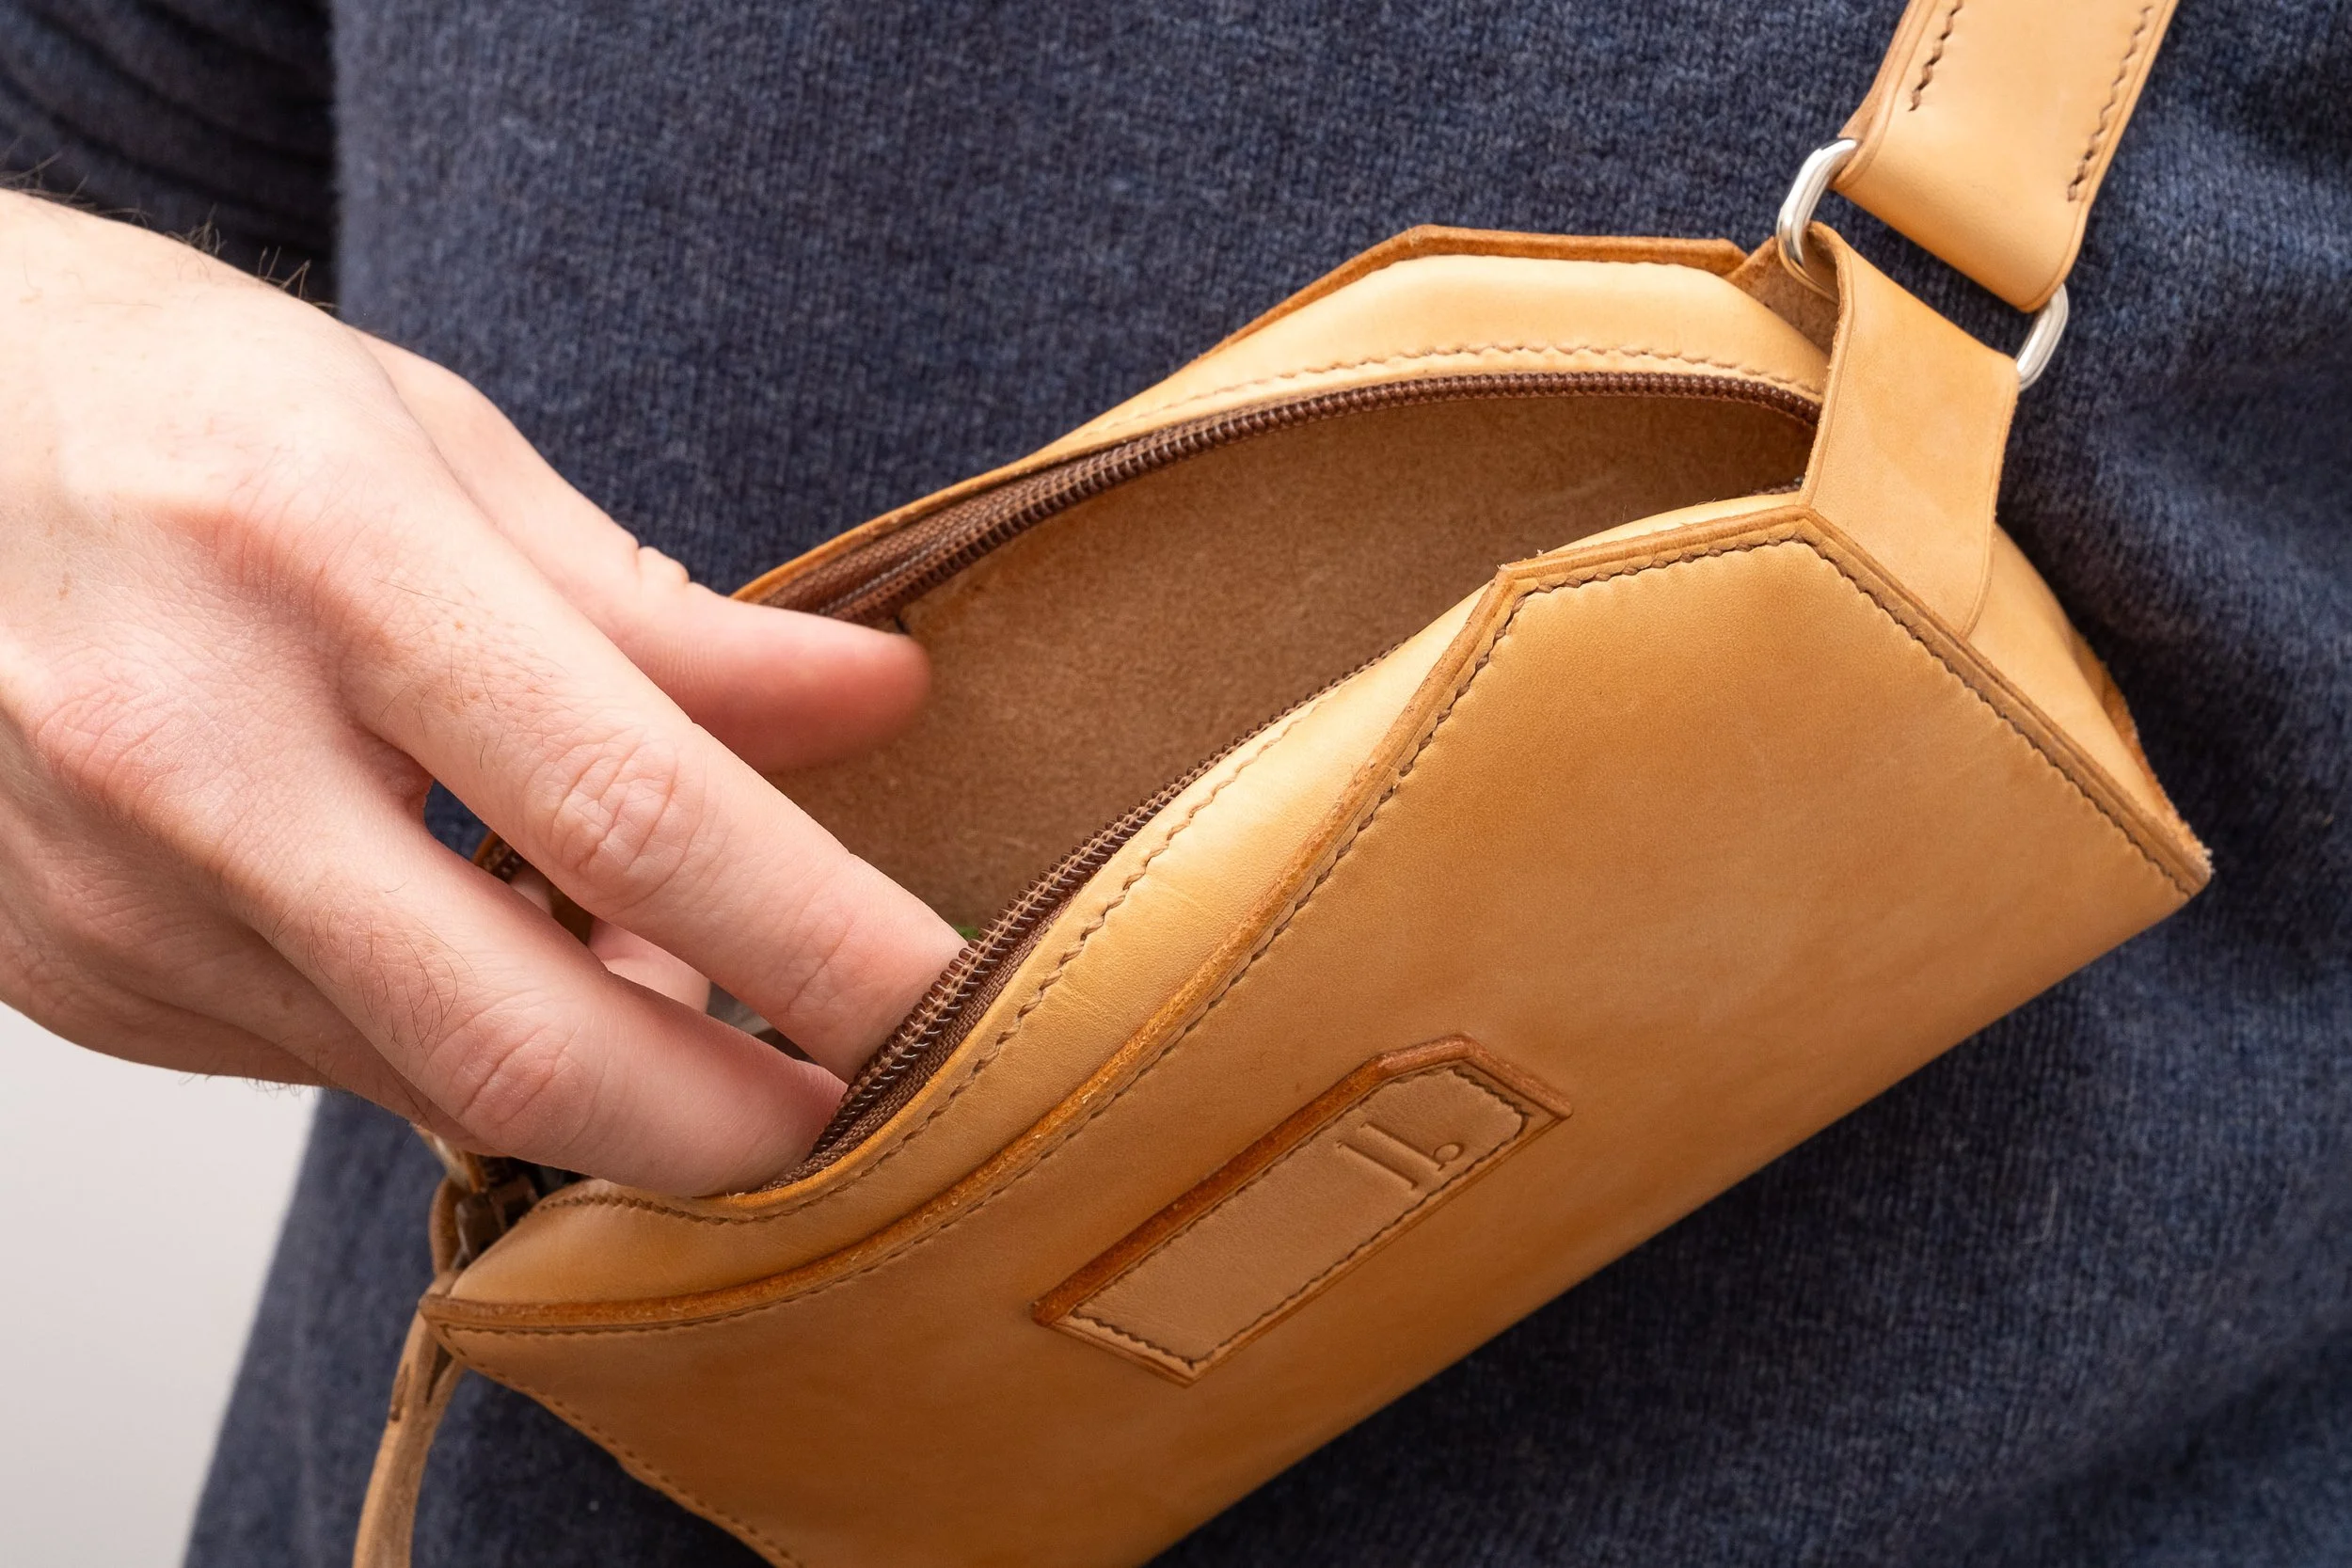
25cm long zipper
Sharp knife
Stitching chisels
Needles and thread
Edge beveler
Optional - edge creaser
Optional - wing divider (to mark stitch line)
Optional - Tokonole or other edge treatment
Optional - scraper and leather glue
Order of operations
Once you’re assembled all the materials and tools you need to make your cross-body pouch, follow these instructions:
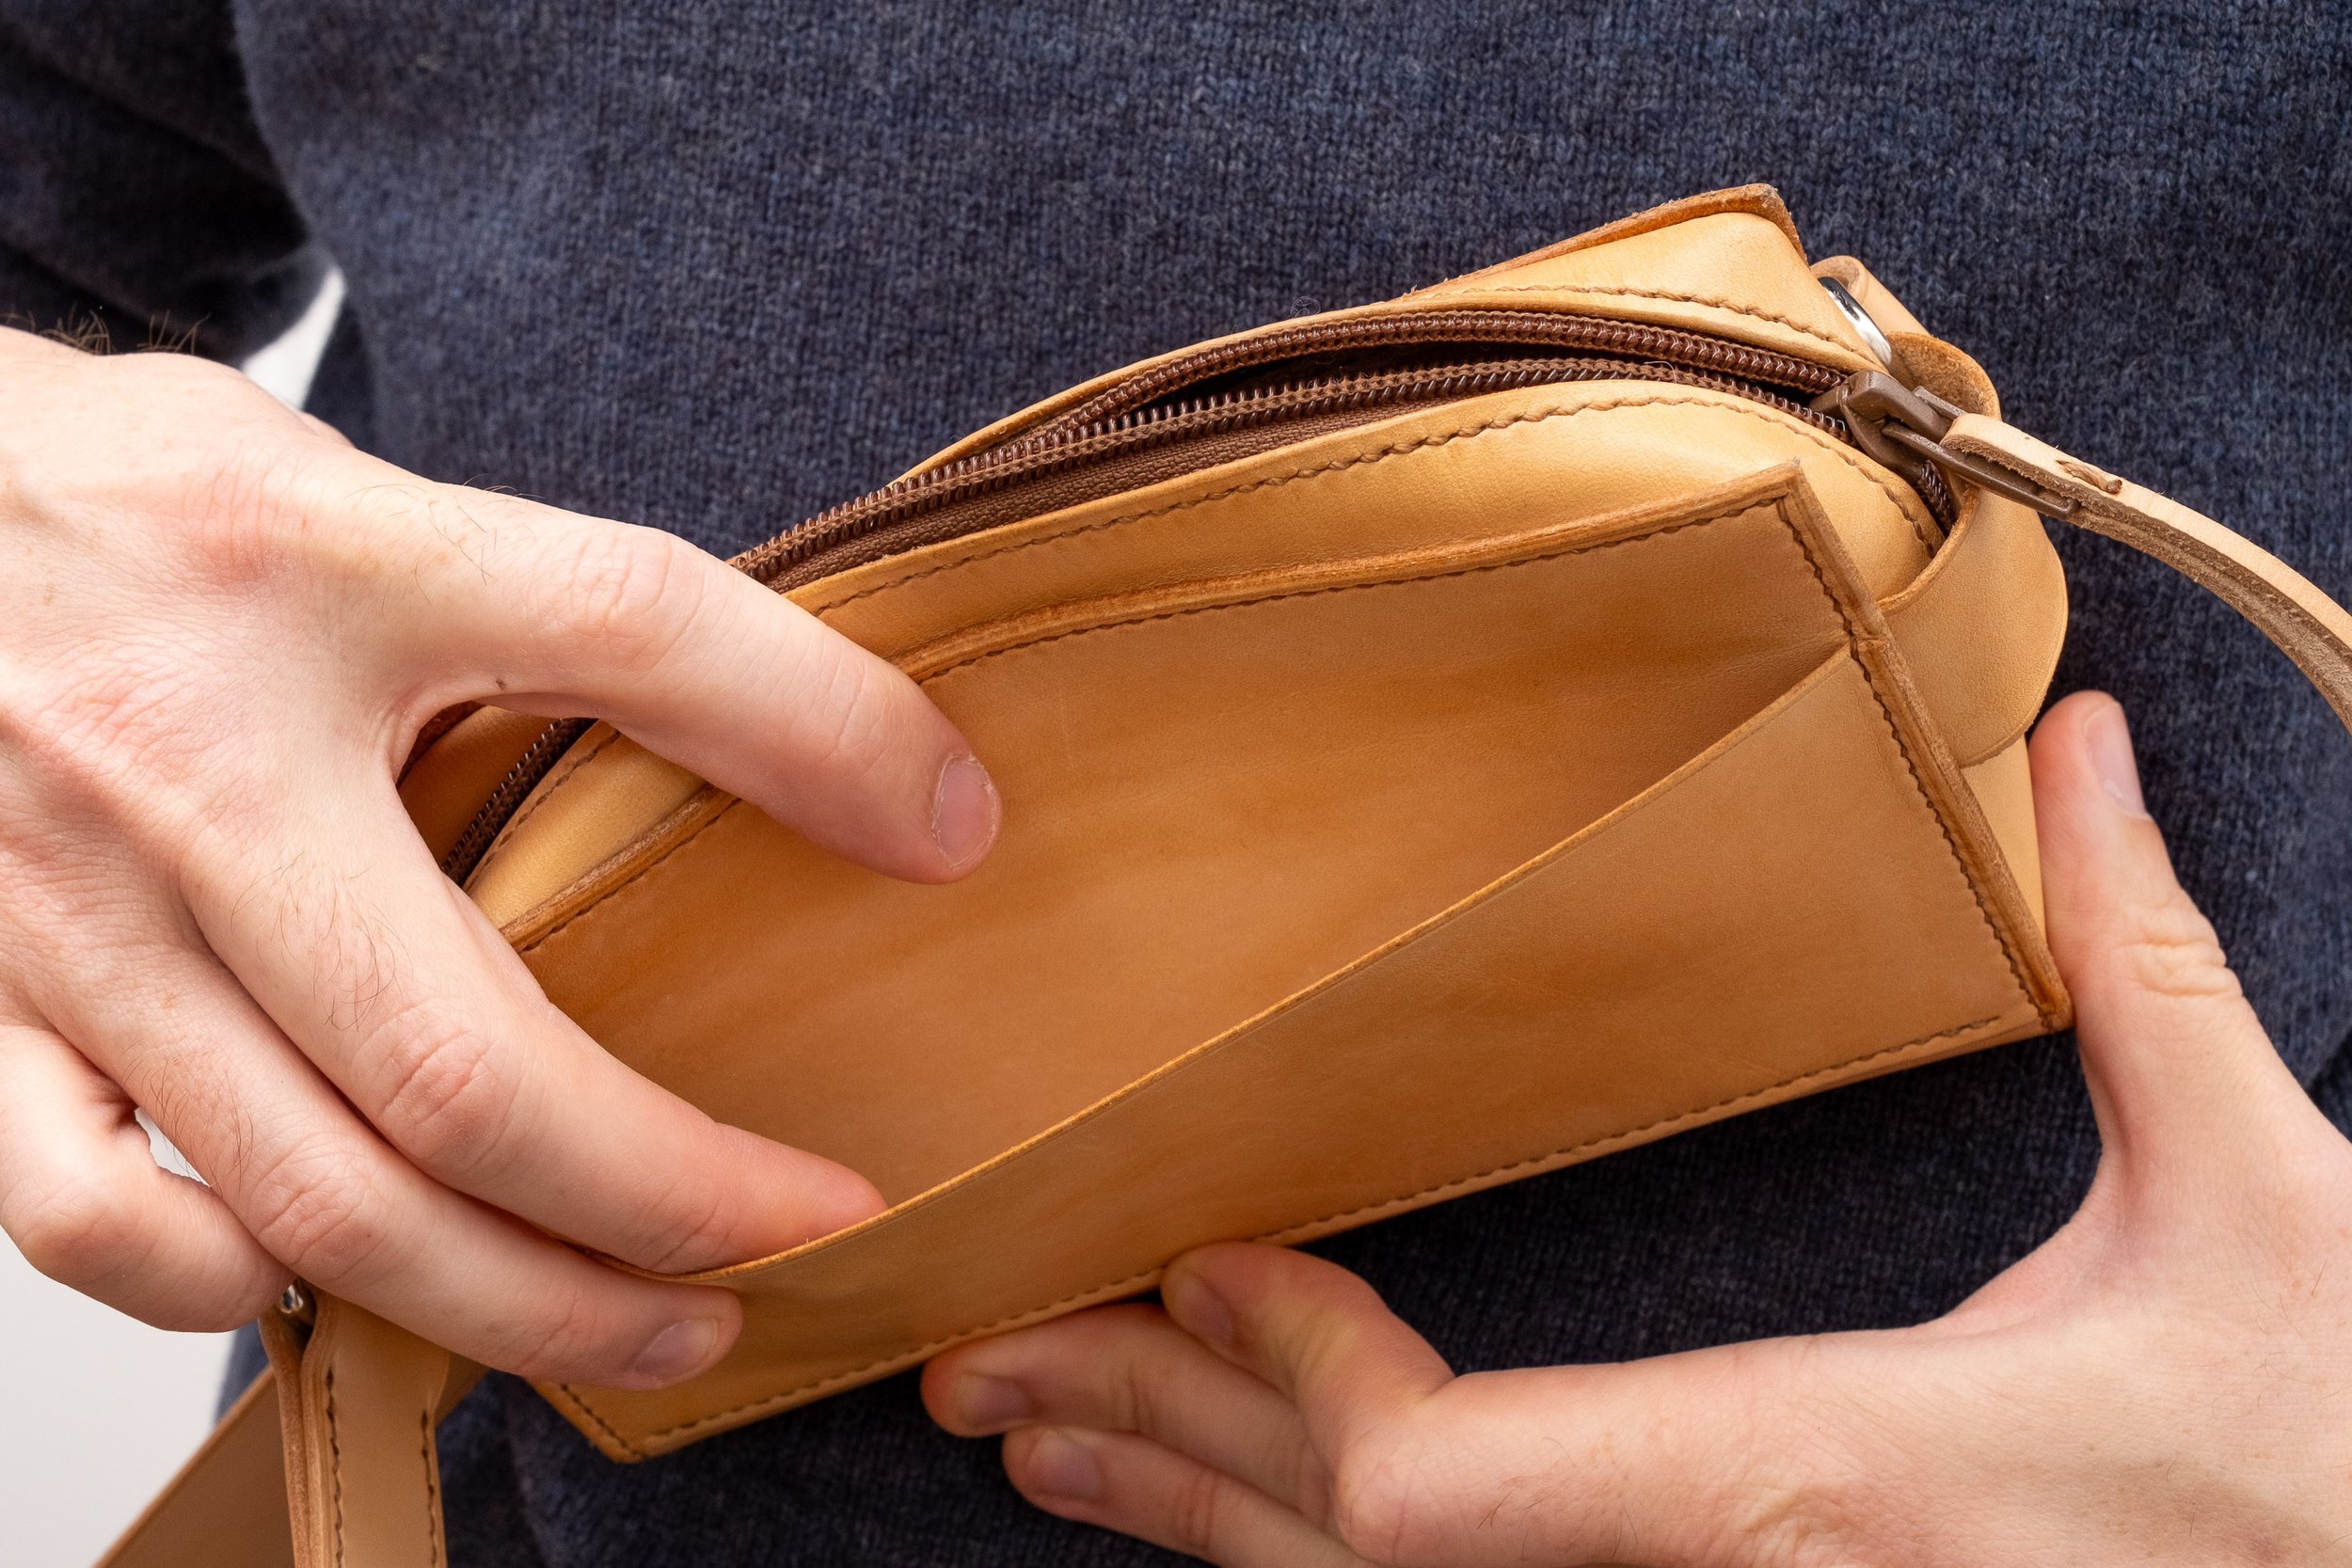
Cut out the template and trace it onto the leather - assemble the gusset template part 1 to part 2
Bevel and burnish the top and bottom of the pocket, the strap loop sides and the inner zip area on the gusset (optional - logo piece)
Trace the stitch line on the pocket, 3mm from the edge
Using the template as a guide, place the pocket on the back of the main body using a line of glue on all the 3 sides of the pocket to keep it in place
Stitch along the stitch line at the bottom of the pocket
Trace the stitch line for the zipper and stitch in the zipper on the gusset
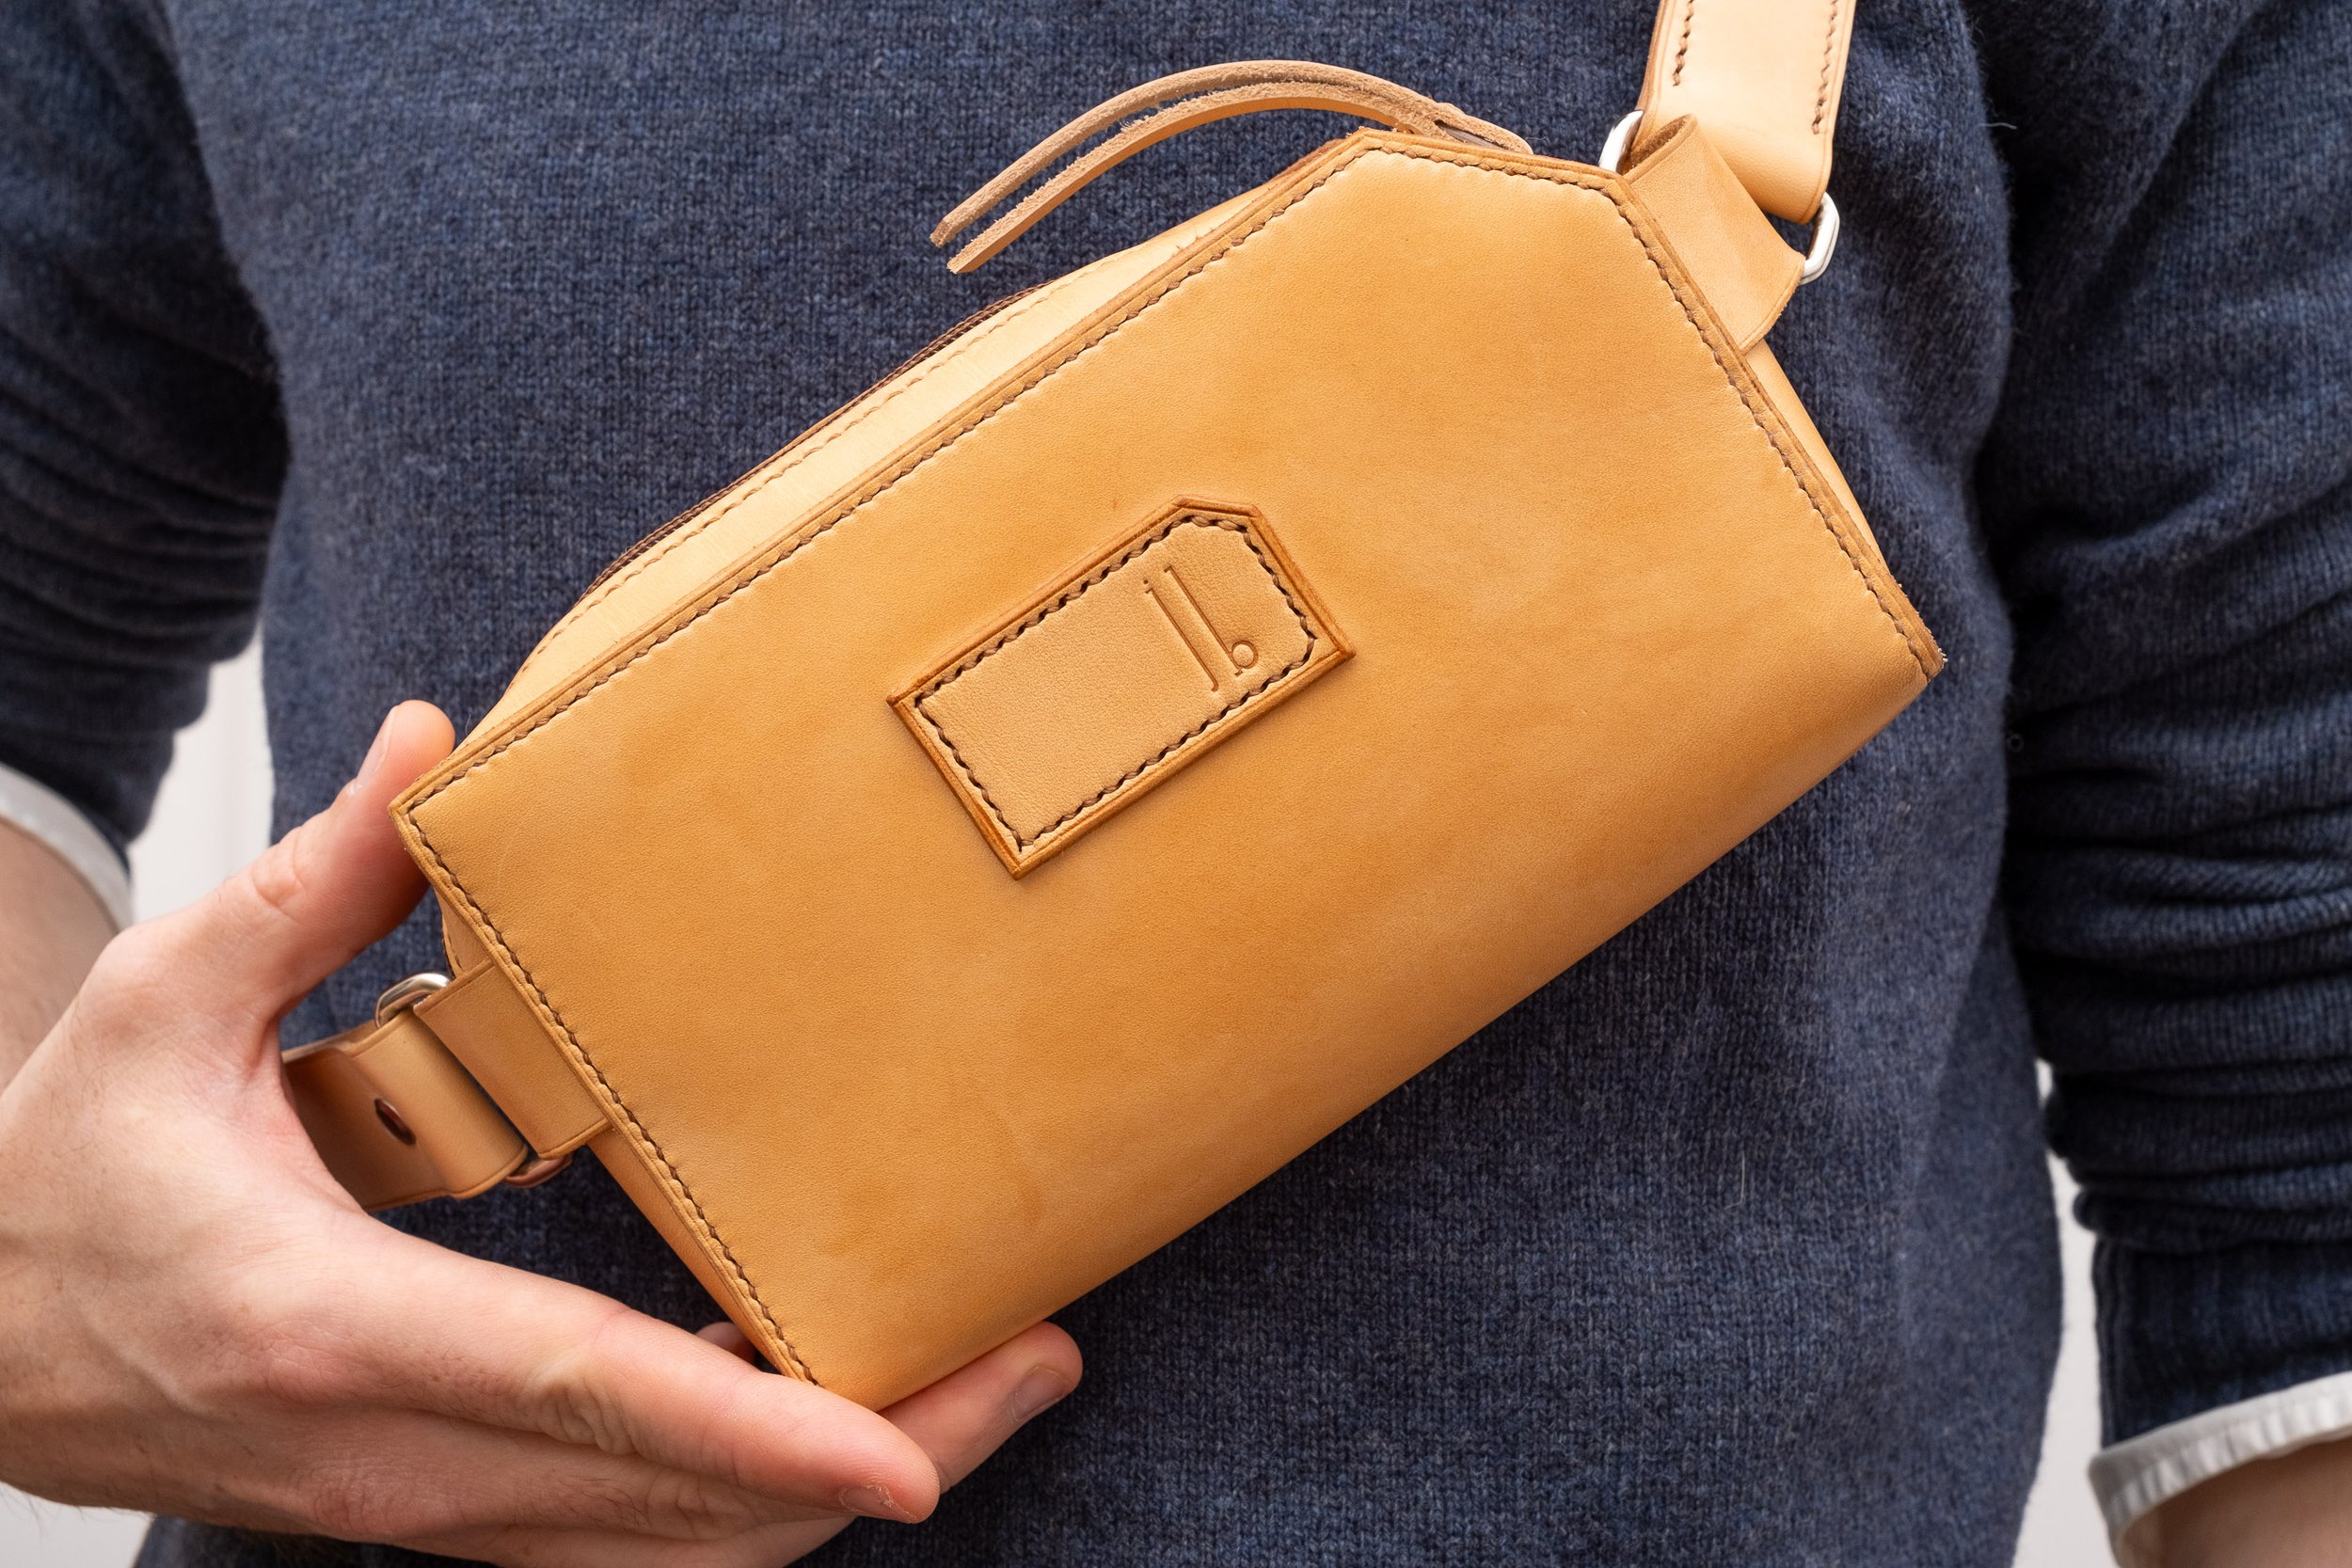
Optional - prepare and stitch in the logo piece
Bevel and burnish, then mark and punch the stitching line all around the main body of the bag
Mark the locations for the strap loops on the back of the main body
Mark and punch the stitch line on the long sides of the gusset (do not punch the ends yet)
Start stitching the gusset to the main body using the reference stitch locations on the pattern - make sure to add the strap loops when you get to the reference marks made in step 9 of this build
Once the two long sides of the gusset stitched in, count the number of holes left to stitch on the bottom of the bag and punch the same number of holes on the small opposing sides of the gusset before stitching
Protect your leather with cream, oil or wax of choice
Final words
Feel free to adapt the build depending on your needs and preferences. You may want to wet the sheath with water or neatsfoot oil to help adapt it (stretch it) to your set of pricking irons.
Please note that this template is for personal use only and may be used for as many projects as you wish. Please do not share or sell these templates or items made using it.
Thank you and happy crafting!