Make a riveted belt pouch with FREE PDF template
Today we’ll see how to make a leather belt pouch out of just one piece of leather (and two belt looks) that is entirely riveted together!
TL:DR: template download link and build video at the end of the article.
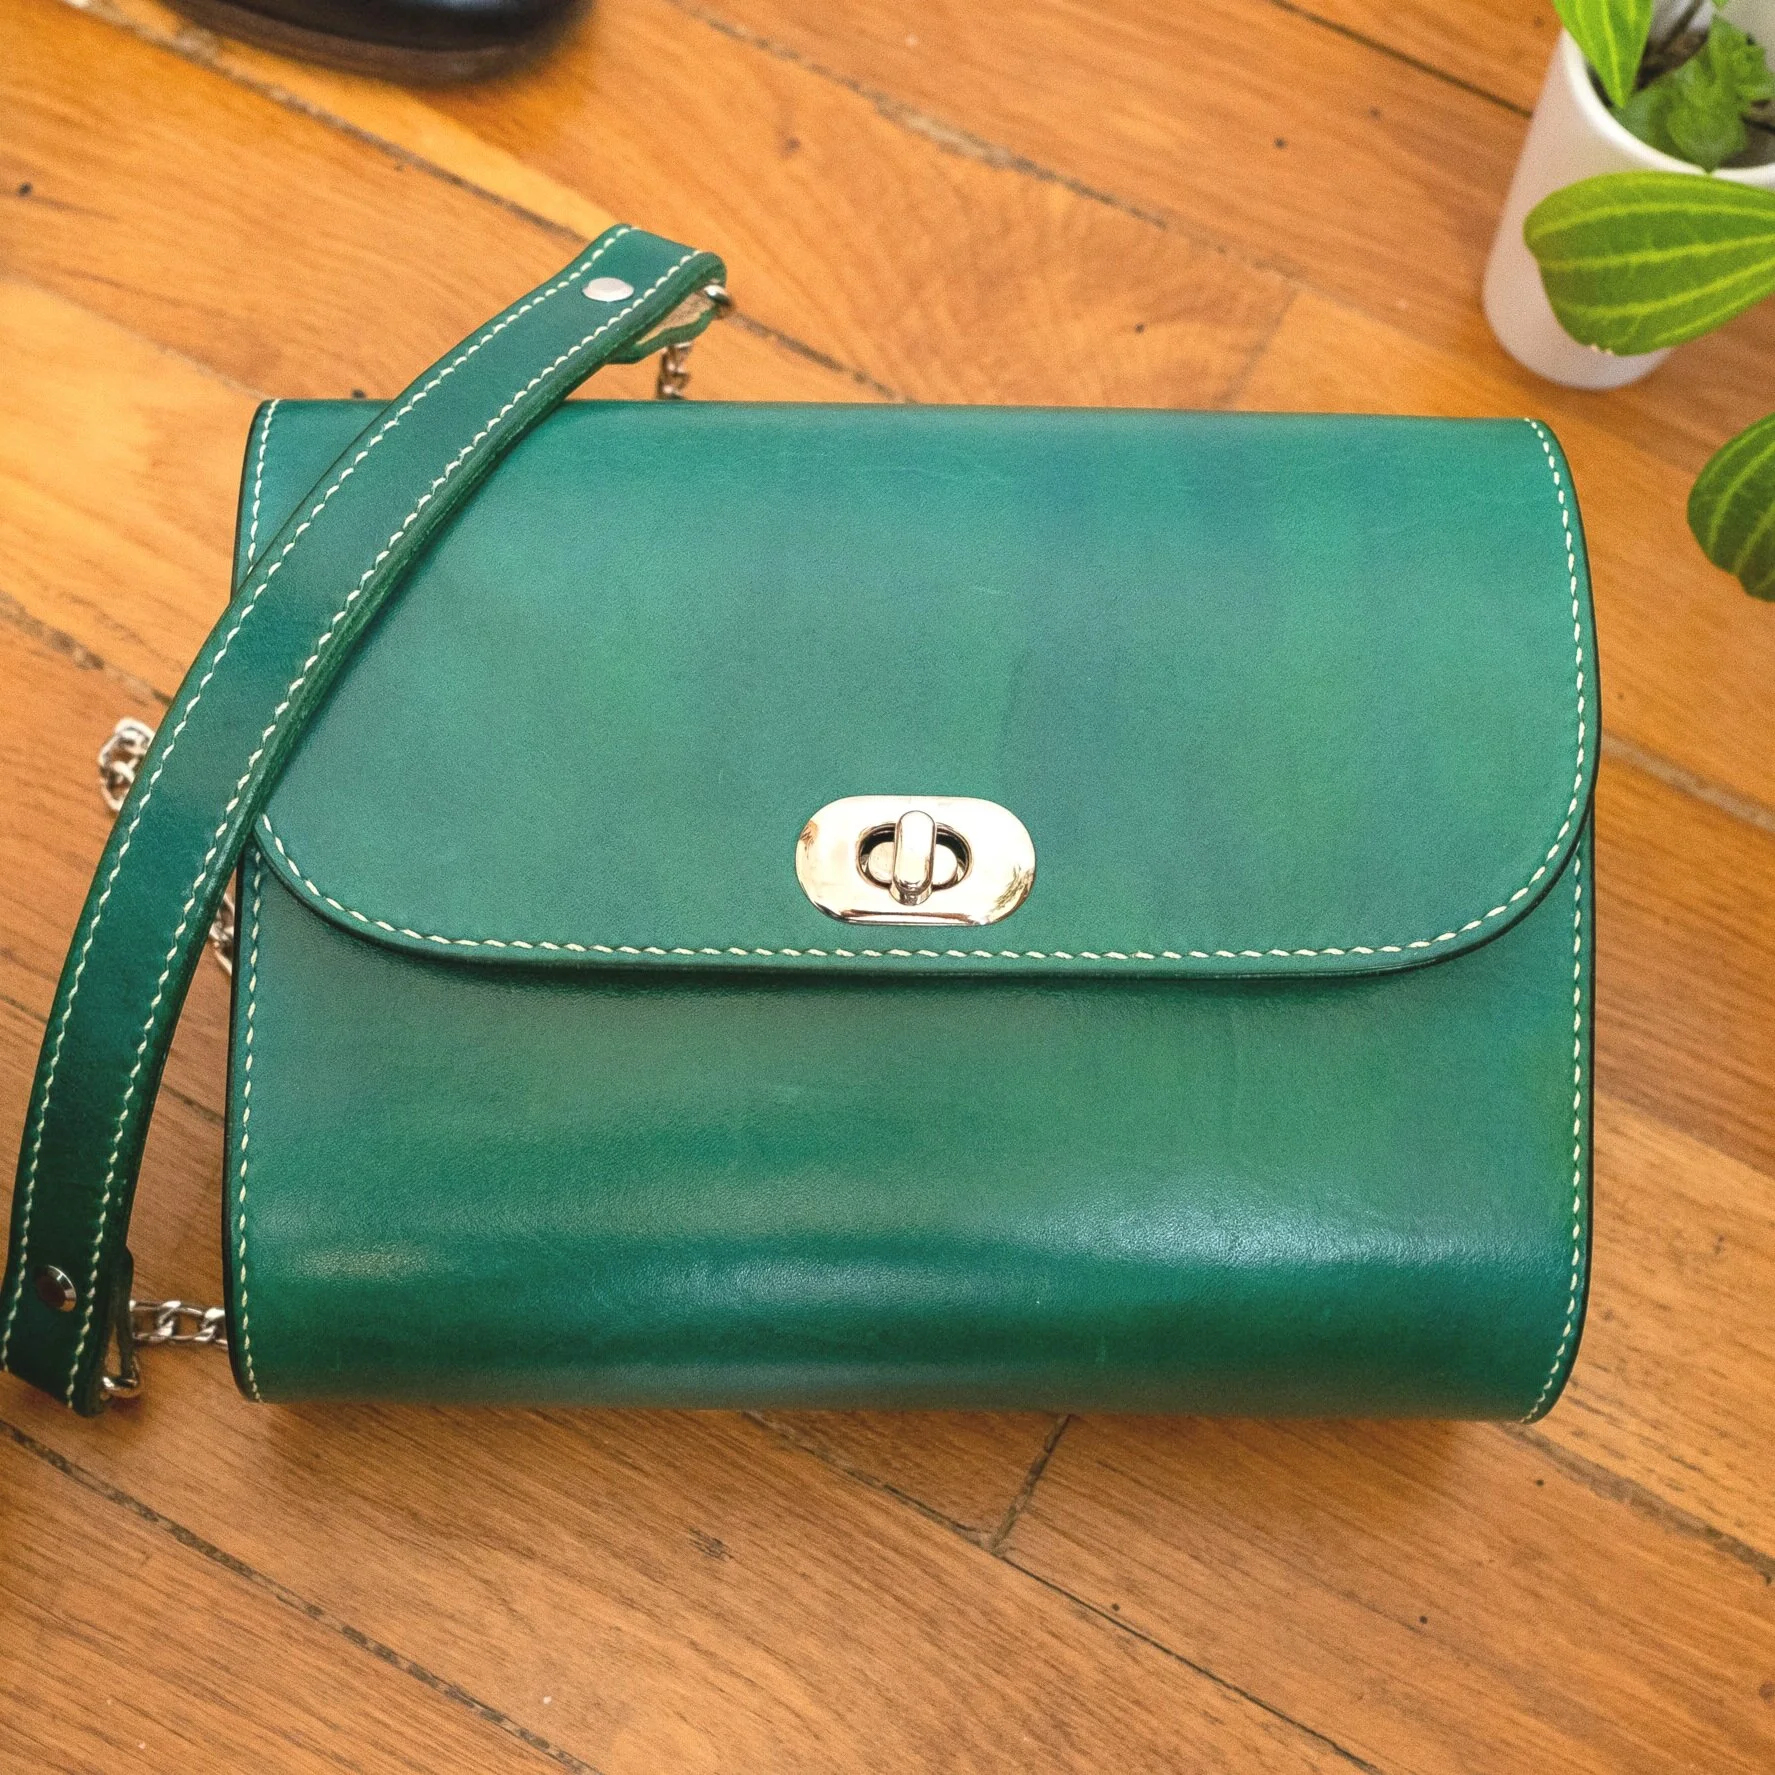
One piece belt pouch
With free PDF template
This belt pouch was made in collaboration with DecoCuir.com which is the French website I use for all my tools and leather needs. Check them out if you’re in France or the EU and looking for a new leather and leather-tools supplier!
What you’ll need
Vegetable tanned leather - 2,2mm thickness is recommended
Sets of 5,8 and 9,2mm rivets or similar sizes
We highly recommend using a rivet press and riveting the pouch by hand, though possible, will be very difficult
Cutting tools of your choice
Edge beveler or sand paper to round out the edges
Optional - Gum Tragacanth or Tokonole or similar burnishing agent to burnish edges
Leather conditioner of your choice
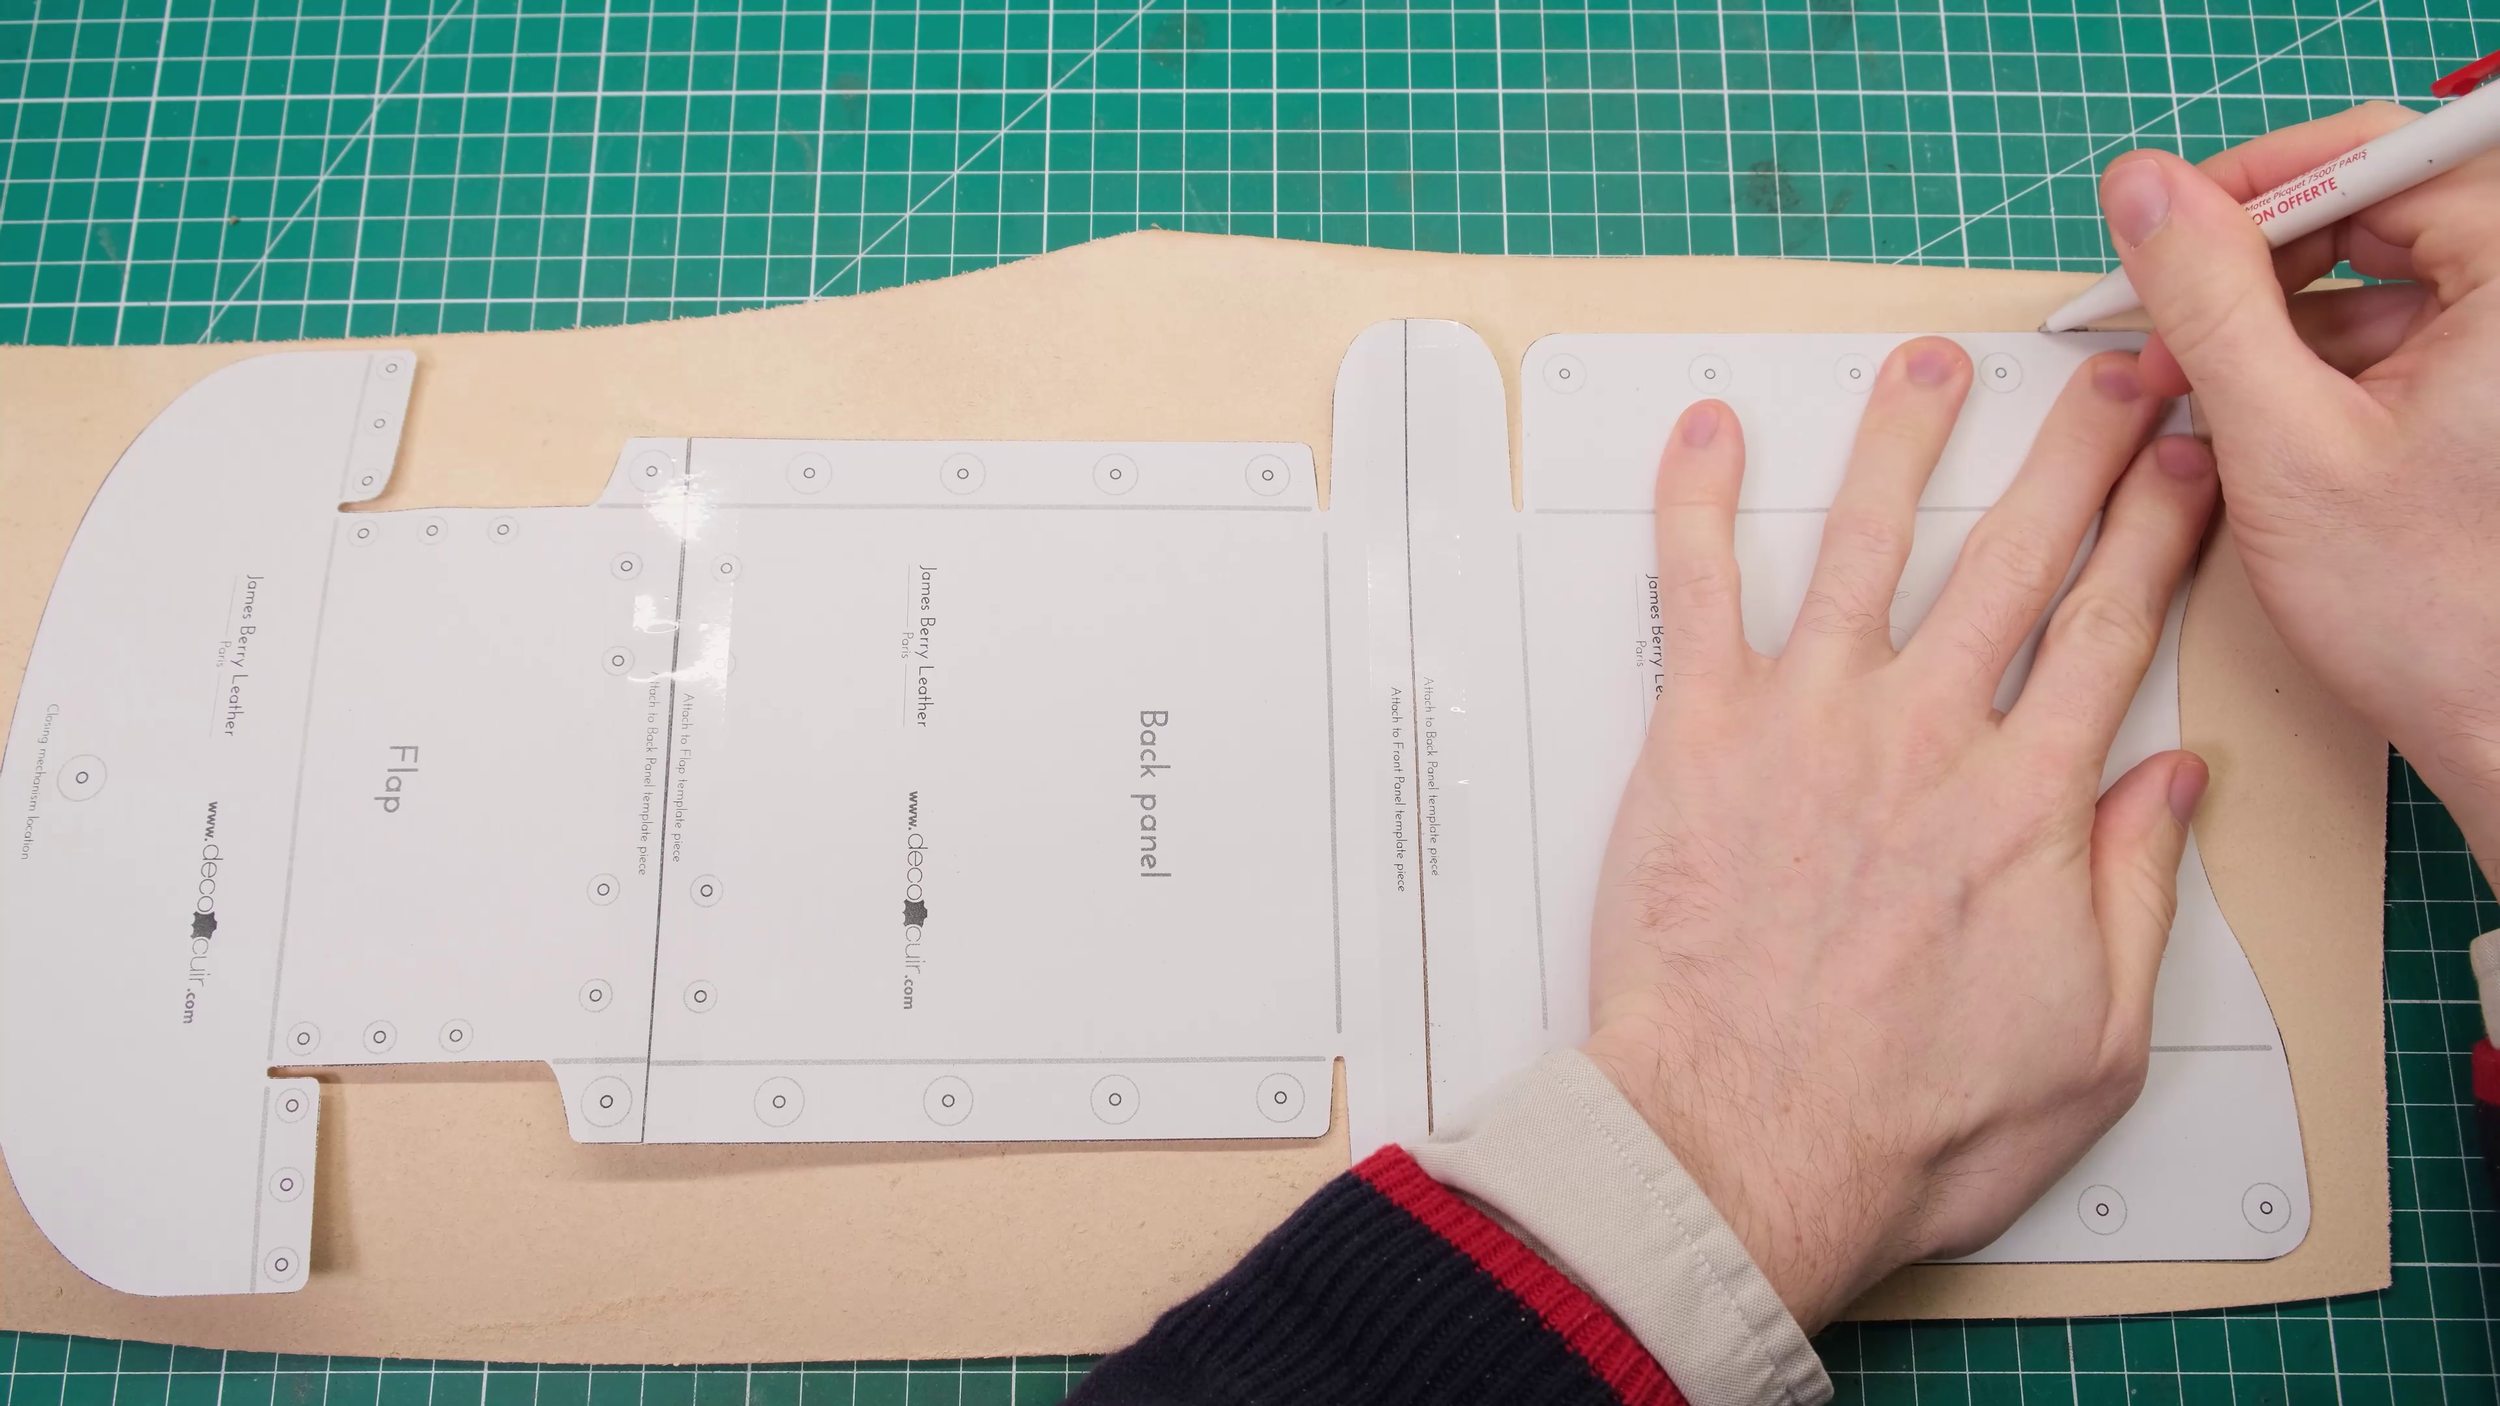
Print and cut out the template
The template will come in a free downloadable PDF file that you can print on any A4 size paper. Make sure you set your printer to 100% original size when printing and use the print guide on the template to check your print came out at the appropriate size.
Cut our the template and use tape to attach the 3 pieces of the body together to form one piece. You will also need to cut out at least one pattern for the belt loops.
Apply a light coat of oil to your leather: as you don’t know how long the leather was in storage before getting to you, this is a good way of making sure you’re giving the leather the nourishing oils and protection it may need.
Trace the pattern on your leather and cut out the pieces needed - main body of the pouch and 2 belt loops.


Prepare the piece for riveting
Bevel the edges using an edge beveller of sand paper (or both), then burnish the edges all around your piece and on the two belt loops us your preferred burnishing method. In my case I have become a huge fan of Tokonole and can’t ever consider going back to other burnishing agents!
Placing the template on top of your piece you can use an awl or similar pointy object to mark out where all the holes will be for riveting, then punch out all the holes.
At this point you can add the closing mechanism of your choice. I went with the LOXX system which I not only find really elegant on this pouch but also very clever and easy to install. They’re a bit more expensive than what I would normally use but their quality is undeniable!


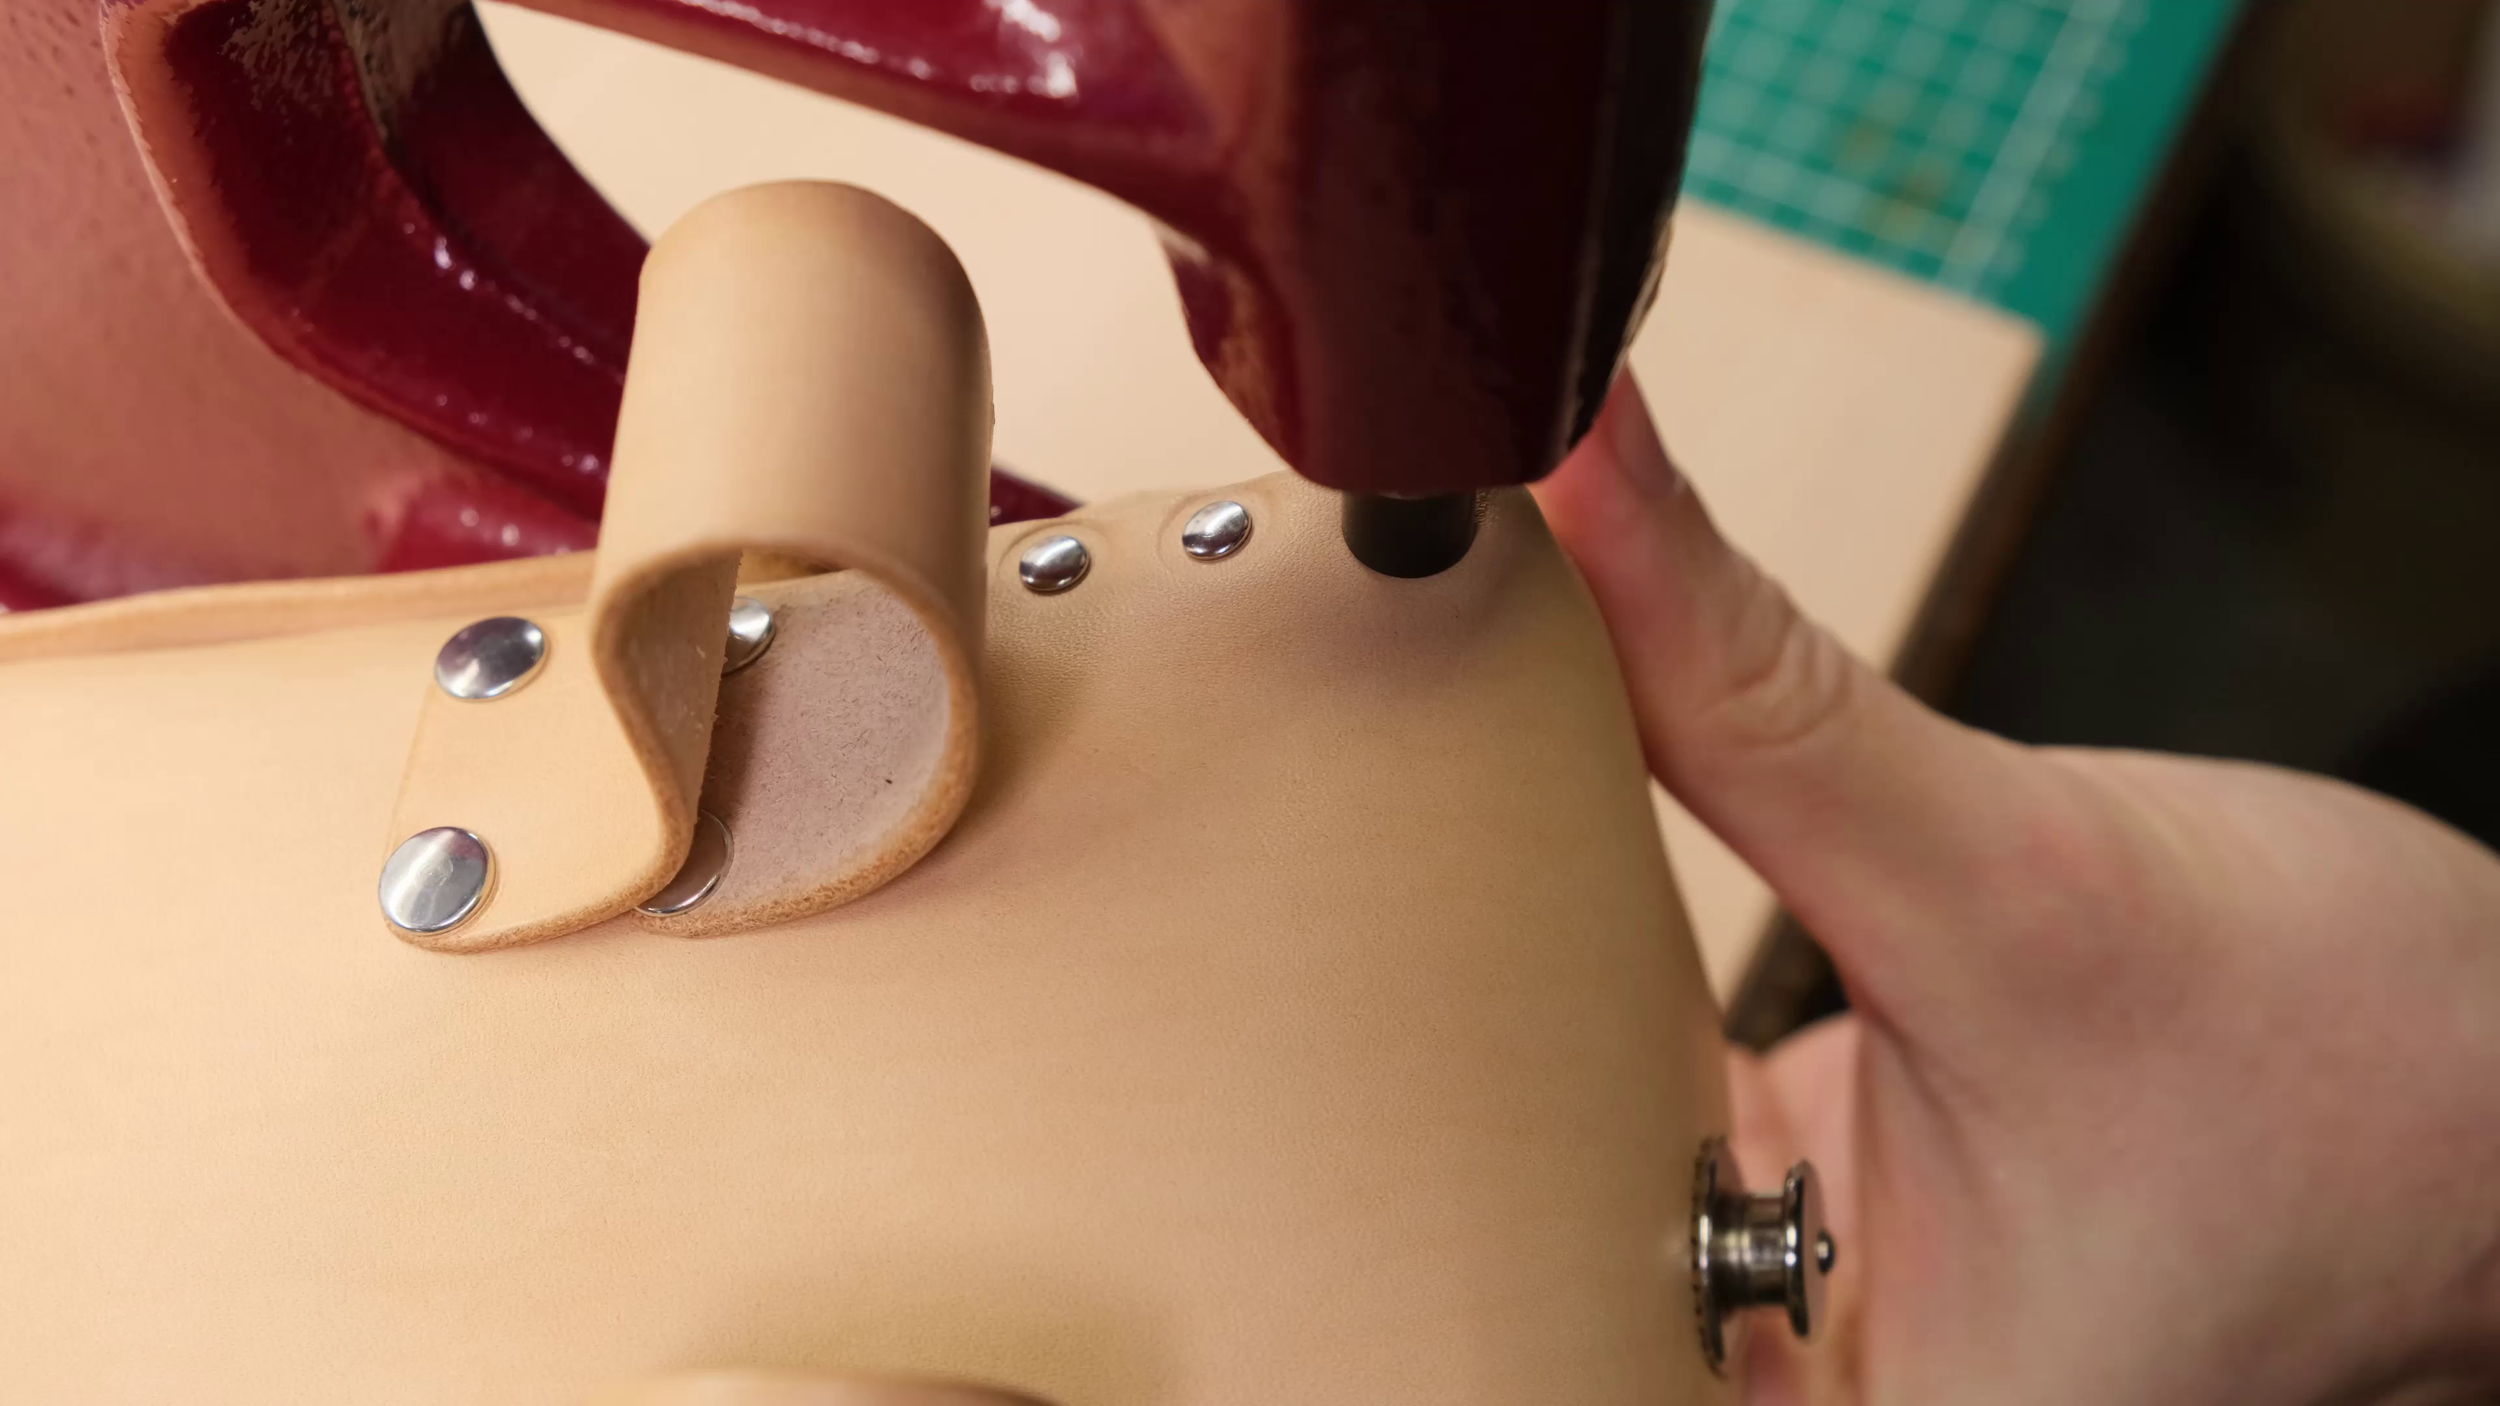
Riveting the pouch
As mentioned above it is possible to rivet this pouch without a rivet press… but it’s going to be hard due to the size of the pouch. You’ll need to find a wood block of a similar size and use that on the inside of the pouch in order to rivet it without damaging the leather.
If you are the lucky owner of a rivet press then this part should be much easier!
Using the biggest size of rivets (9,2mm in my case), start by riveting the sides going from bottom to top and alternating sides with each new rivet. Then rivet the belt loops in the back of the pouch and use the smaller size of rivets to rivet the top flap pieces together.


Once your pouch is riveted together, the final thing to do is protect it using your favorite polish or leather balm: in my case this is the world-renowned Saphir Medail d’Or clear wax polish.
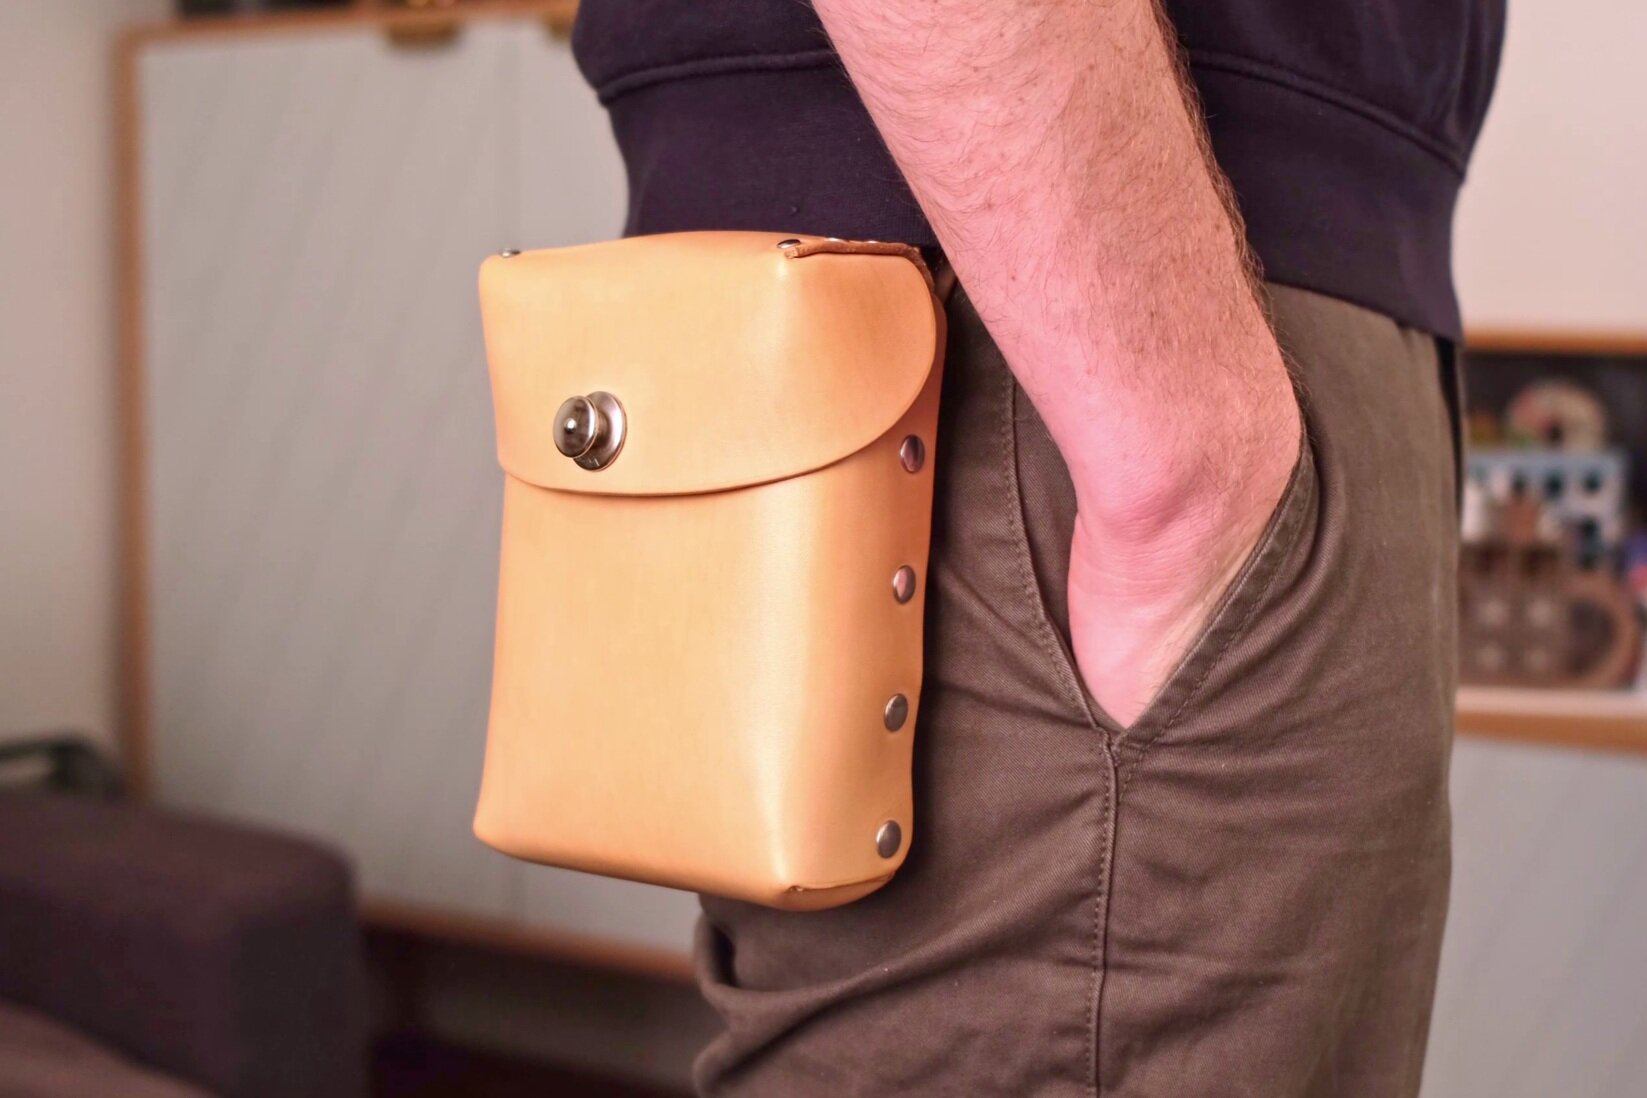
All done?
Then you are ready to enjoy your new leather pouch for decades to come :D
Download the FREE PDF Template
You can download the free PDF template (or pattern) by submitting your email in the form below.
If you’ve enjoyed this blog post or template, please consider leaving me a comment letting me know what you would like to see next!
Thanks and have fun crafting :)
James Berry aka Le French Crafter
Once submitted, the link to the PDF file will appear here ⬆️⬆️

![[REVIEW] Stitching iron set by Buckleguy & Corther leather](https://images.squarespace-cdn.com/content/v1/56ff9bdd01dbae8fc9b1967c/1694034507251-C3NQT7HGQEE9I6SI0ITB/DSCF1896-2.jpg)
![Make your first shoes with Sneakerkit [REVIEW]](https://images.squarespace-cdn.com/content/v1/56ff9bdd01dbae8fc9b1967c/1673593943685-5C7EJ7H5YWYREHA6KDNI/311598551_1686096755117298_116181593450279350_n.jpg)
![Best pattern knife, Little King Goods or Kemovan Craft Tools? [REVIEW]](https://images.squarespace-cdn.com/content/v1/56ff9bdd01dbae8fc9b1967c/1660389389574-ZOF293FMKONQ64832IKI/Blog-vignette-2.jpg)
![[REVIEW] Radermecker Niagara vegtan leather](https://images.squarespace-cdn.com/content/v1/56ff9bdd01dbae8fc9b1967c/1656452847717-I0VB18G0LMN4B8J58GOY/Vignette.jpg)