How to dye vegetable tanned leather - full guide
There are many types of leathers that come in all sorts of colors, finished and patterns. But one of the most simple and versatile leathers you can have, especially when starting out in the craft, is natural vegetable tanned leather.
This leather, also called vegtan leather, is a wonderful choice for many projects, providing a great price to quality ratio. However, to work with this leather you’ll need to acquire a few fundamental techniques, dying it being the first!

Tools you need to dye your leather
Here are the tools you’ll need to follow my method.
Fiebing’s Pro Dye (also known as Oil Dye)
Pure alcohol for diluting the dye
Saphir Renovateur (or other leather conditioner or wax)
Surface that you can dye on
1 clean cloth to apply the oil
1 clean cloth to apply the dye
1 clean cloth to buff the final piece
Once you have all this and your worksurface is prepped, you can move on to the dye.
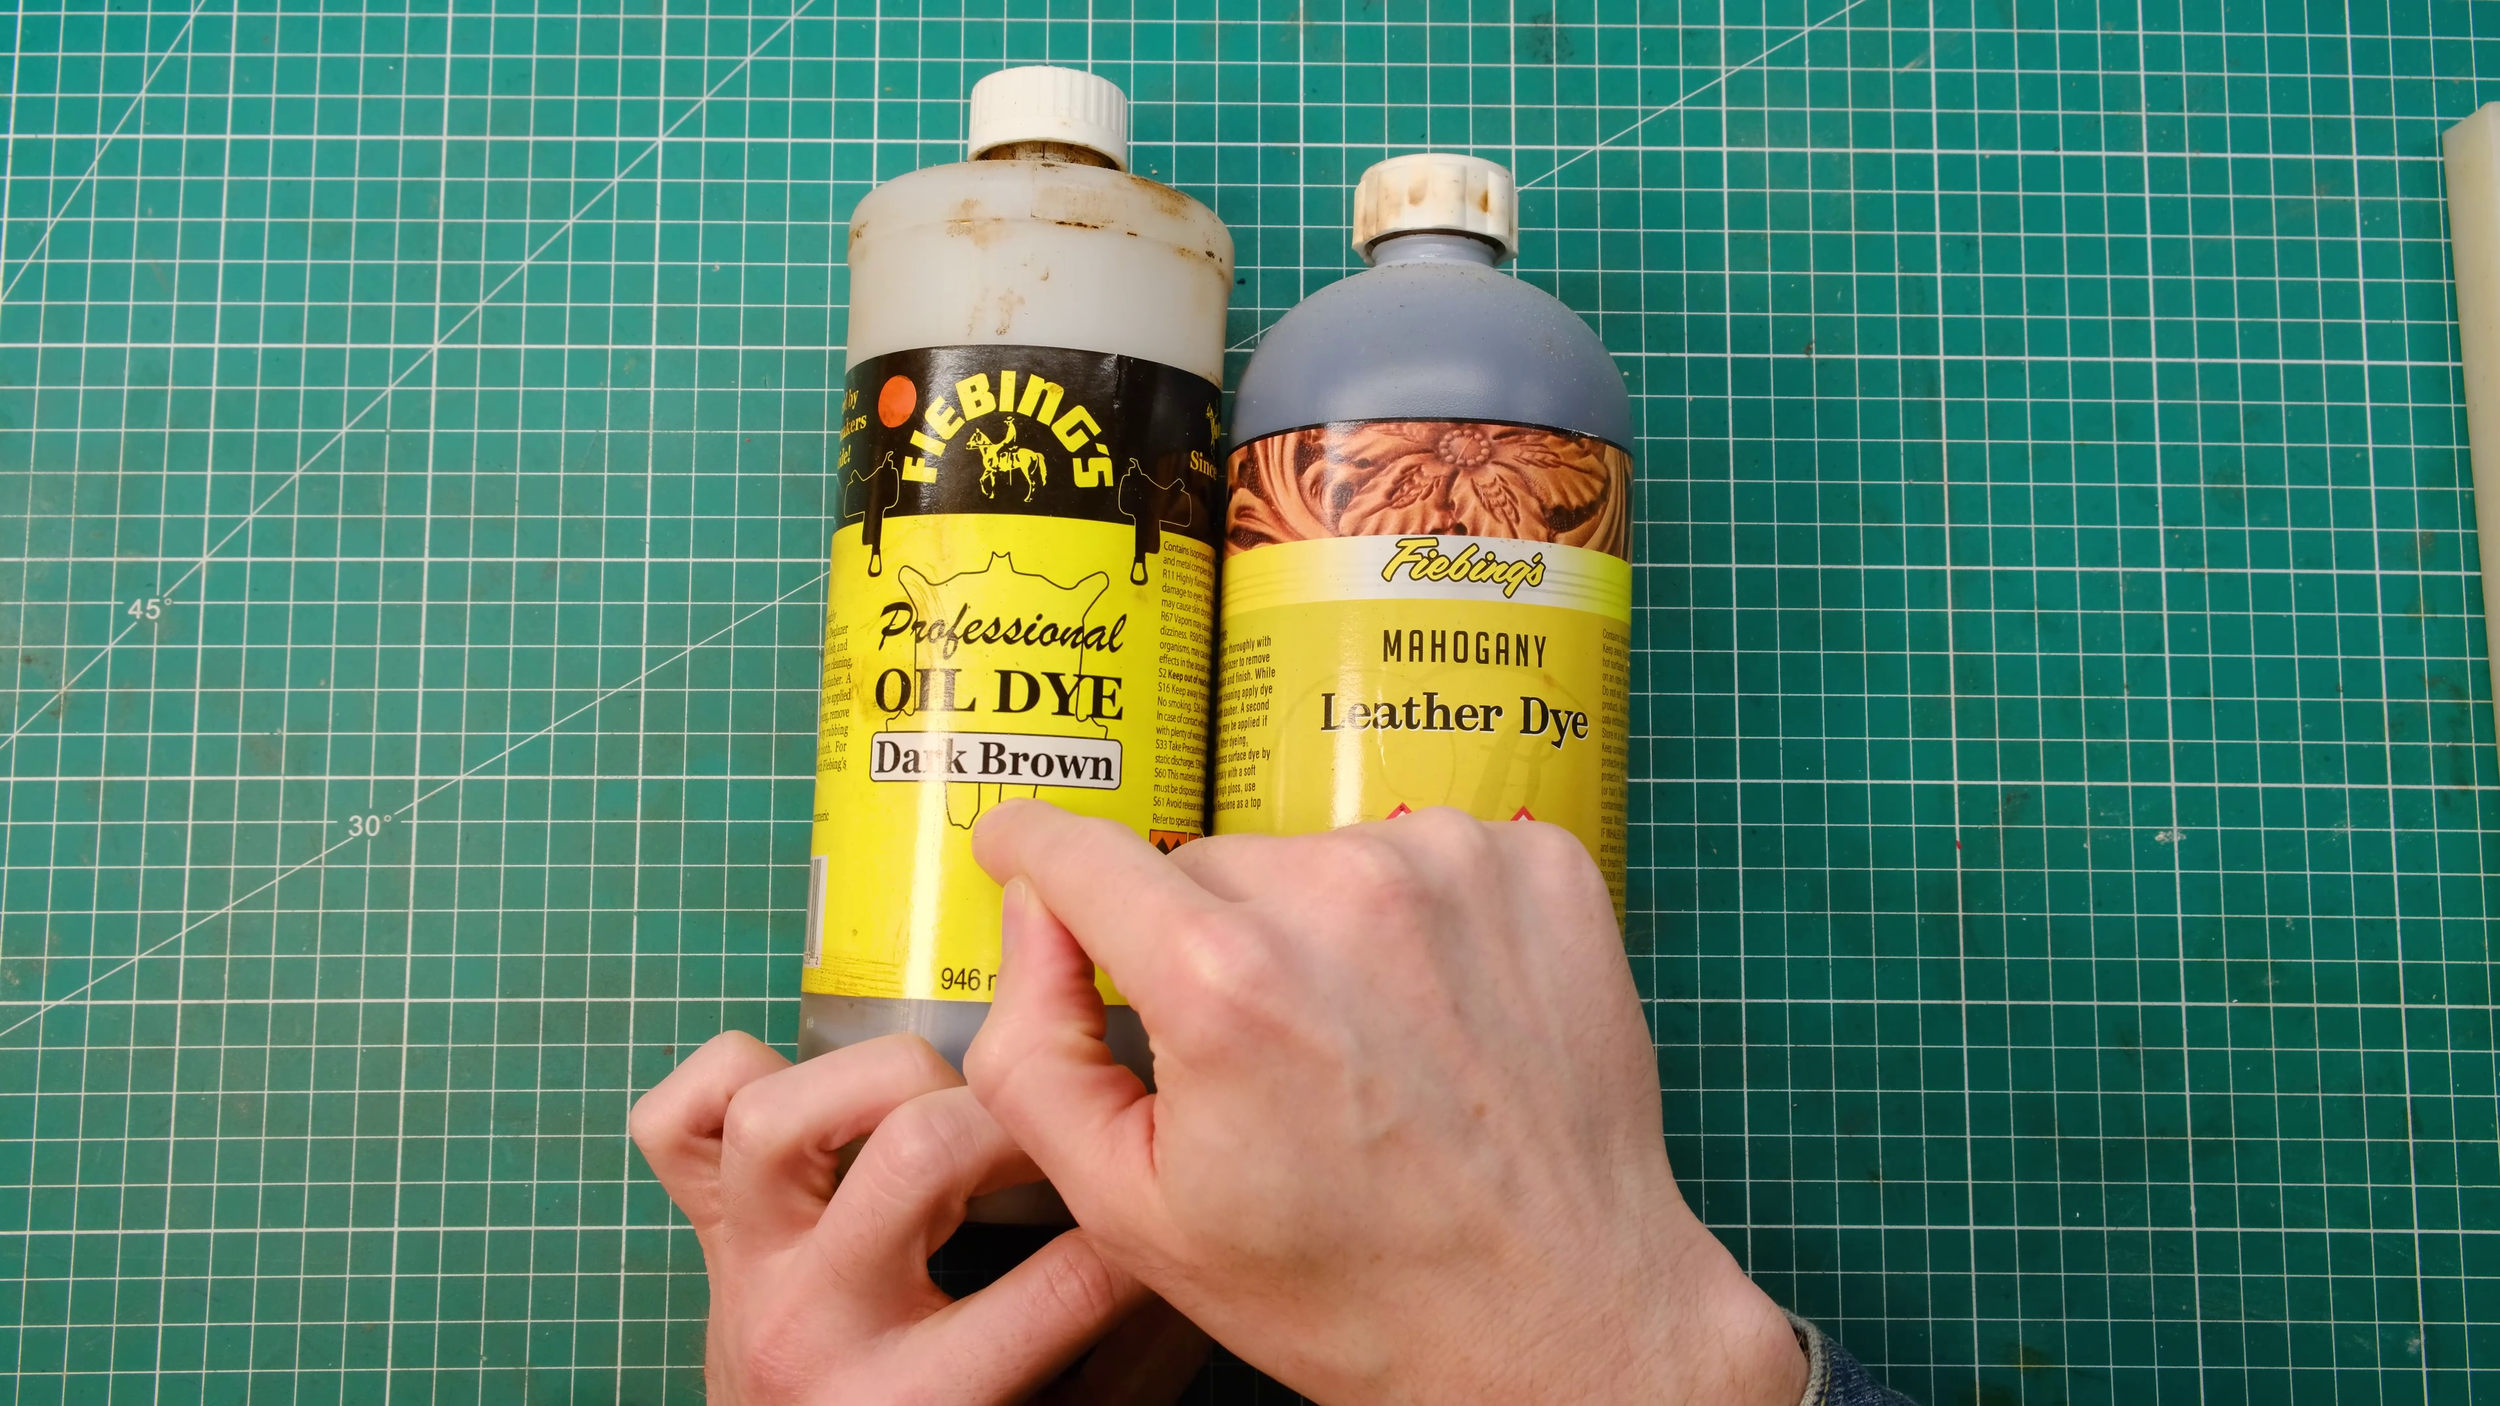
Quick note about Fiebing’s dyes
You’ll find 3 types of Fiebing’s dye on the market: Pro Dye, Oil Dy and Leather Dye.
Pro Dye and Oil Dye are the same product but with different names - this is what you need for vegetable tanned leathers as the “Leather Dye” version will be too rough and dry out your vegtan leather.
Here is what Fiebing say about it:
What is Pro Dye formerly named Oil Dye?
It is the same product as always, it just has a new name.
It is a solvent based dye, always has been, so we wanted to reduce confusion by changing the name.
The oil refers to the oils in the dyes and colorants that create the colors but the base of the dye is a solvent like standard leather dye. These dyes tend to be more vibrant in color and more colorfast and resistant to fading.
- source
So this is still basically alcohol with pigments in it, the difference being in the way the pigments are included in the alcohol base. In my experience their "Pro / Oil" dies are way better than their regular "Leather" Dye range (which is really harsh on vegtan leather in particular).
Neatsfoot oil - what is it?
Neatsfoot oil is a natural preservative for leather articles subjected to rugged use and outdoor exposure. It comes from the legs and hooves of cattle that are boiled to release the thick oils that help keep their legs warm in winter. Since the primary function of a neatsfoot oil is to replace the evaporated oils in leather, replacing the oils with other natural animal oils is best.
I love starting with a light coat of neatsfoot oil across my leather for several reasons:
You don’t know how long your leather has been in storage or what conditions it was stored in. Neatsfoot oil will help bring back some of the oils that the leather needs to stay supple and conditioned.
The oil will help draw in the pigments in the dye and allow for a more even dye.


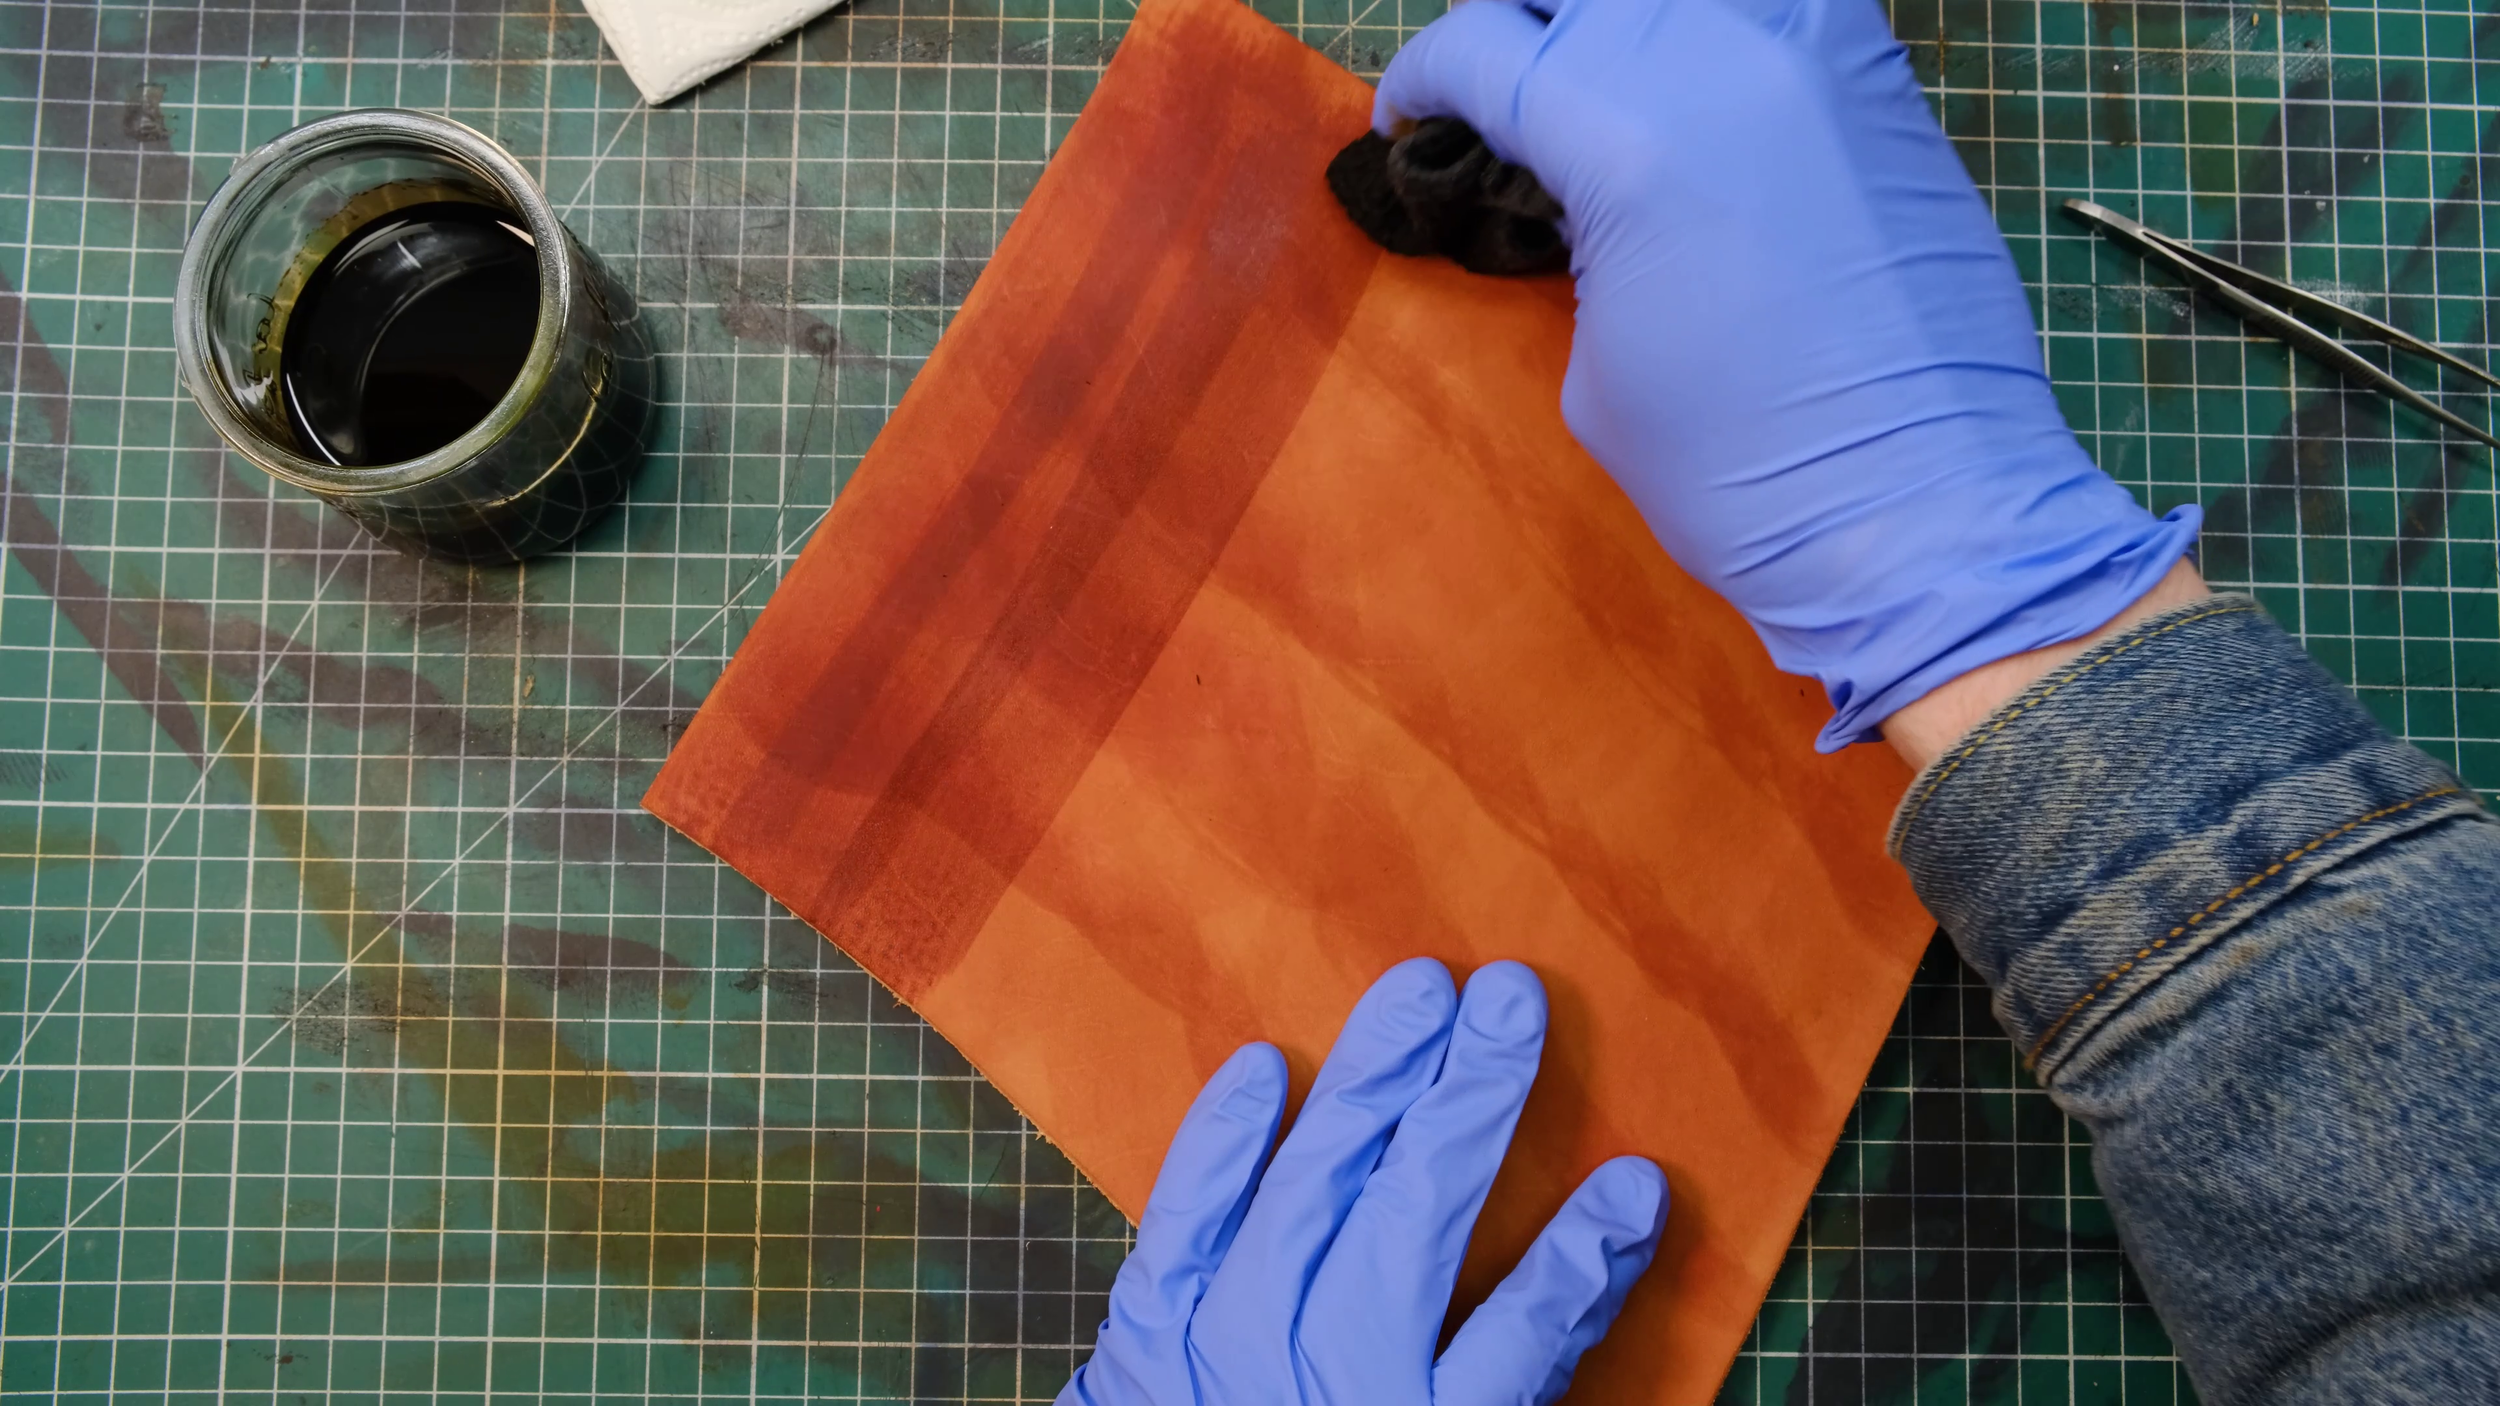
Applying the dye to the leather
I highly recommend diluting the dye with pure alcohol: this will allow you to apply more coats of dye giving you more control on the final look you can achieve. Dye is notoriously difficult to apply evenly so this method helps to avoid streaks in your final piece or an overly dyed piece that can come from trying to achieve an even dye throughout.
TEst on a small piece first!
Using a clean cloth, lightly dip it into your dye then start applying it onto the leather in circles all around your piece. Then apply the second coat of dye in lines, and the third coat in lines going the opposite way. On your fourth coat, apply the dye in large circles again, spending more time on areas needing more dye.
You should be nearly there at this point and can apply more coats of dye if needed, focusing on achieving an even dye all around your piece and continue until you reach your desired color.


Condition your leather
The dyes used in this process are alcohol based and this will dry out the leather, despite having used neatsfoot oil previously. There are many things you could do at this point to make sure your leather stays perfectly moisturized.
The obvious
Apply another light coat of neatsfoot oil, let it absorb into the leather and dry, then apply a coat of hard leather wax to add a nice finish to your piece.
Alternatively you can use a leather conditionner or cream to bring the oils and waxes back into the leather.
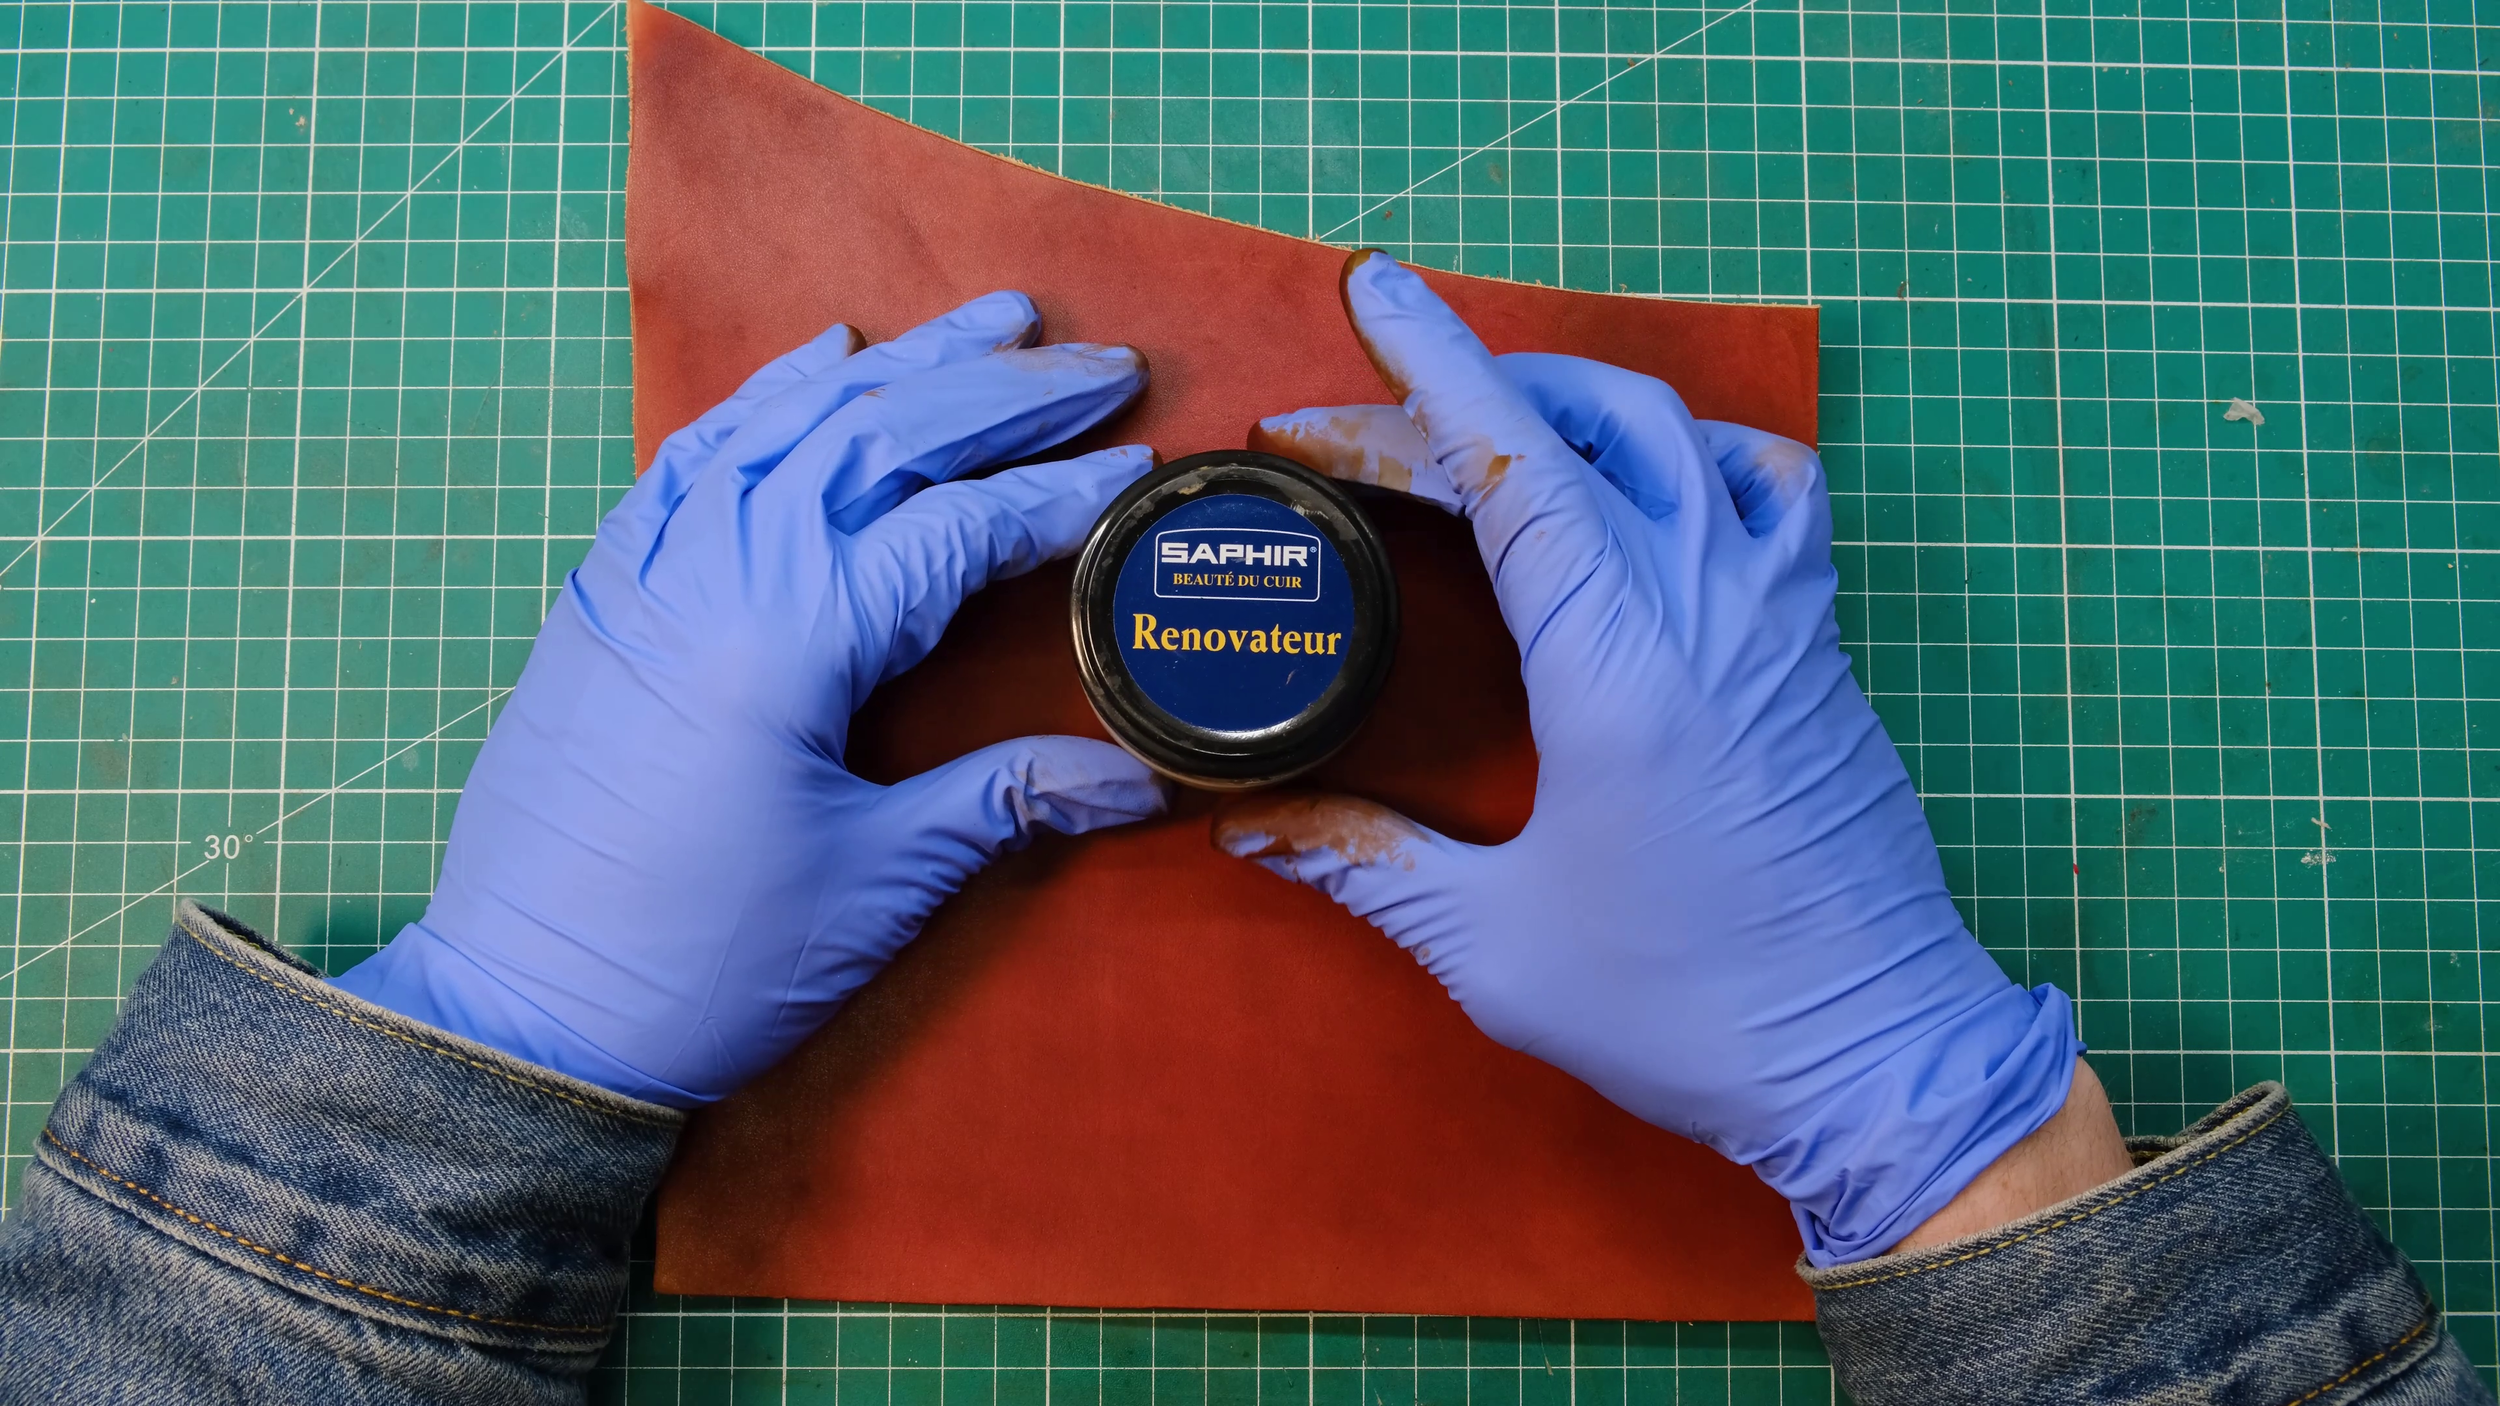
Le french crafter special
My very special trick for you, you’ve guessed it, is to use Saphir Renovateur cream!
This cream is made to condition old, dried out leathers, and I use it for all of my renovation projects with bags that were made 50 years ago. It combines solvents, mink oil and waxes and will nourish your leather beautifully as well as give it a great final coat which looks and feels amazing.
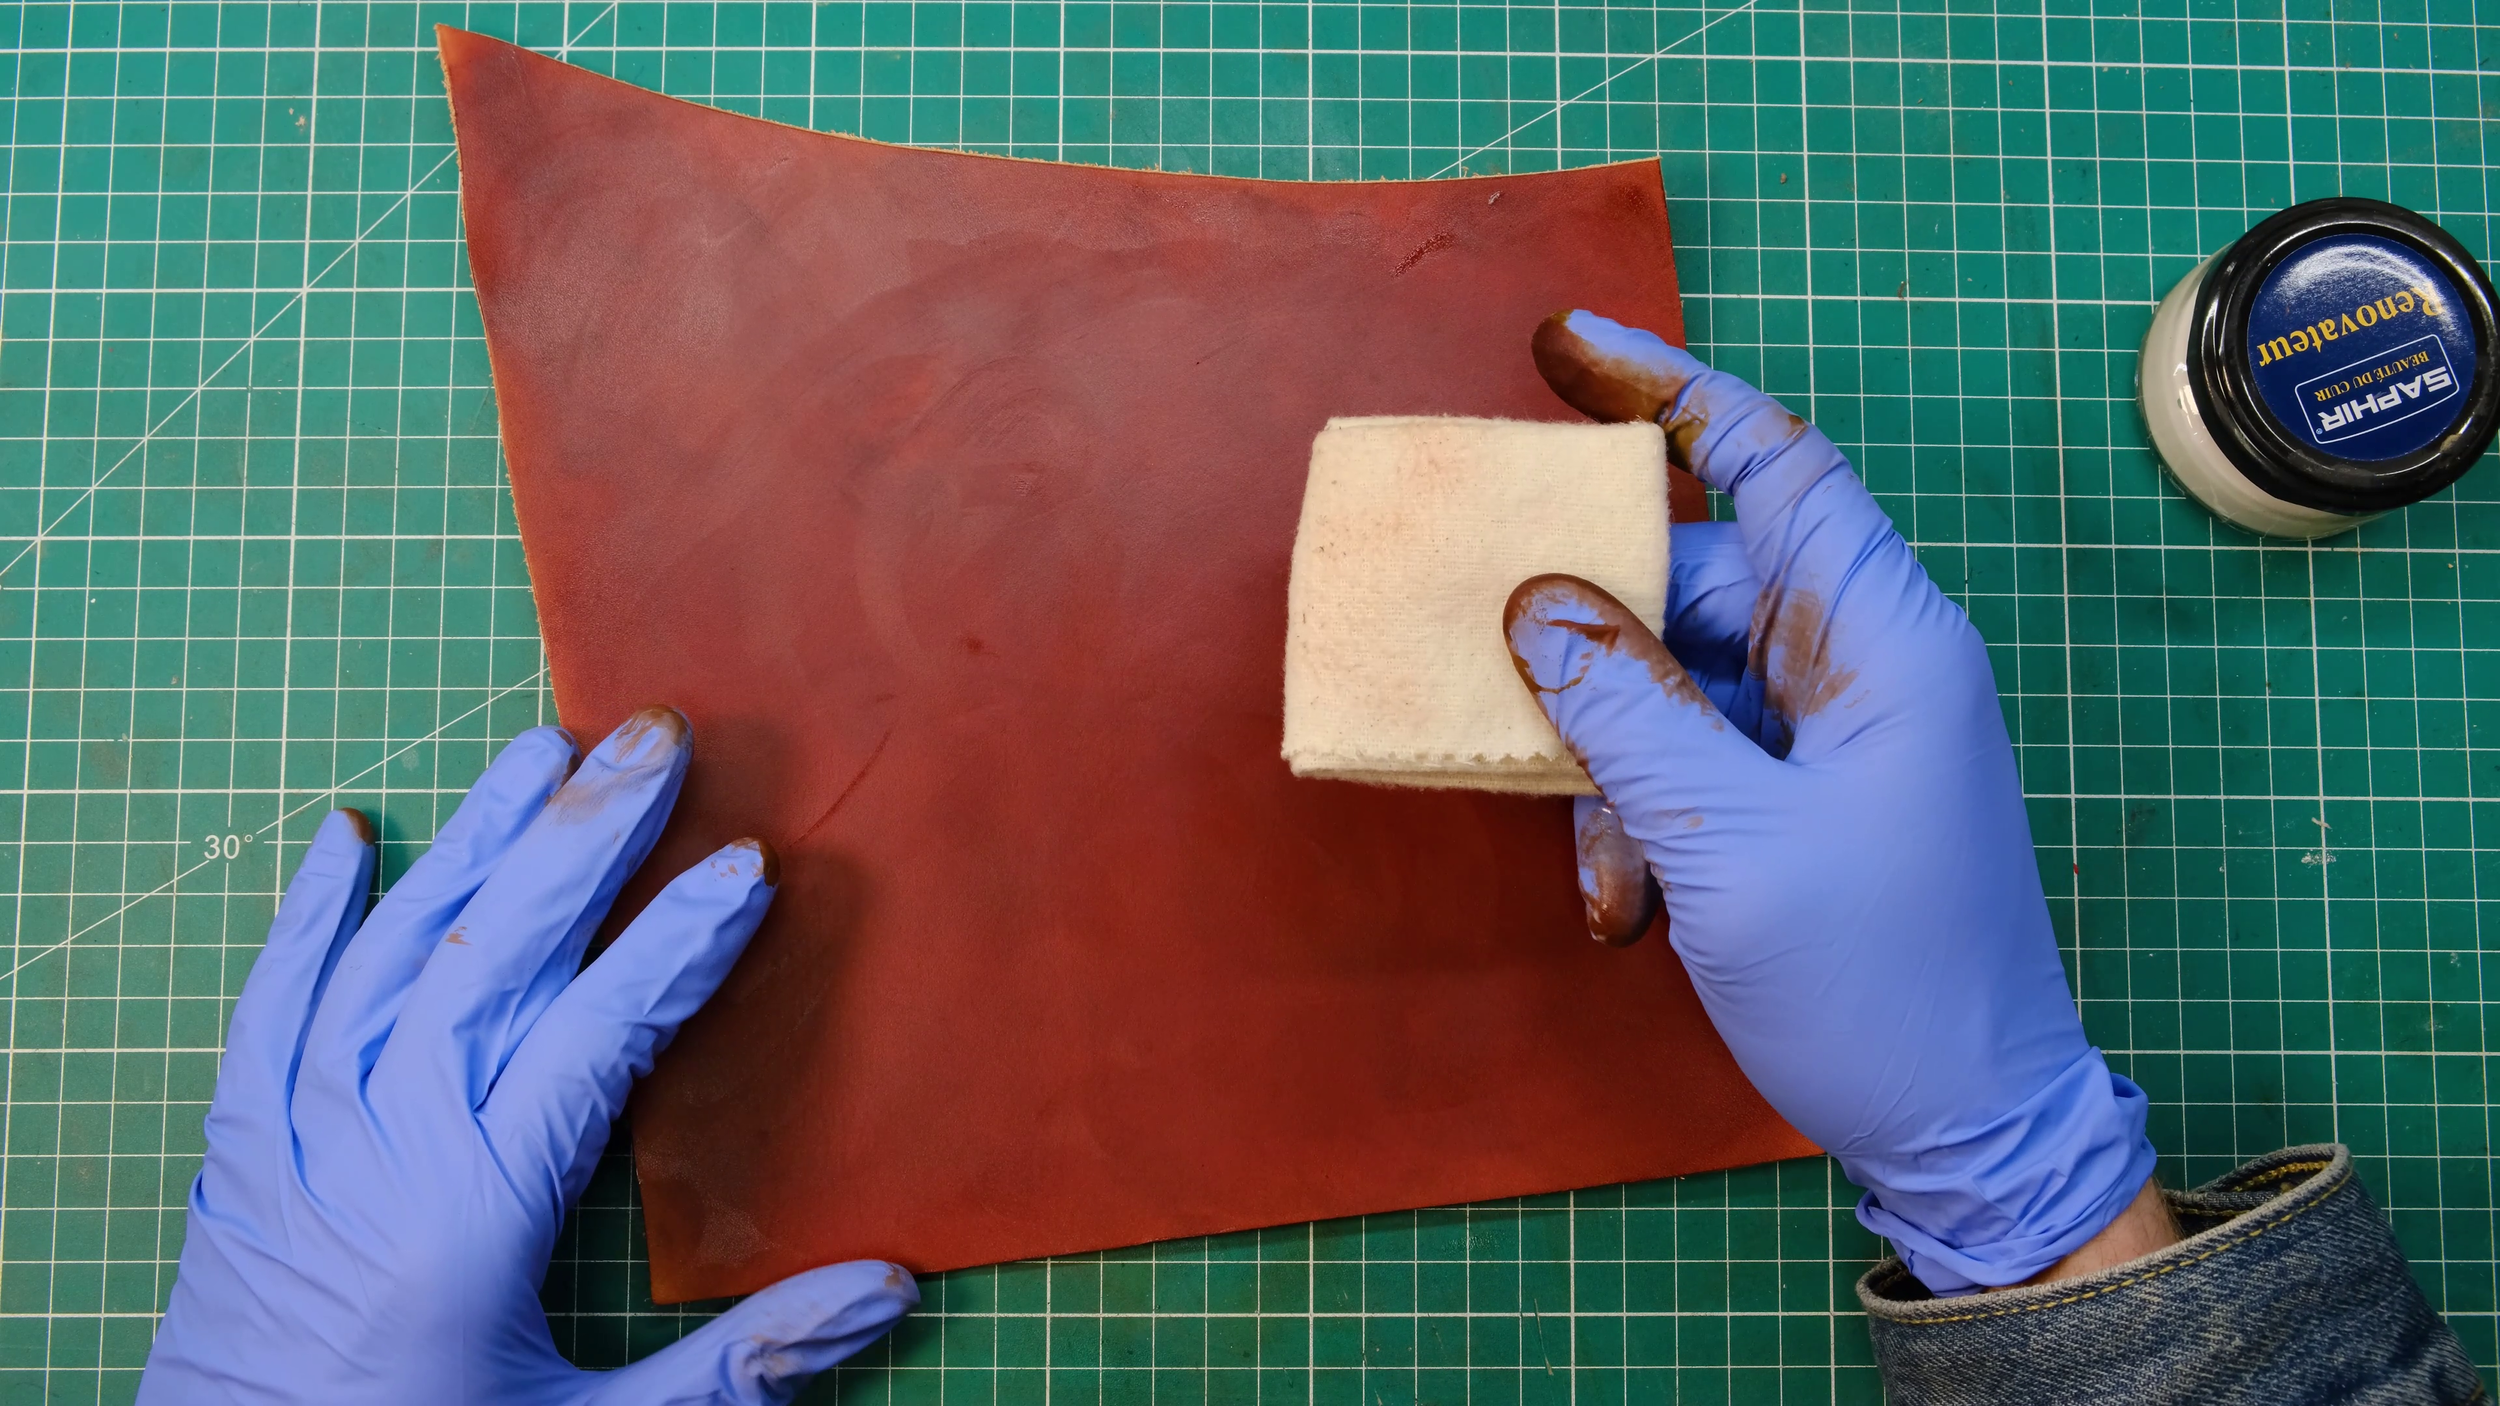
Thanks to the solvents in the cream, the oils and waxes will gently be pulled into the leather. All you need to do to achieve this perfect finish is to gently massage the cream into the leather, the heat from your fingers helping the oils and waxes be absorbed.
Finally, give your piece a strong buff using another clean cloth - if possible a 100% cotton cloth.


Follow the video guide
If you feel like this is all a bit too much, don’t worry, I’ve made a video to show you exactly how to do it all!
If this tutorial has helped you out, please let me know in the comments below!
Also, feel free to share any questions you may have and I will gladly help you out if I can :)
Enjoy and happy crafting!
James aka Le French Crafter
![[REVIEW] Stitching iron set by Buckleguy & Corther leather](https://images.squarespace-cdn.com/content/v1/56ff9bdd01dbae8fc9b1967c/1694034507251-C3NQT7HGQEE9I6SI0ITB/DSCF1896-2.jpg)
![Make your first shoes with Sneakerkit [REVIEW]](https://images.squarespace-cdn.com/content/v1/56ff9bdd01dbae8fc9b1967c/1673593943685-5C7EJ7H5YWYREHA6KDNI/311598551_1686096755117298_116181593450279350_n.jpg)
![Best pattern knife, Little King Goods or Kemovan Craft Tools? [REVIEW]](https://images.squarespace-cdn.com/content/v1/56ff9bdd01dbae8fc9b1967c/1660389389574-ZOF293FMKONQ64832IKI/Blog-vignette-2.jpg)
![[REVIEW] Radermecker Niagara vegtan leather](https://images.squarespace-cdn.com/content/v1/56ff9bdd01dbae8fc9b1967c/1656452847717-I0VB18G0LMN4B8J58GOY/Vignette.jpg)


From a rough proof-of-concept to a jet-black beaver tail finish, here's how I hand-molded a custom belt-clip sheath for a Benchmade knife using the traditional leather-hardening technique of cuir bouilli.